Okay! The kids are home, and you are looking for simple yet entertaining fun.
The feeding therapist in me LOVES this game. My kids and I have played a version of this but of course, I prefer my way.
Who is this game for? ANYONE! I will give tips below for working with more sensitive and picky kiddos.
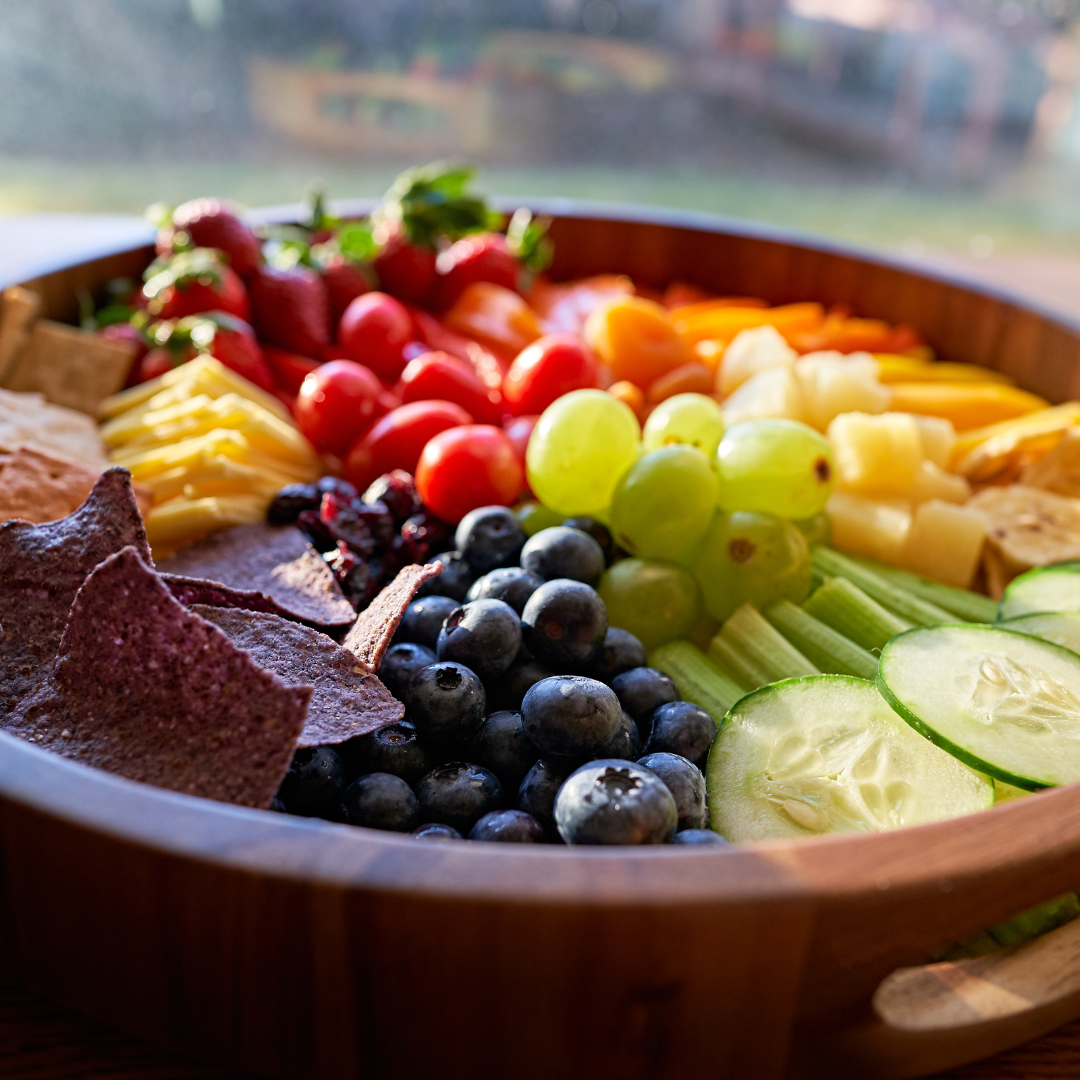
THE FOOD COLOR CHALLENGE-
What you will need:
A game spinner that you can find at the link below
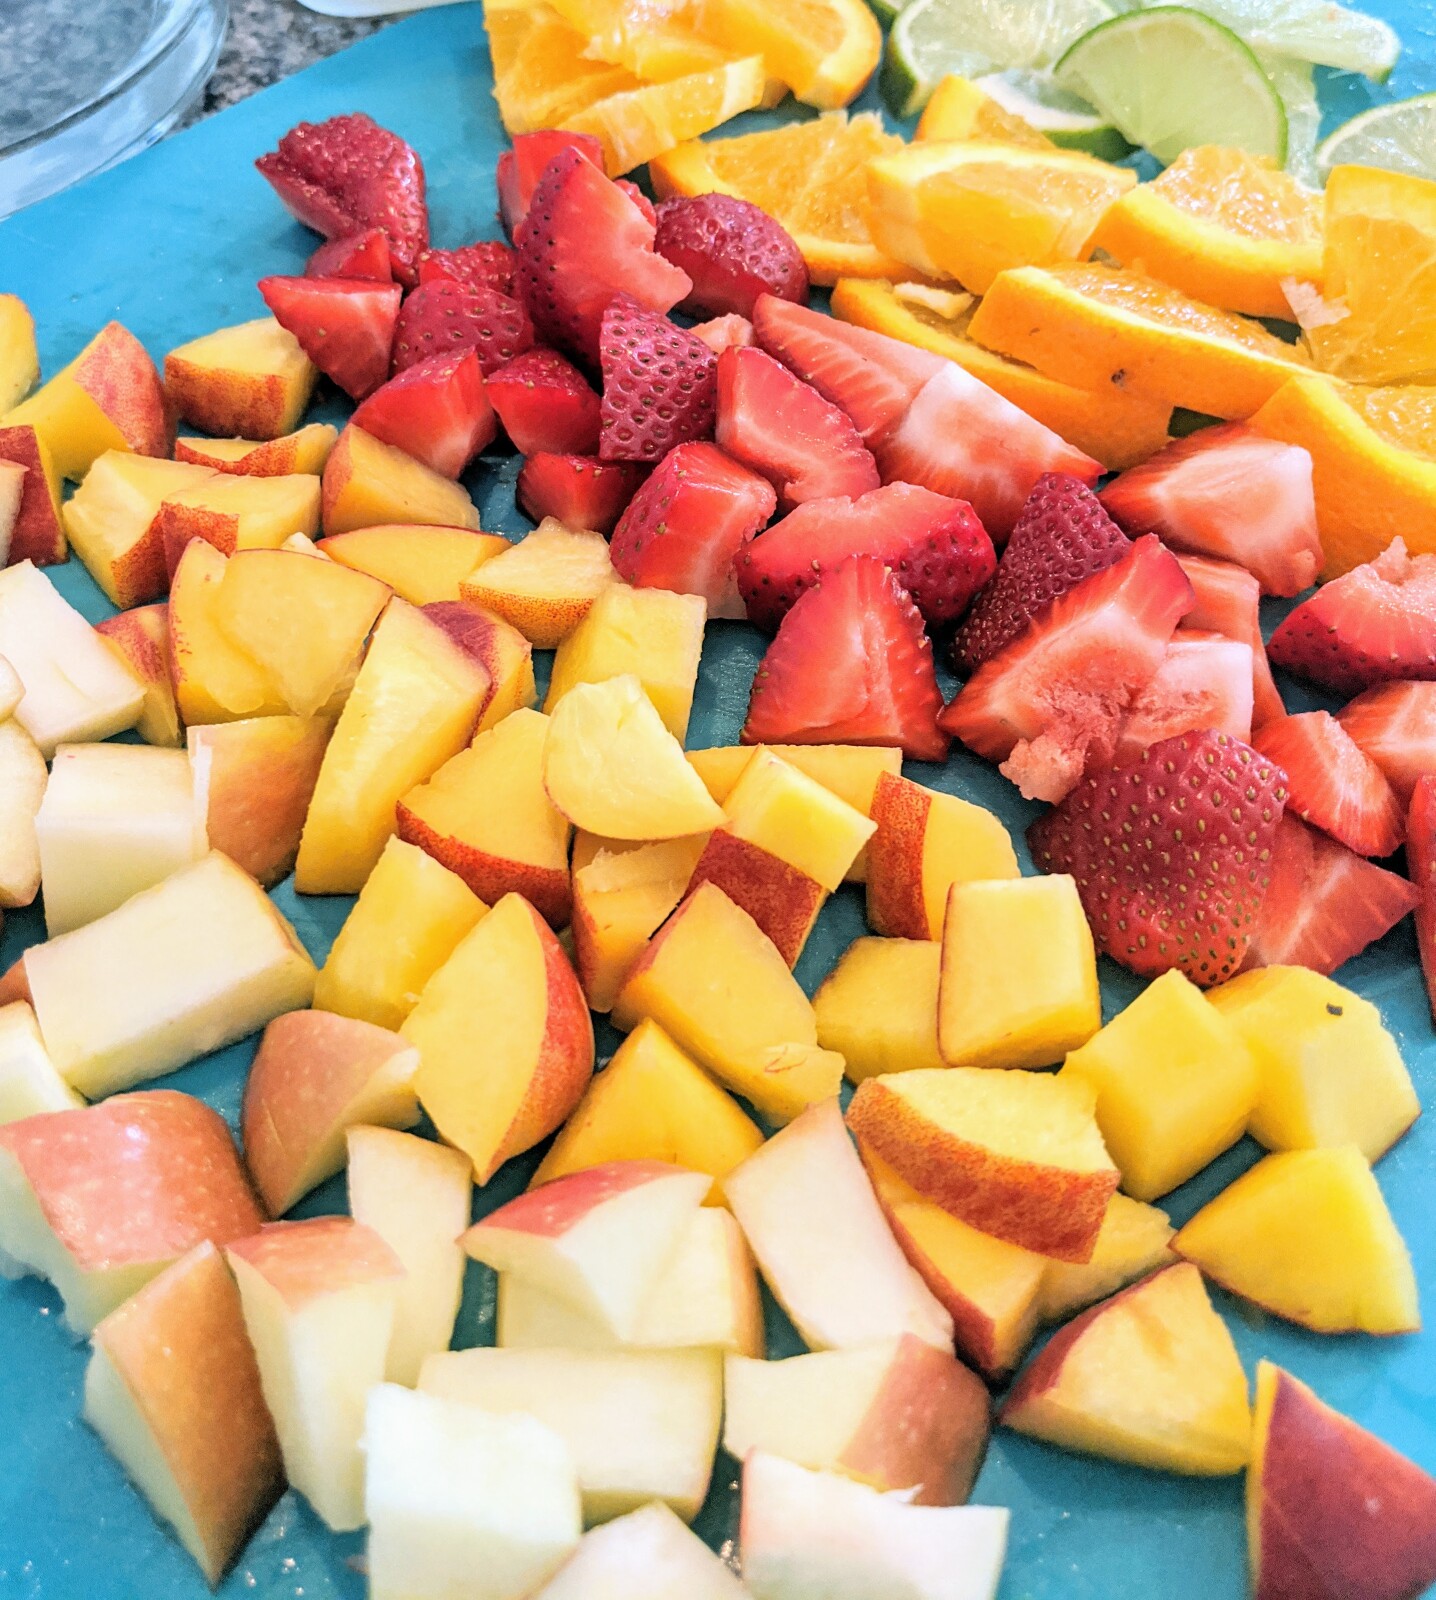
2-3 foods that correspond with each color on the spinner (you may need to get creative for some)
Dry Erase Marker
How to play:
With your dry erase marker, write numbers on the different colors. This will correspond with the # of bites the person has to take of that food.
Decide who will go first. Youngest to oldest always seems to work best in our house. Get your spinner ready. Next, that first player will spin the game spinner. They will land on a color and will need to choose which food they will eat from the foods offered for that color. Once a food is consumed, it is removed from the options corresponding to that color.
Then the next player goes.
If a player refuses to eat their corresponding bites/color, they are out.
The first player to eat something from each color, wins!
Tips & Tricks:
-If you have picky eaters, put two likes and one challenging food per color.
-If your child is sensitive to textures or certain flavors, you can change the # of bites to them tolerating touching it, smelling it, or simply bringing it to their lips.
This game isn’t intended to be traumatic for those who struggle with different foods.
-You can also use various textures of the same food. For instance, if you are creating the yellow plate. Rather than have three different yellow foods, you can pick one item and present it in different textures.
For example, you can present a whole banana that they take a bite from. You can present mashed banana they can eat with a spoon, or you can cut up some bite size pieces for them to eat with a fork.
I know my boys absolutely challenging each other in games like this, so if you think your kids can handle it, allow them to help with the food options on the plate!
Who thinks their kids will have fun with this one?! I can’t wait to hear if you try it.
The last thing you want to do while your kids are on a break from school is lose your patience with them!
Our family has been there. Everyone wakes up with a different agenda in mind resulting in arguments, frustration, loss of patience, and sometimes tears.
As adults, we still have responsibilities and sometimes work from home to manage. Our day to day doesn’t stop!
The kids are ready to rock and roll! They want to play with friends, go to all the places, and see all the things.
From our past experiences and from what I know about child development, I started to brainstorm a better way for our family to start the day. It involved us creating a schedule together! There were a few things that made this appealing for all.
-We had a visual to work with and reference throughout the day.
-Everyone had a say as to what went onto our daily schedule. It forced the kids to stop and think through things, they may not normally think of. Did we have prior commitments? Was it going to rain that day?
-It taught the boys how to prioritize and me how to manage my time better. I was much more intentional with the free time slots when it came to what I did.
This worked so well for us that I hopped on the computer, created an actual labeled and organized schedule, and slipped it into a dry erase pocket.
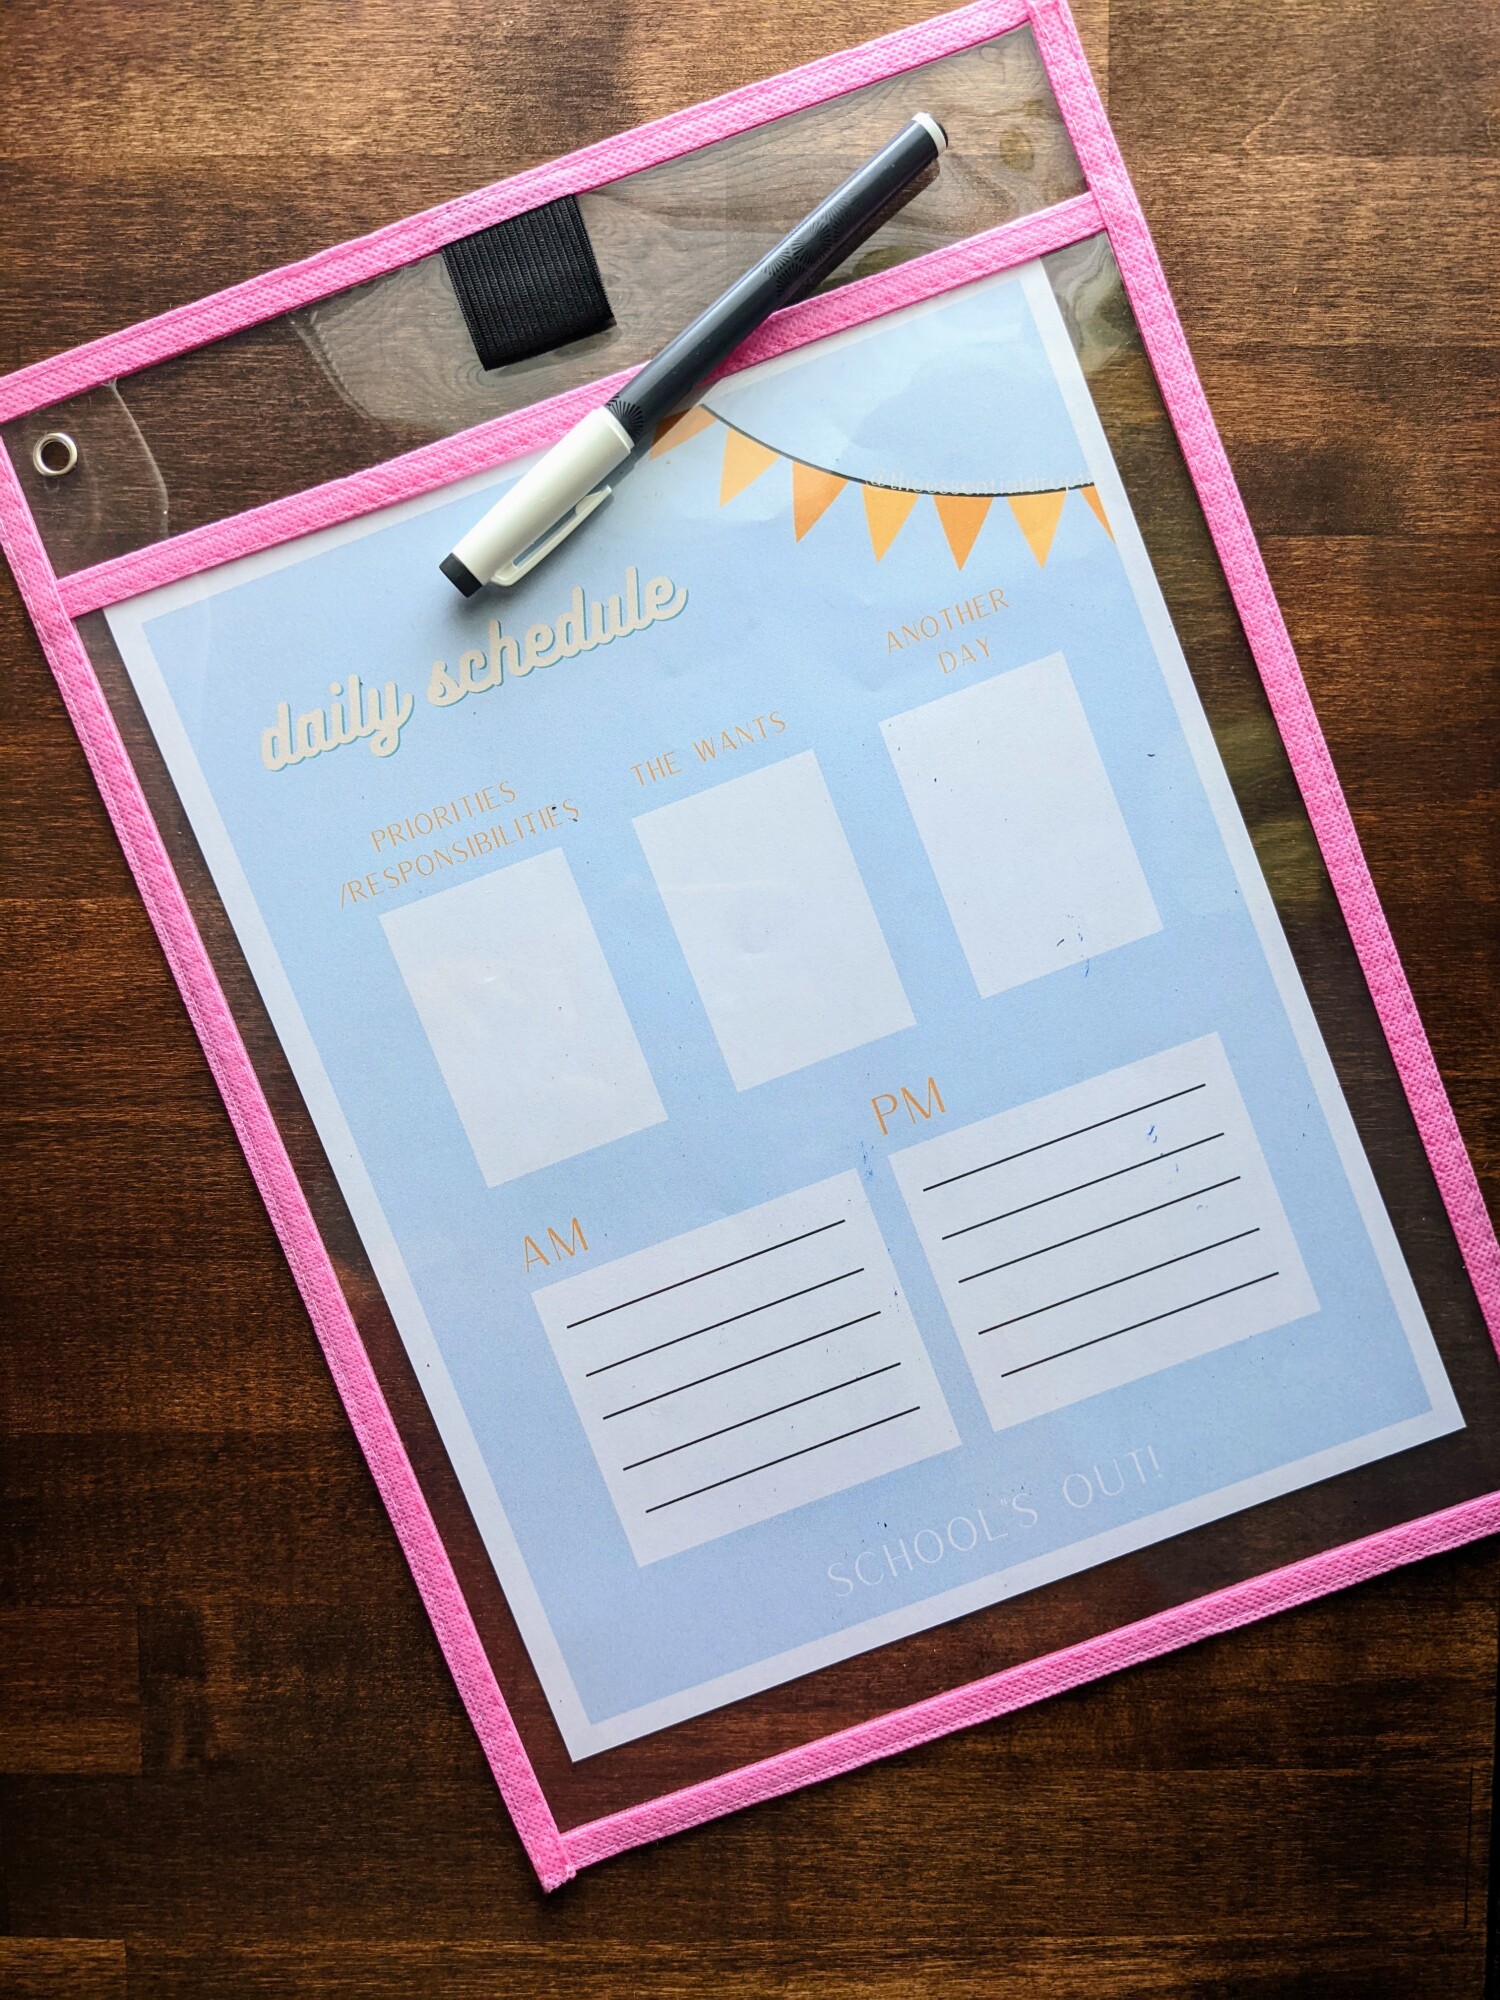
So how do you go about creating this schedule?
Step 1: Decide when you will work through the schedule together. Will it be the night before? Will it be in the morning?
Step 2: Start in the “Priorities/Responsibilities” column. Start making a list of what NEEDS to get done that day.
Step 3: The wants! Let each kid put 1-2 things they would like to do that day.
Step 4: Parents, create a schedule in the AM and PM columns with only the priorities! This should allow some empty space in the schedule. When I needed a work hour, I would simply write “Free time” and that gave the kids time to choose what they wanted to do for a bit.
Step 5: Bring the kids back to the schedule. Let them fill in the empty space with their wants. Not all of the wants will fit in the schedule or work with the schedule. In that case, you put in the column marked “Another Day”. This way the child doesn’t feel like their idea/want was forgotten.
For your free downloadable daily schedule, click here!

For some reason, clean produce always pops into my head in the summer months BUT we know that clean produce is important year round!
When we are washing our produce, we aren't just washing away dirt. It is important we consider the pesticides and other contaminants that our fruit and vegetables may come home with.
You NEED more than just a quick rinse in water to tackle the above.
You know I love essential oils, and they are a great toxin-free option when it comes to tackling the grime and chemicals on our produce.
Normally, I DIY but there is a product that I love to purchase and stretch with the below hacks.

Thieves Fruit & Veggie Soak is a kitchen sink staple at the Huffman Household.
1. Because it's a toxin-free solution that works amazingly well!
2. The versatility of it makes it LAST!
Here are our favorite ways to use it:
Wash all at once!
-Add 1-2 TBSP of solution to a sink full of water and host a fruit & veggie bath when you get home from shopping.
Wash as you go!
-Add a capful of solution to a bowl of water and soak the serving you are working with.
Create a spray!
-Add 2 teaspoons to 8 ounces of water and spritz fruit and veggies. Work into your produce for several minutes and rinse.
Create a foaming fruit & veggie rinse!
- Fill a foaming soap dispenser.1/3 of the way with Fruit and Veggie Soak. Add warm water to the rest of the container. Wash the produce like you would your hands!
OR
Add 2-3 pumps to a bowl of water for a quick soak.
This also makes a great gift for your favorite chef or gardener! Gift them the concentrated bottle OR create one of the above solutions, add some twine, and you have a simple gift!
Grab a bottle HERE!

Oil cleansing has been a GAME CHANGER for my oily skin! Who knew?!
I have always struggled with deep cleaning my skin without stripping away the moisture and balance my skin needed. This always led to more oil! Since using an oil cleanser, my skin is brighter, softer, and balanced. I did try a couple of DIY oil cleansers but nothing has surpassed the Mirah Cleansing oil by Young Living. You cannot beat the luxurious essential oils and carrier oils used in this formula. To oil cleanse, you simple use 2-3 pumps on your finger tips, massage into your skin, and rinse cleanser away with warm water. Then, gently pat your skin dry. I noticed the change in your skin's balance and tone over a few weeks.
Now, you know I love a VERSATILE product! VERSATILE usually means I save money by creating multiple products from one. Cleansing oils are versatile products! Check out all the ways I love to use my Mirah Cleansing oil.
Cleanser- I love getting my face damp and massaging two pumps in to my face. I rinse with warm water and pat dry. My skin is left refreshed and soft.
Makeup Remover wipes- 1-2 pumps onto a Seedlings wipe to remove my makeup or for a "lazy gal clean" at the end of the day. Why Seedlings wipes? More skin nourishing essential oils and they don't leave a soapy/foamy reside like other wipes.
Face cleansing wipes with Mirah Cleansing oil 
3/4 cups water
3/4 cup alcohol free witch hazel
1/4-1/3 cup Mirah cleansing oil
At dry wipes (search dry wipes on Amazon) to the mixture! Wipe face to cleanse.
Himalayan Salt Exfoliator or Mask:
3 Tablespoons Himalayan Salt
2 Tablespoons Mirah Cleansing Oil
3 drops Grapefruit
3 drops Cypress
1-2 drops Peppermint.
Combine in bowl and apply to face. Make gentle circles to exfoliate. To use as mask allow to sit on skin for 10-20 minutes and rinse clean. Pat dry!
If you are ready to give oil cleansing a try, grab your Mirah Cleansing Oil here!Throw on some Seedlings wipes to go with it to create makeup remover! ( save 24% by putting these items in a subscription cart)
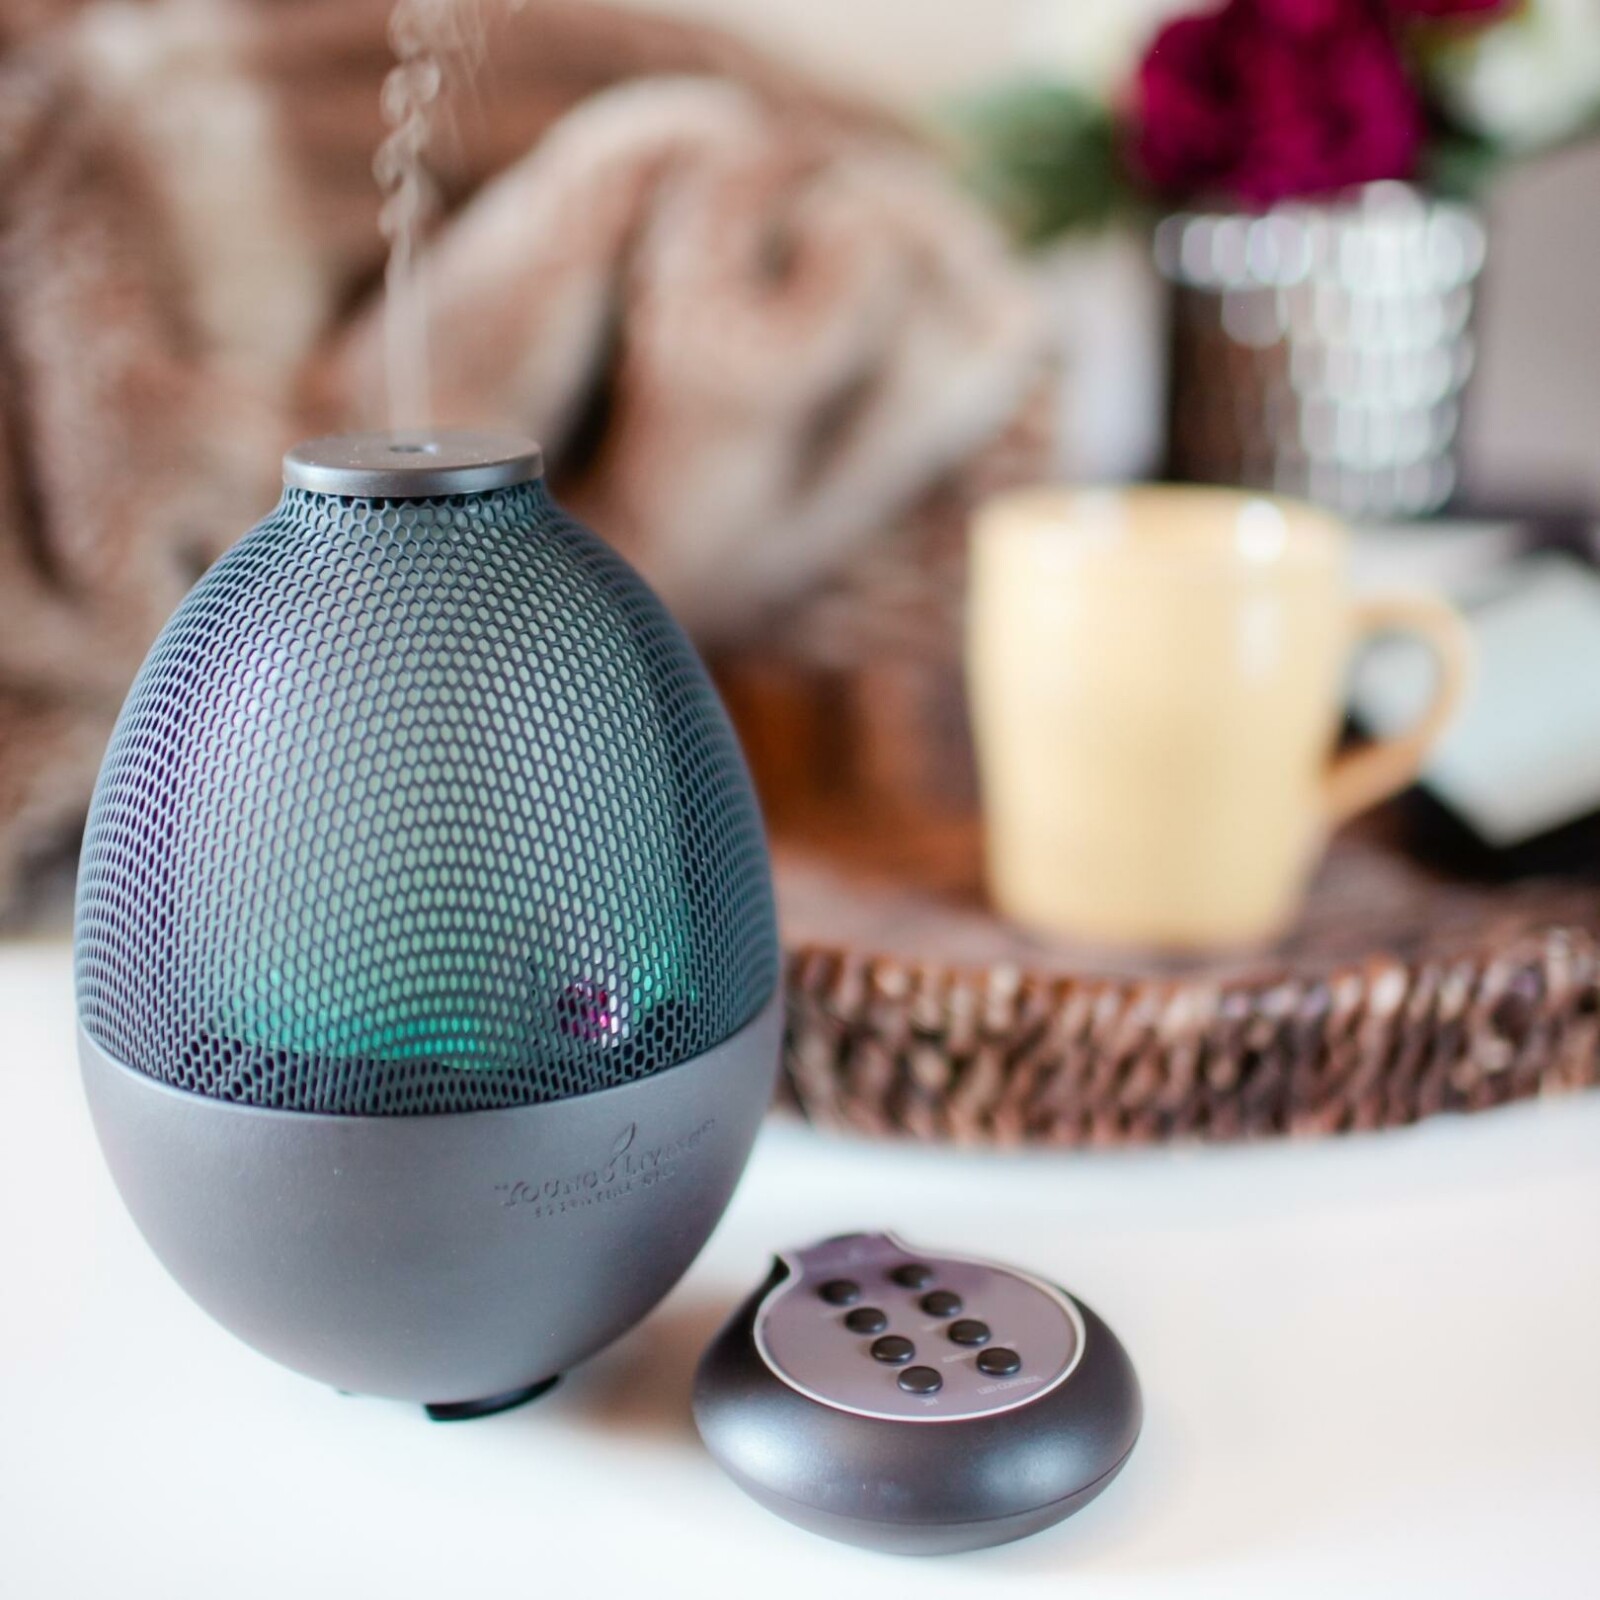
Whether it is the stinky feet of two little boys or the stench of an outdoor loving puppy, we have some odors to combat in our house these days.

My go-to was once the fragrance filled sprays and powders that would simply mask the odors and contribute to air pollution within the home (not that I knew that at the time). Now, I save money on all the odor masking products and whip up some simple recipes that get to the root of the problem.
Essential oils are made up of chemical compounds that serve a purpose. When I grab an oil such as Tea Tree, I know that it is going to work its magic on the funk and bacteria that are contributing to the odor itself. We eliminate the toxins and address the root of the problem.
When selecting your oils for odors, I suggest using Purification, Lemongrass, Thieves, Melrose, Kunzea, or Tea Tree. To sweeten the aroma and provide an extra punch to your concoctions, reach for the citrus oils. If you prefer a flora aroma, Lavender is a great aroma to add.
Here are three of my favorite essential oil recipes for combating odors in your home:
Carpet Powder:
2 cups baking soda
10 drops Purification
10 drops Lemon
10 drops Lavender
Put the baking soda in a 16-ounce mason jar. Add the essential oils. Place the lid on top and shake until well combined. Put a shaker top on the mouth of your mason jar. Sprinkle powder onto carpets and upholstery. Allow to sit for 10-15 minutes. Vacuum when done.
Shaker Lid for mason jar here!
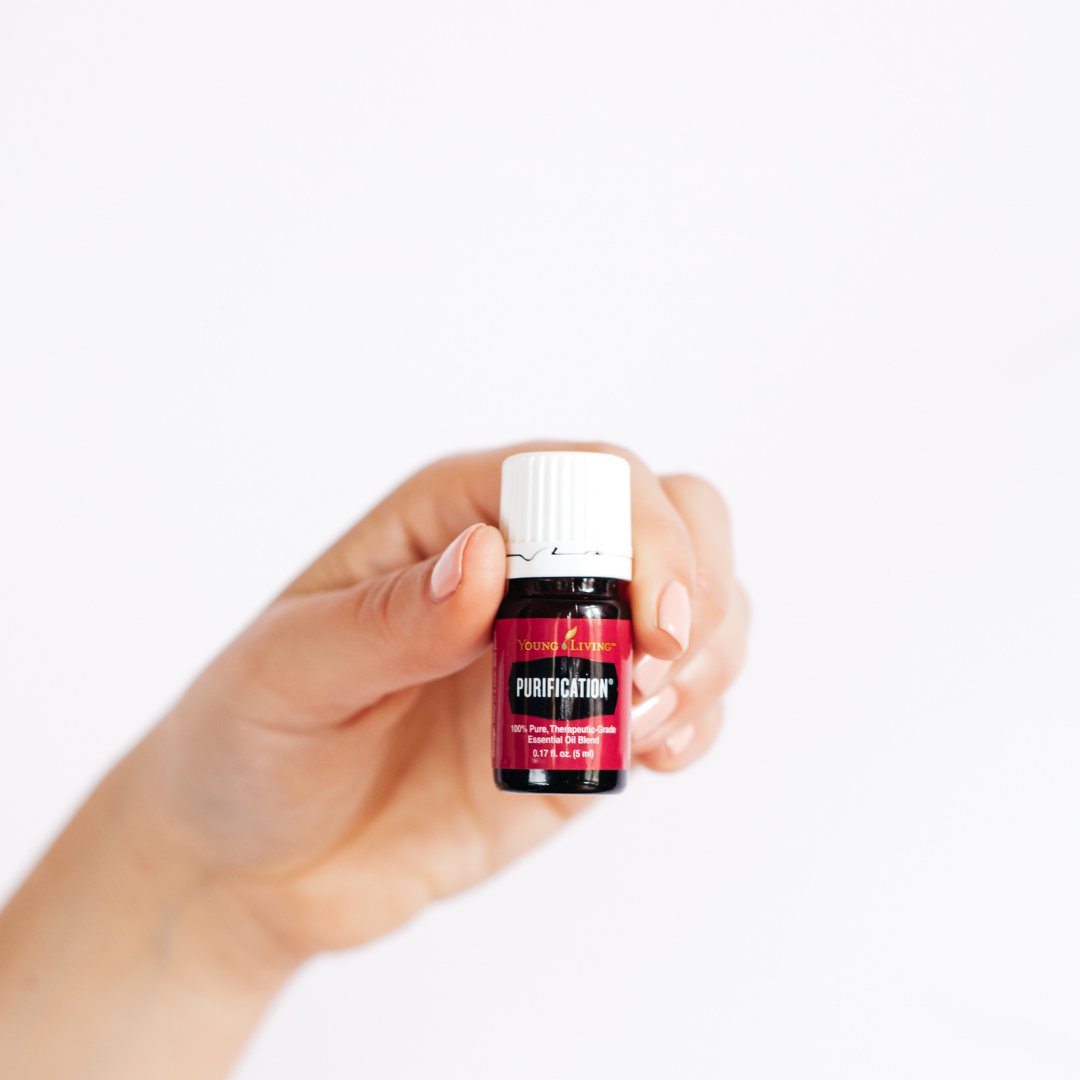
Room and Upholstery Spray:
4 ounces distilled water
4 ounces witch hazel
7 drops Purification or Kunzea
5 drops Orange
3 drops Lavender
Combine liquid and oils in continuous spray mister. Spritz air, linens, and upholstery as needed.
Continuous Mister here!
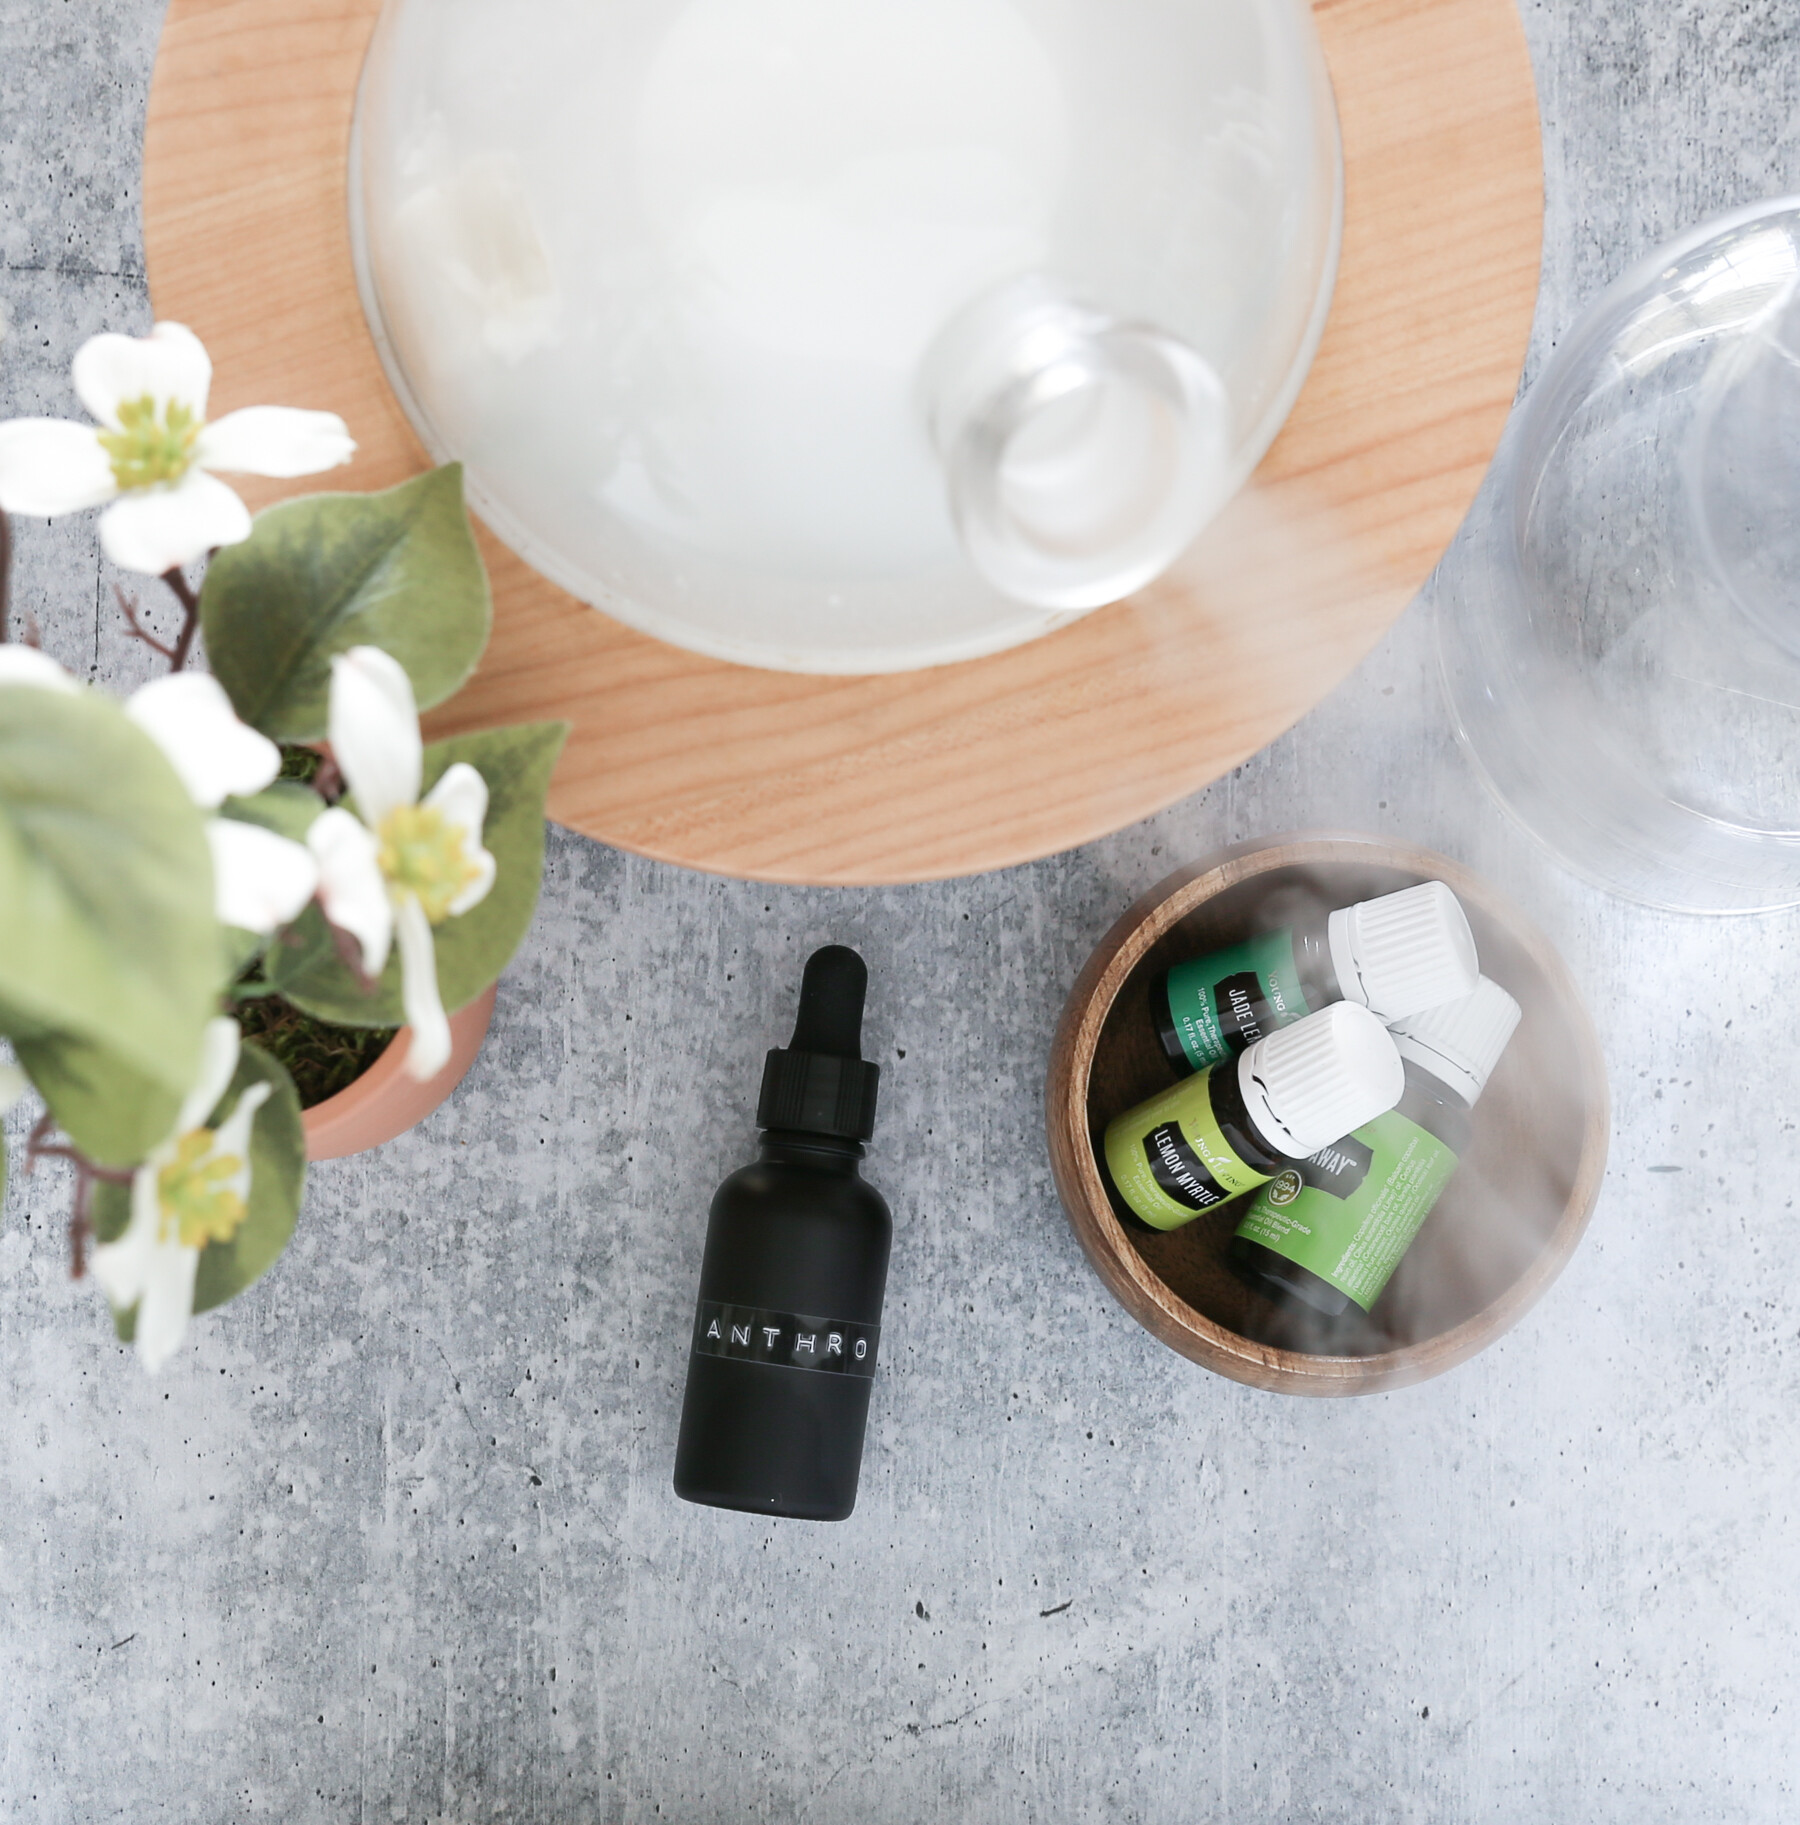
“At the Spa” Diffuser Blend:
90 drops Lemongrass
90 Drops Spearmint
90 drops Lavender
Add oils to a 15 mL bottle. Add 9 drops of mixture to your diffuser when trying to get rid of leftover odors in the air. This diffuser bombs will get you 30 uses.
I hope that you enjoy the above recipes, and they refresh those lingering odors in your home. If you try any of the above recipes, I would love to hear how you enjoy them!


