You know I love a good sensory activity!
As I planned my "Let's Eat" small group for the week, I remembered how much I enjoy incorporating play dough into sensory play. Then it dawned on me. As a way to lead into snack time for a therapy session, I will create aromas for the play dough using essential oils and food flavoring oils.
The recipe I used can be found below, along with various ways we used the playdough prior to diving into
our meal time.

The recipe for the playdough is from kidsactivities.com
2 Cups of Flour
2 Tbsp of Oil, I used fractionated coconut oil
1/2 Cup of Salt
2 Tbsp Cream of Tartar
1 1/2 Cup Boiling Water
Gel Food Coloring ( You can use regular food coloring but the color will not be as vibrant)
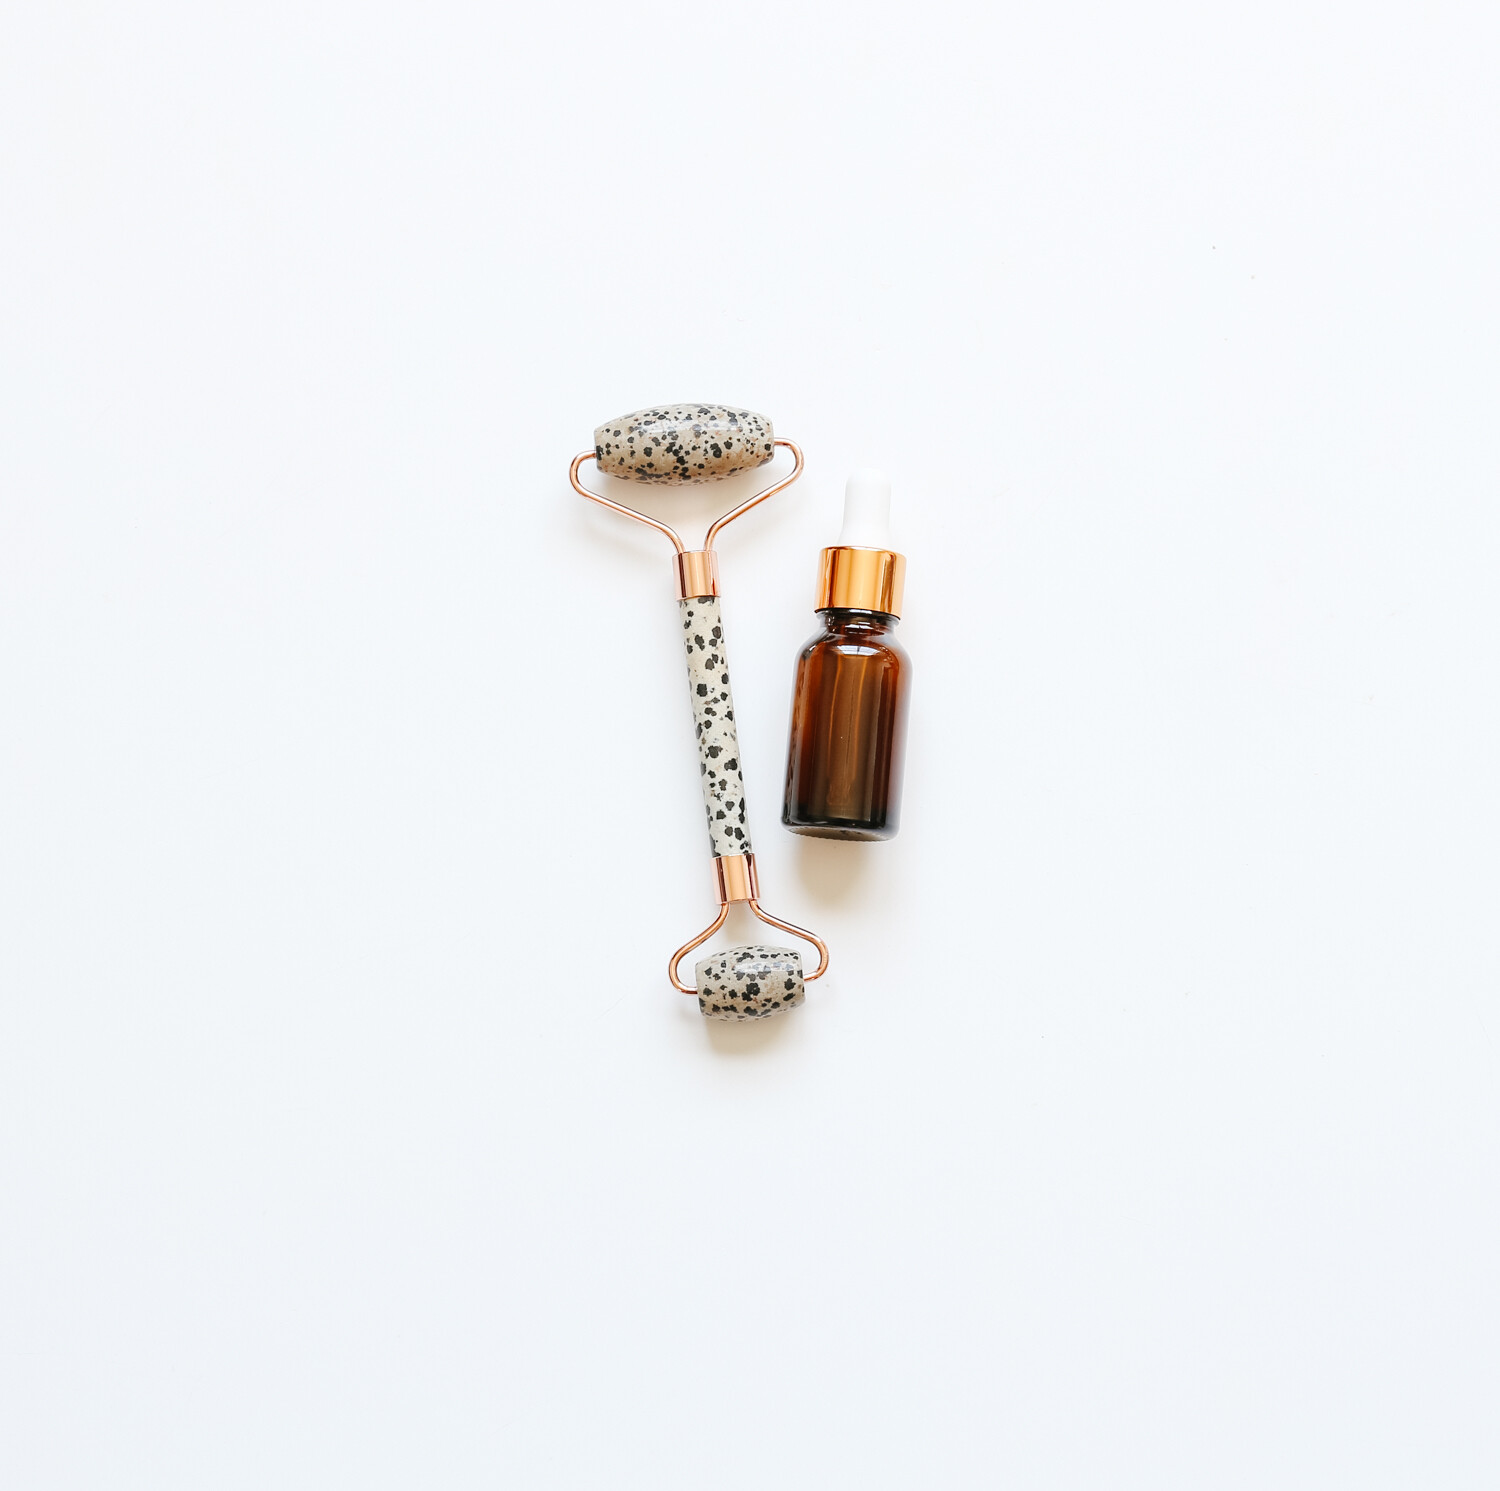
You will need citrus essential oils and/or the LorAnnfood oils of your choice.
To create the playdough, first put 1/5 cups of water on the stove to boil. While you are waiting, add the flour, oil, salt, and Cream of Tartar to a bowl. Mix well. Once the water is boiling, power the water over your flour mixture and begin to stir. It will be hot so please be care. Continue to manipulate the mixture until it is the consistency of dough. Set aside and allow to cool.
Once cool, separate into four equal parts to create four balls of dough. Create a divot into each ball with your thumb. Add several drops of desired dye to each ball of dough. Manipulate the dough until the color is well mixed.
Next, create the balls of dough and create a divot in each once more. Add 10-15 drops of your essential oil/food oils to the dough and knead until well mixed. You should be able to hold the dough to your nose and be able to identify the aroma.
Try to match your color with a corresponding aroma. For instance, Lemon was yellow dough, Orange was orange dough, Strawberry was red, and Green was apple.
Store each ball of dough separately in a small jar or individual bags.
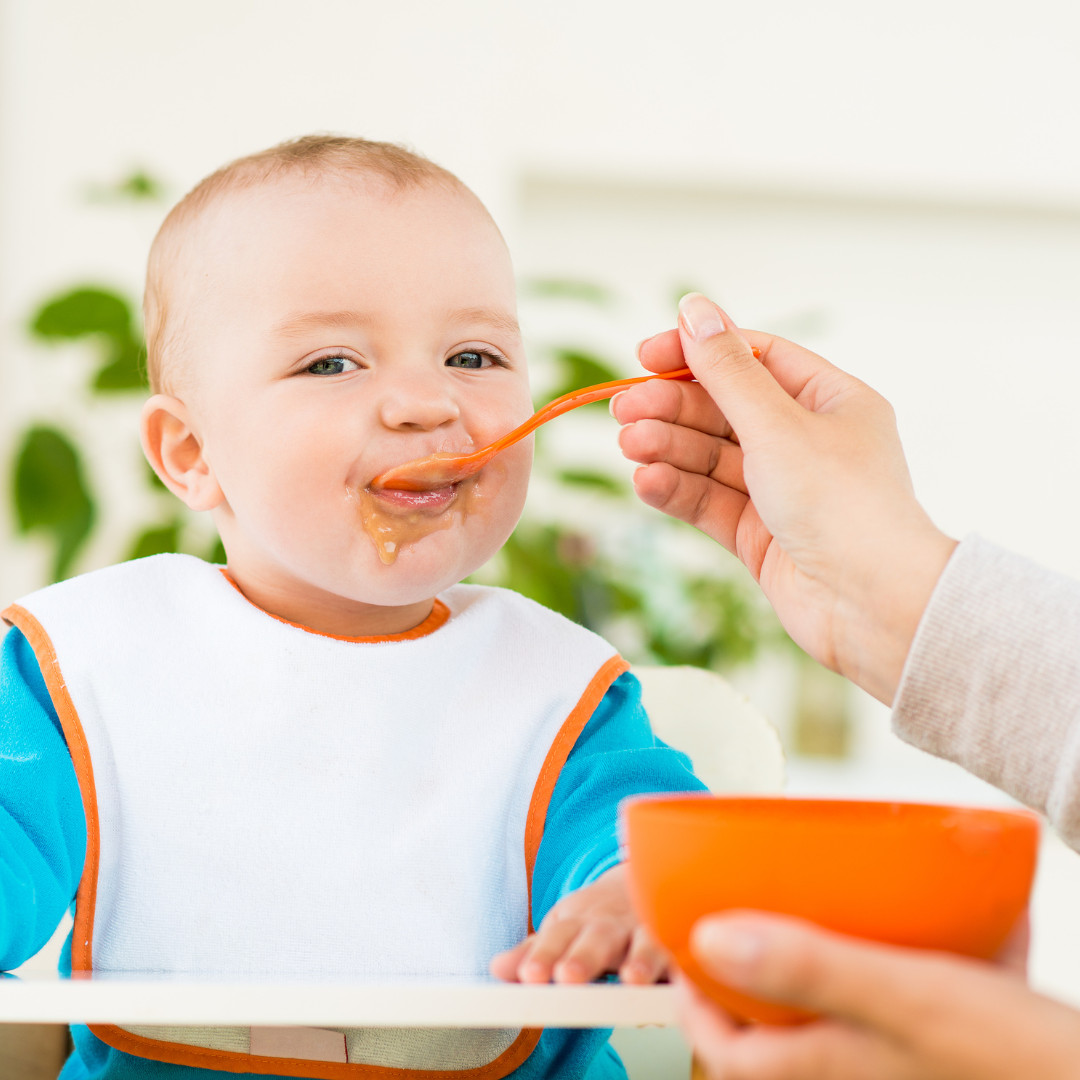
How do you incorporate this into a feeding focused sensory activity?
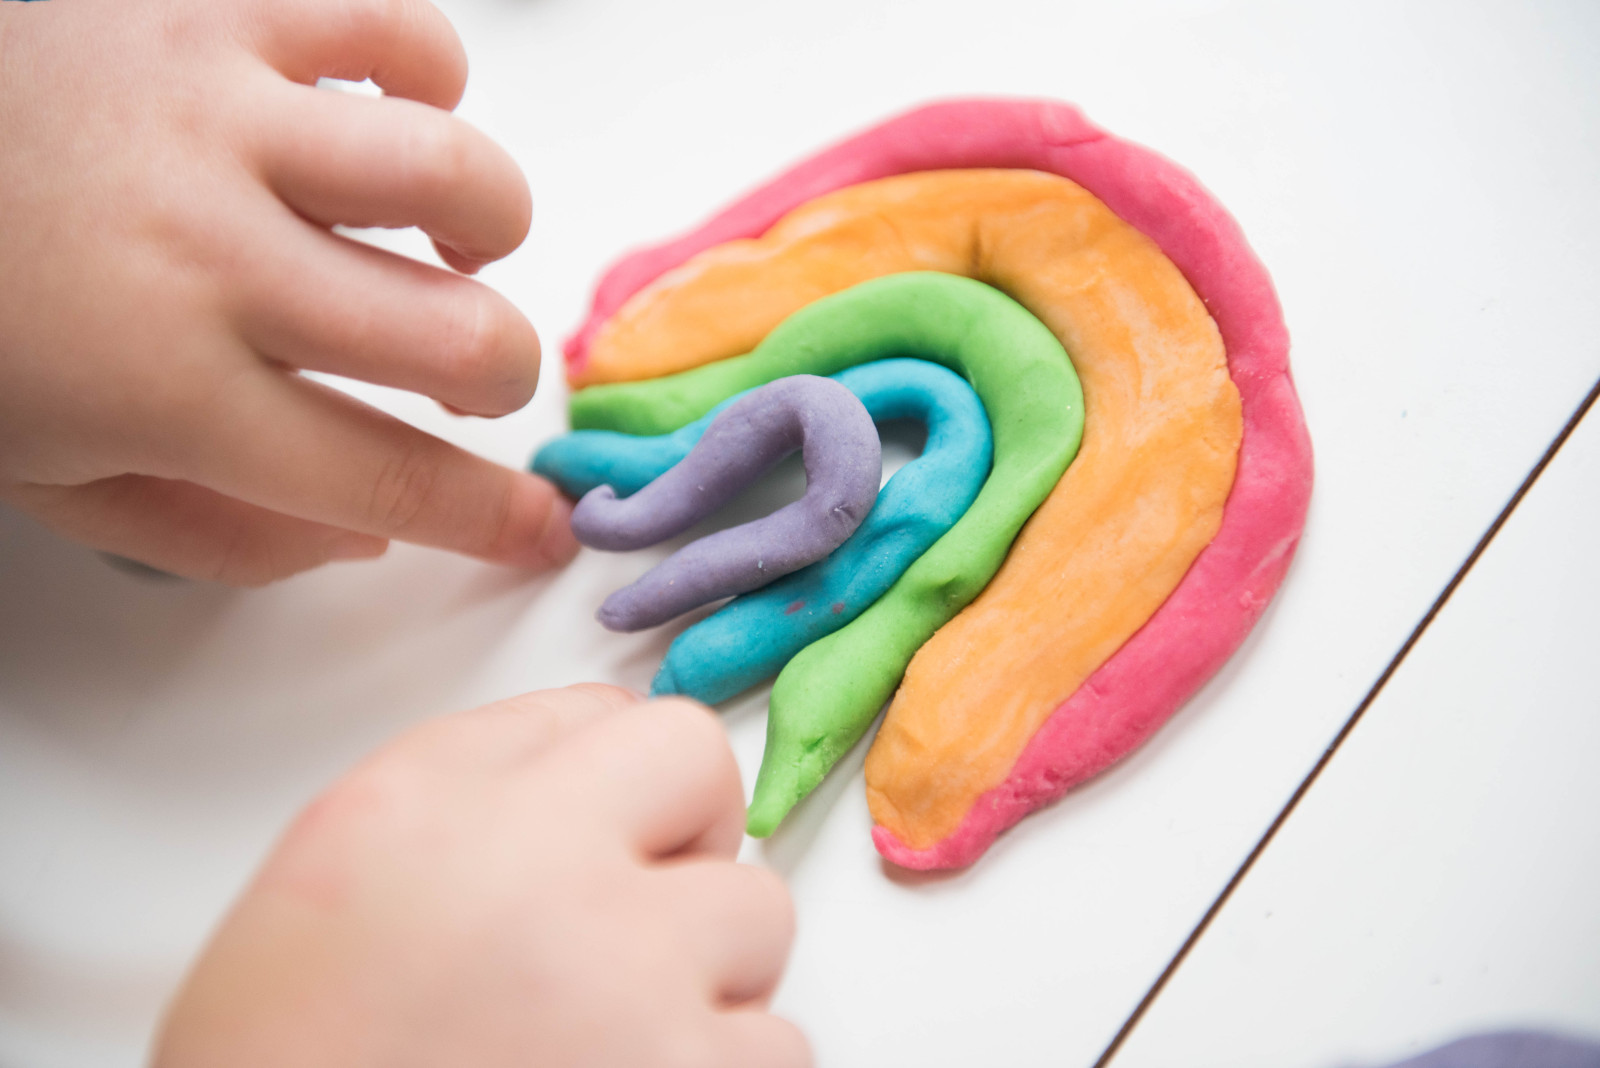
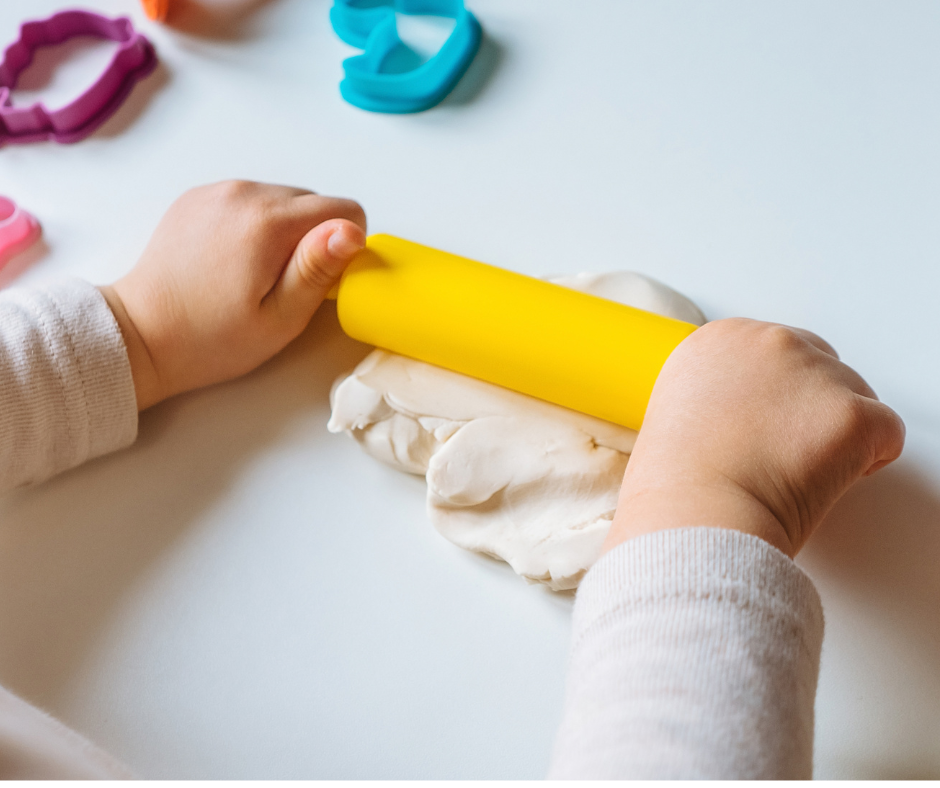
Simple! You touch, smell, look, and manipulate that dough. Talk about what it smells like. Describe what you think it smells and tastes like. Provide the child with vocabulary so they can associate certain words with smells. All them to roll, cut, smash, explore the different color dough. Ask them what it reminds them of.
You can even help them create food with the dough! This activity will get them excited and get their senses excited to explore their upcoming meal or snack time.
It will be a huge hit for everyone!
Enjoy!
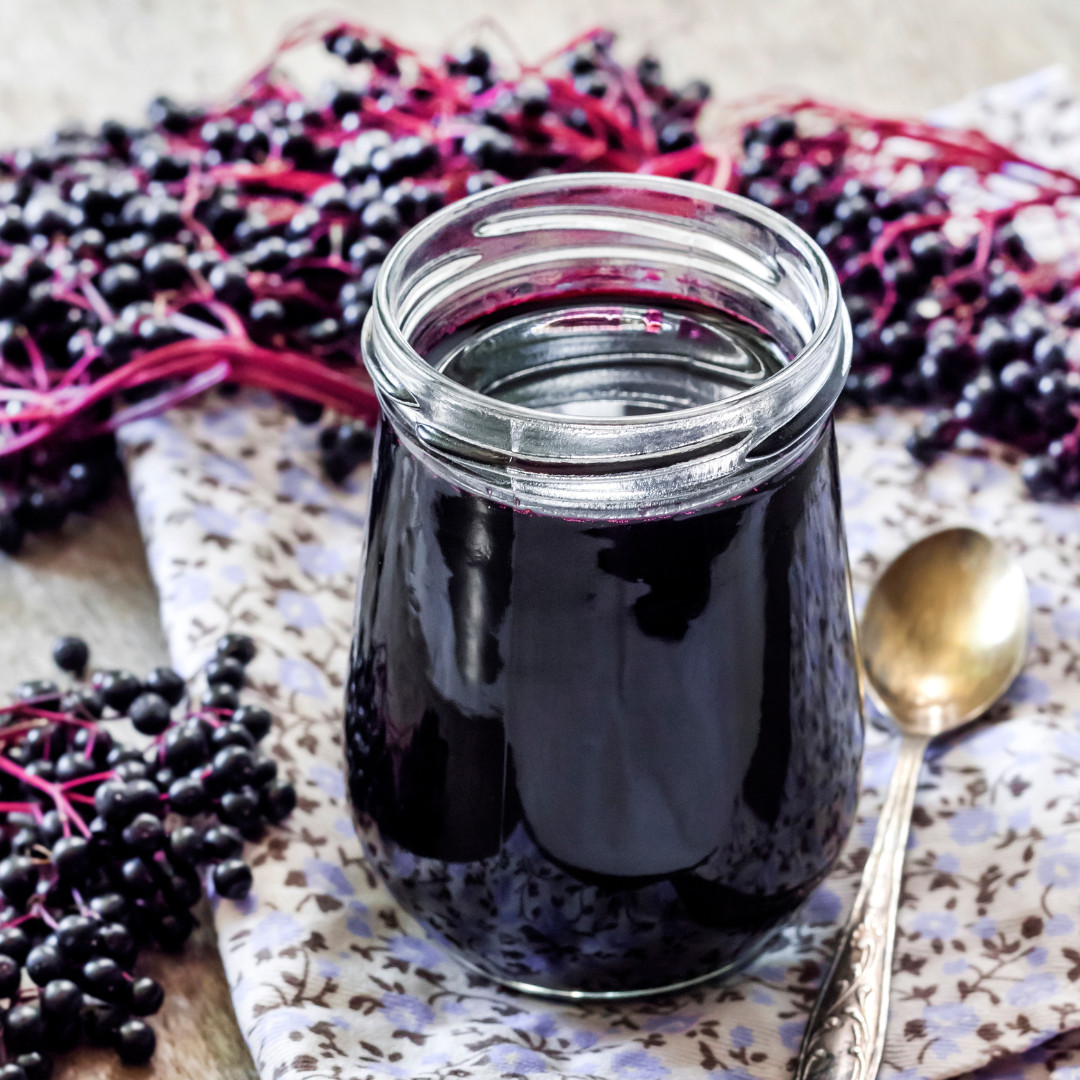
This is a fall and winter favorite for the entire family!
Sore throat? Grab a honey drop!
Annoying tickle? Grab a honey drop!
Nagging cough? Grab a honey drop!
My kids will gladly go to the freezer and just pop one for the heck of it as well. I have no problem with it because these little drops and packed full of simple and health supporting ingredients.
I started making these when my kids were younger. They were too young for cough syrup and an effective cough drop wasn’t going go over well with their picky tastes.
I love that these drops do not have dyes, artificial flavors, and unnecessary sugars. Each ingredient serves a purpose, and I can customize the essential oils that I need in them.
For younger kiddos, you may just want to stick to Lemon Vitality oil.
As they grow older, you can add Thieves Vitality and/or Peppermint Vitality oil.
You can also change the oils you use based on what you are trying to address.
You can use your tummy Vitality Oils.
You can use your calming Vitality oils.
OR
You can use your seasonal sniffle Vitality Oils.
What do you need?
A silicone mold (This one is great!)
Organic Coconut Oil
Honey
Essential Oils (I am particular about the essential oils we put into our body, and we use the Vitality Collection from Young Living Grab oils here!)
Directions:
You will want to whip ¼ cup coconut oil with ¼ cup of honey. If you need to soften the mixture in the microwave, do so. Then add your essential oils.
Kids: No more than 20 drops total of the oils you select.
Adults: 30-40 drops total of the oils you select.
Mix oils in and let mixture turn opaque once more. Make sure it is room temperature. If it is too much like a liquid, the honey and coconut oil will separate. Once the mixture is opaque, whip once more.
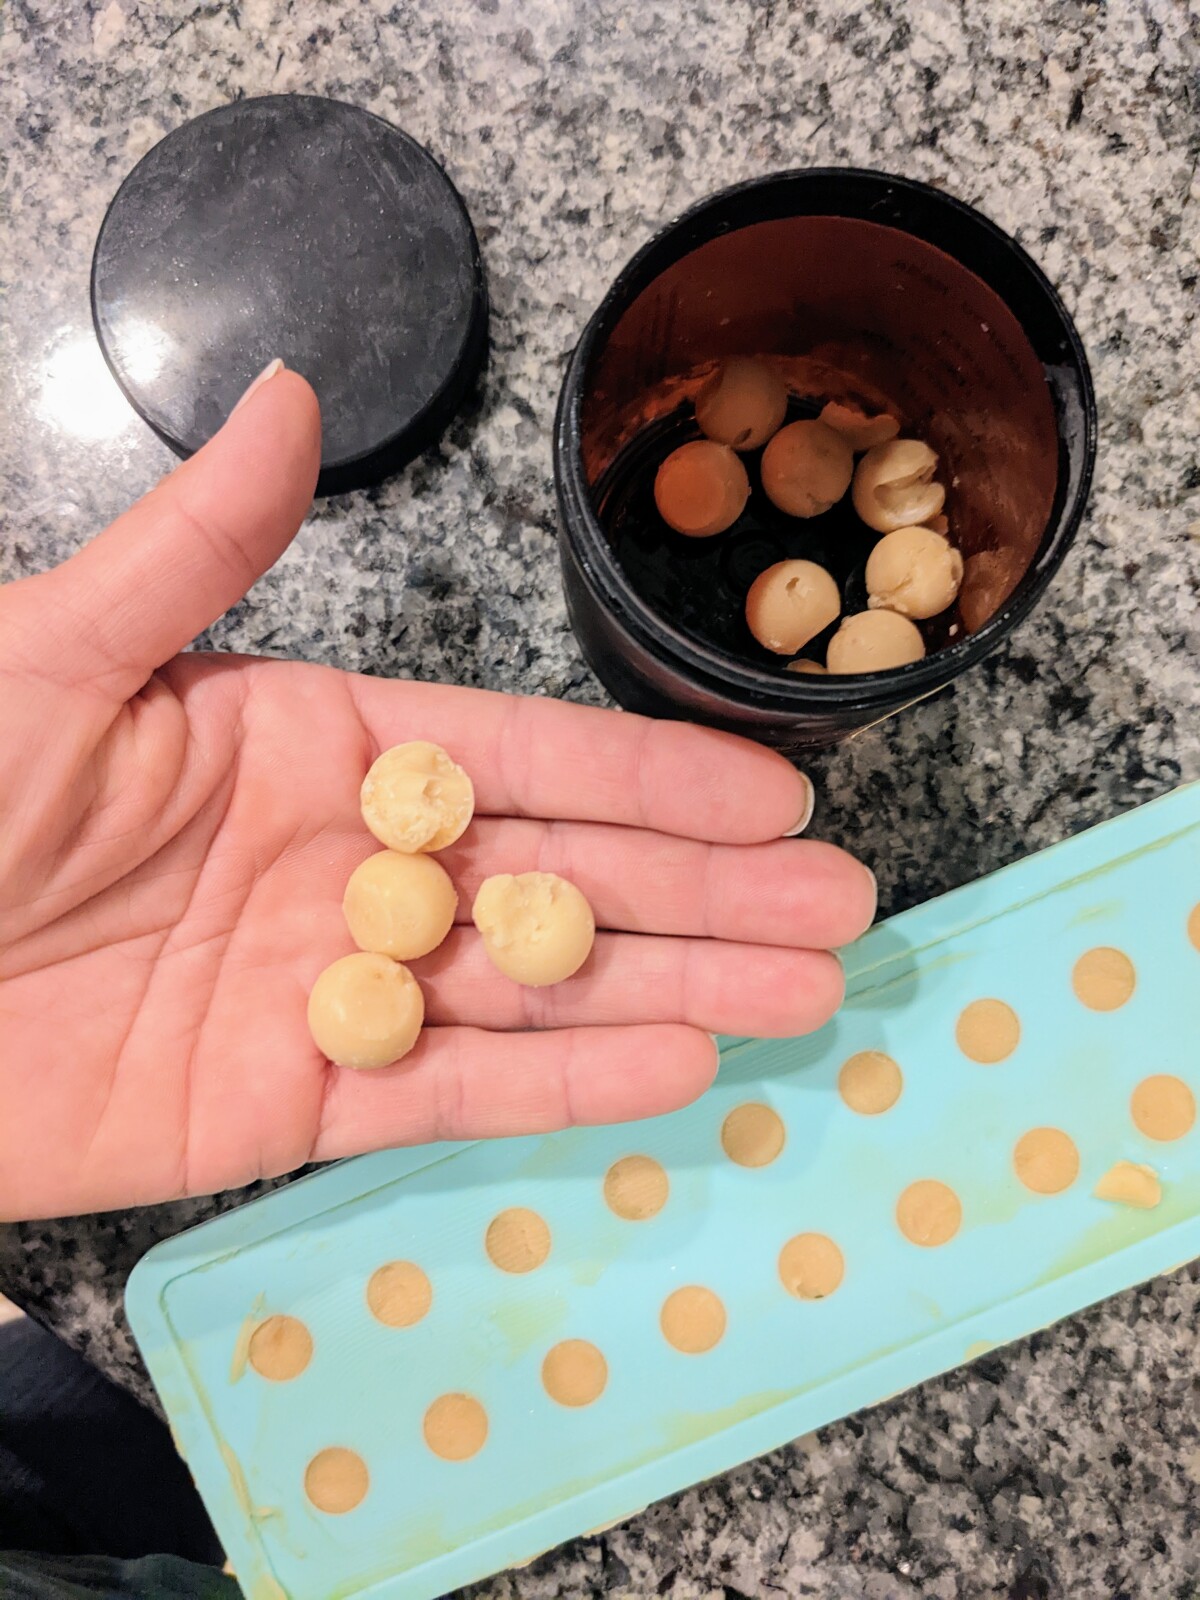
Then, spread or pour mixture into silicone molds. Place your molds into the freezer for 5-10 minutes. Next, pop your honey drops out of the mold and place in a freezer safe container. Store the drops in the freezer and use as needed for daily support or to assist with seasonal changes.
Take this up a notch by adding lollipop sticks into your mold after being in the freezer for several minutes. This will turn your creation into a sweet pop!
These mini morsels will quickly melt in your mouth and provide a sweet treat while serving a purpose. I hope you enjoy!