Chili becomes a staple meal in our house once the temperature drops below 65 degrees outside. It took me several different recipes to find the flavors and additions that my family enjoys the most to come up with a recipe that continues to be a hit. I have also made enough times that I know EXACTLY what I need and how much to add without having to second guess myself.
Sometimes I show off the all of the ingredients I use to make our weeknight chili and I always get questions about the ingredients. It is definitely time I put them all in one place!
So, without further ado, I give you our Brown Ale Chili recipe!
Ingredients:
1-pound lean ground beef
1 pound hot or mild Italian sausage
1 cup of chopped white onion
1 bell pepper (any color), chopped
(OPTIONAL) 1 chopped jalepeno
1 can of corn, drained
1 can of black beans, drained
1 can of fire roasted tomatoes
1 4 ounce can of diced green chilis
4 tablespoons chili powder
1 teaspoon Cumin
1 teaspoon onion powder
1 teaspoon smoked paprika
1 teaspoon ground chipotle peppers
Salt & Pepper to taste
1 bottle of brown ale
2 tablespoons Worcestershire sauce
Beef Broth for additional liquid
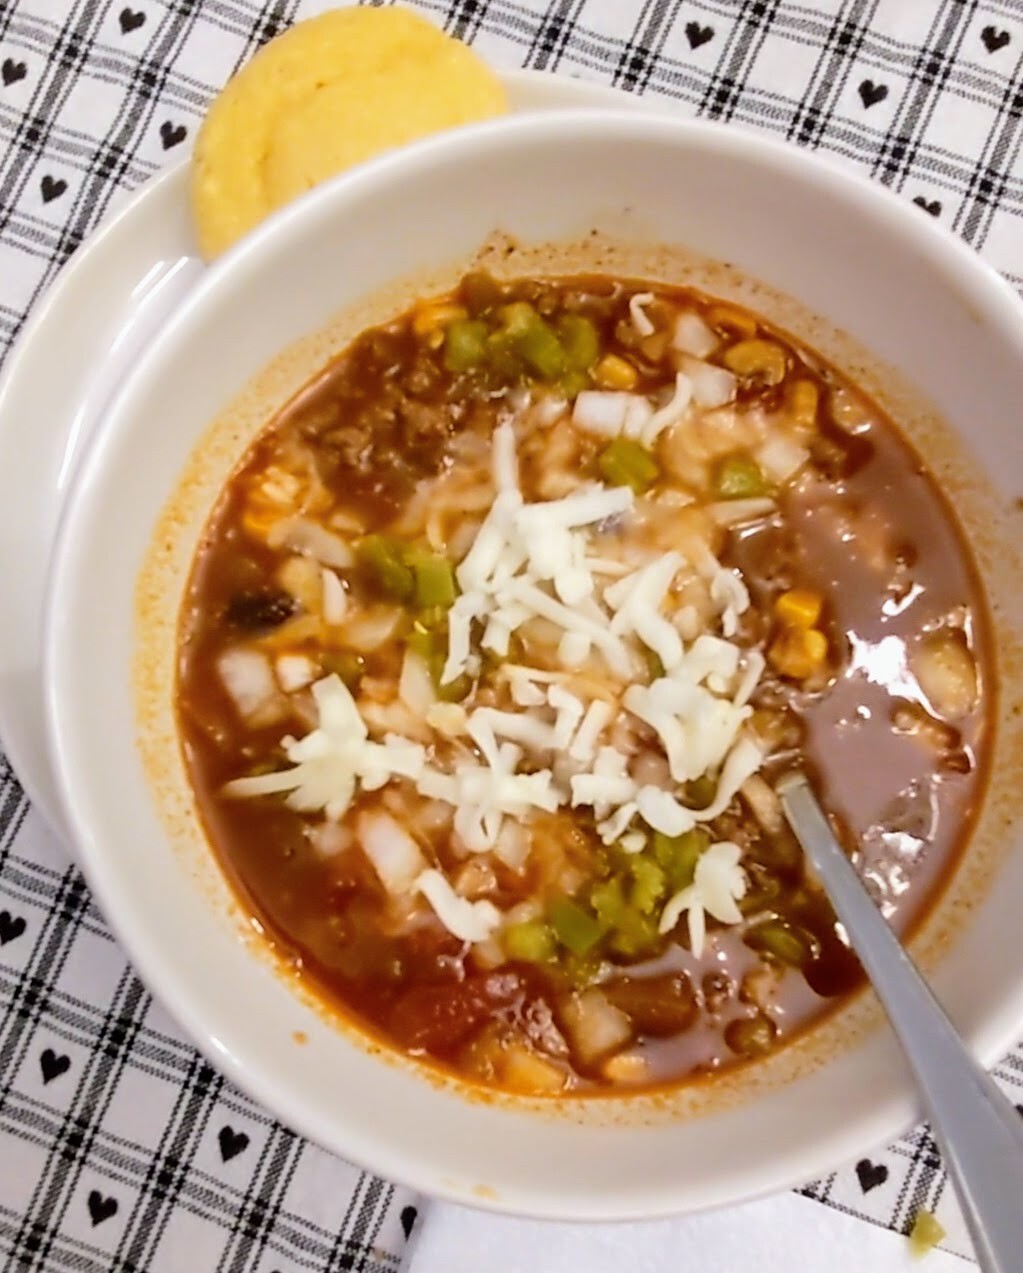
Step 1: Brown the sausage and ground beef together. Drain excess fat.
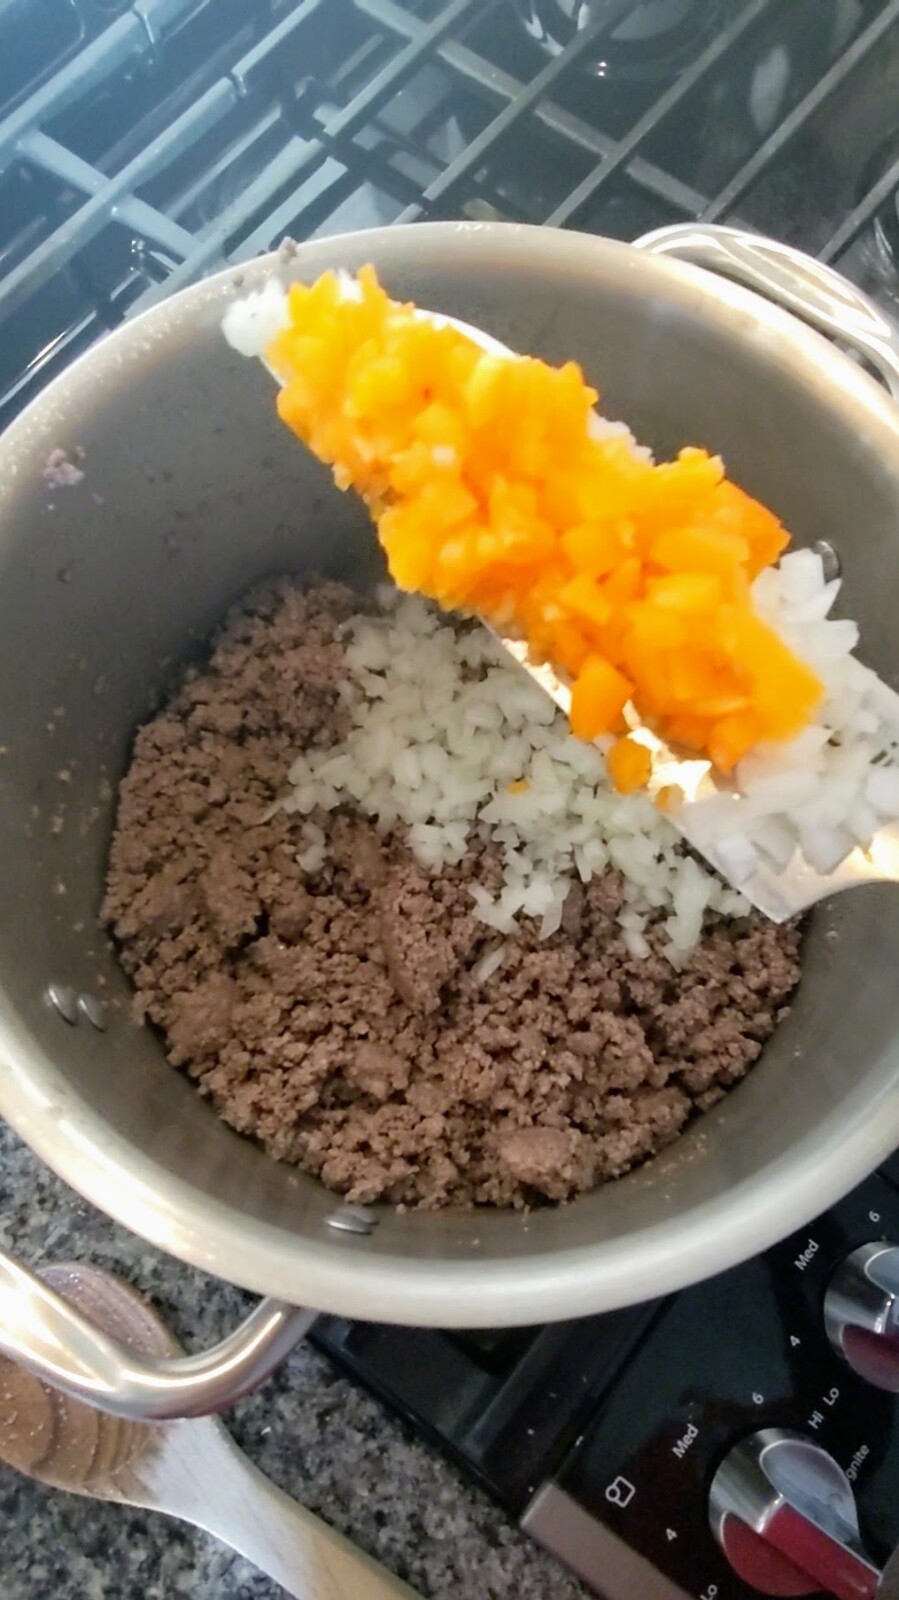
Step 2: Add chopped onions, bell pepper, and optional jalapeno pepper to the meat. Sauté until soft.
Step 3: Add the diced tomatoes, corn, black beans, and green chiles to the mixture. Sauté for about 5 minutes.
Step 4: Add in the seasonings, chili powder, cumin, onion powder, smoked paprika, and ground chipotle peppers. Mix well. Follow up with salt and pepper to taste. Taste the mixture before adding the liquid so that you can adjust flavors if needed.
Step 5: Add Worcestershire sauce and the entire bottle of brown ale. Stir into mixture.
Step 6: If needed, add beef broth until the consistency is what you desire. Keep in mind some of the liquid will evaporate.
Step 7: Bring mixture to a boil. Then, simmer for at least 30 minutes before turning off the heat and serving. I also like to do this in the slow cooker on low for 8 hours.
If you have a picky eater, serve this with a comfort food such as bread. Start with dipping the bread into the broth several times. This will allow them to capture the flavor with a food they are comfortable with.
With a meal like chili, you may have to deconstruct it for them at first. Maybe a few pieces of meat on the side of a plate, next two a few kernels for the corn, and a few beans to try. I know it isn’t the most convenient way to introduce this new meal BUT it allows them to slowly introduce the new textures and flavors to themselves without an overwhelming presentation of all of the components at one time.
I hope you enjoy the recipe! If you make it, I would love to hear how you enjoyed it. Comment below.
Okay! The kids are home, and you are looking for simple yet entertaining fun.
The feeding therapist in me LOVES this game. My kids and I have played a version of this but of course, I prefer my way.
Who is this game for? ANYONE! I will give tips below for working with more sensitive and picky kiddos.
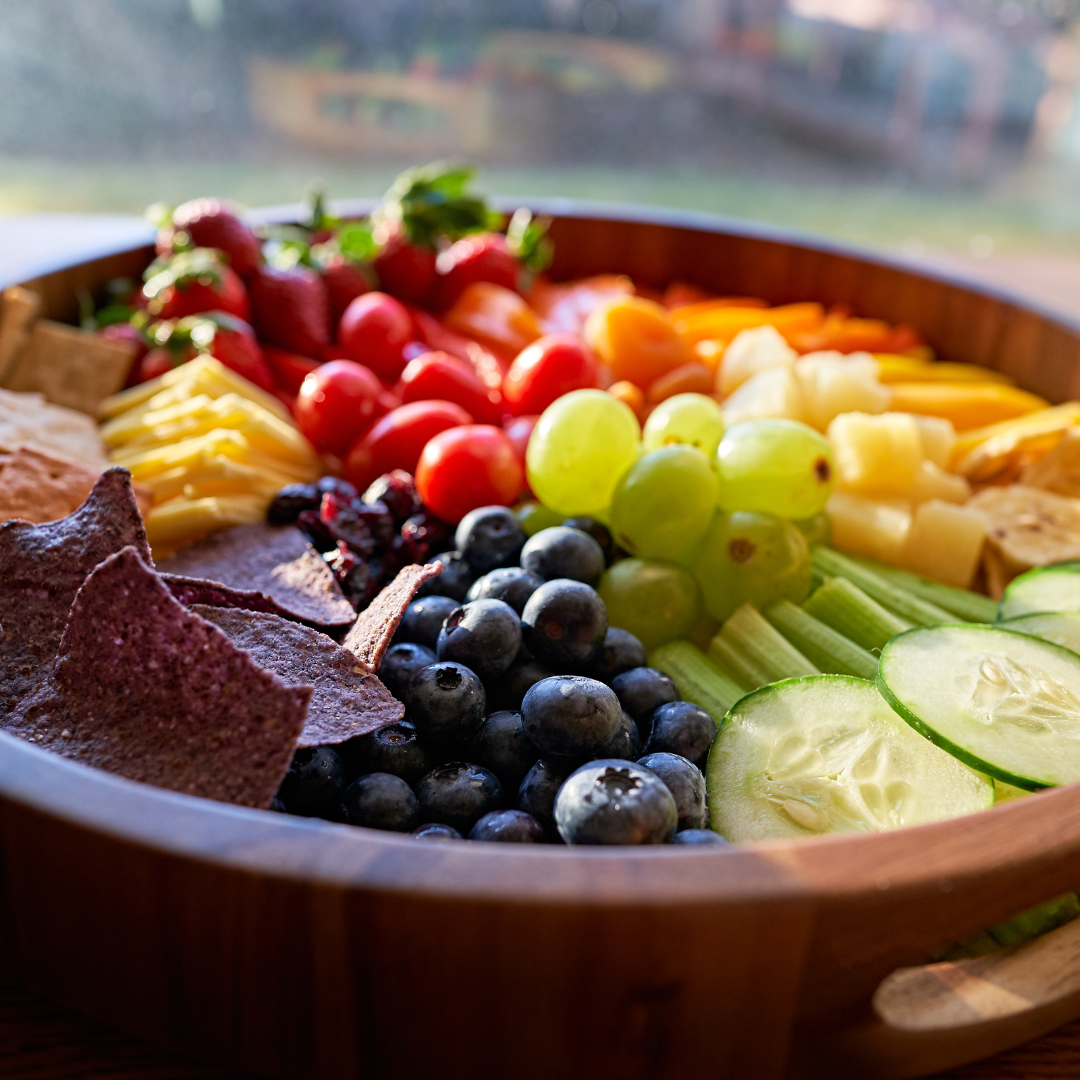
THE FOOD COLOR CHALLENGE-
What you will need:
A game spinner that you can find at the link below
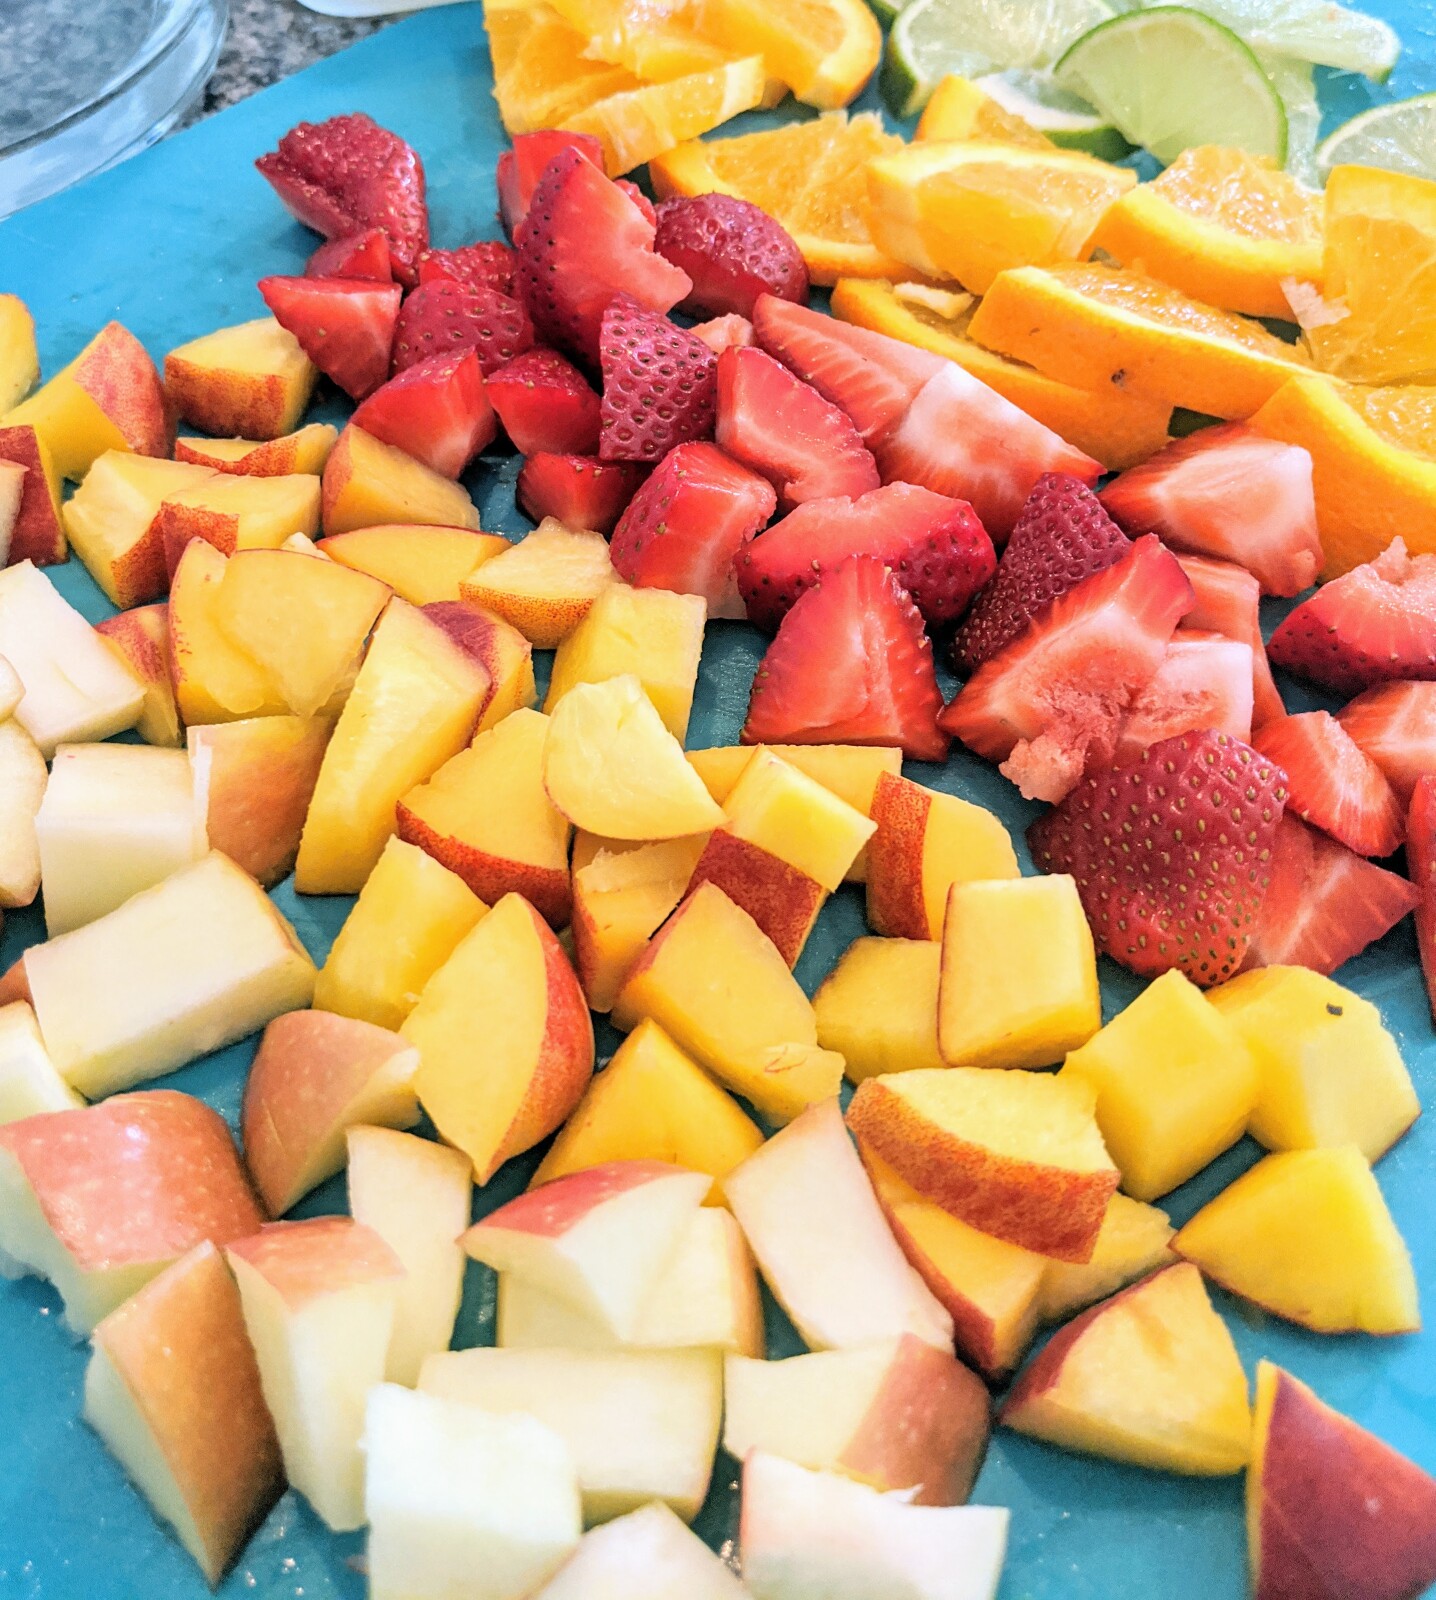
2-3 foods that correspond with each color on the spinner (you may need to get creative for some)
Dry Erase Marker
How to play:
With your dry erase marker, write numbers on the different colors. This will correspond with the # of bites the person has to take of that food.
Decide who will go first. Youngest to oldest always seems to work best in our house. Get your spinner ready. Next, that first player will spin the game spinner. They will land on a color and will need to choose which food they will eat from the foods offered for that color. Once a food is consumed, it is removed from the options corresponding to that color.
Then the next player goes.
If a player refuses to eat their corresponding bites/color, they are out.
The first player to eat something from each color, wins!
Tips & Tricks:
-If you have picky eaters, put two likes and one challenging food per color.
-If your child is sensitive to textures or certain flavors, you can change the # of bites to them tolerating touching it, smelling it, or simply bringing it to their lips.
This game isn’t intended to be traumatic for those who struggle with different foods.
-You can also use various textures of the same food. For instance, if you are creating the yellow plate. Rather than have three different yellow foods, you can pick one item and present it in different textures.
For example, you can present a whole banana that they take a bite from. You can present mashed banana they can eat with a spoon, or you can cut up some bite size pieces for them to eat with a fork.
I know my boys absolutely challenging each other in games like this, so if you think your kids can handle it, allow them to help with the food options on the plate!
Who thinks their kids will have fun with this one?! I can’t wait to hear if you try it.


