Whether it is the busy days of summer or a long school day, you never know when emotions are going to catch up to our kids. Sometimes, as moms, we can see it coming hours before the meltdown occurs or sometimes, it comes out of nowhere and we are left trying to figure out what triggered such a strong response. Either way, we want to do our best to help our kids work through those tough moments.
One thing I have learned through the ups and downs with my own kids is, the time to talk about it is after the emotional moment has passed and things have settled. Otherwise, things we may be saying or suggesting aren’t even being heard because they are working so hard on processing what they are struggling with. In fact, in may cause more stress and frustration for everyone in the moment.
There are three things that have helped my kids in moments of big emotions.
- Personal Space
- Breath work
- Aromatherapy (we associate certain aromas with various feelings)
Today, I want to tell you about a fun tool you can have on hand in those hard moments for our kids.
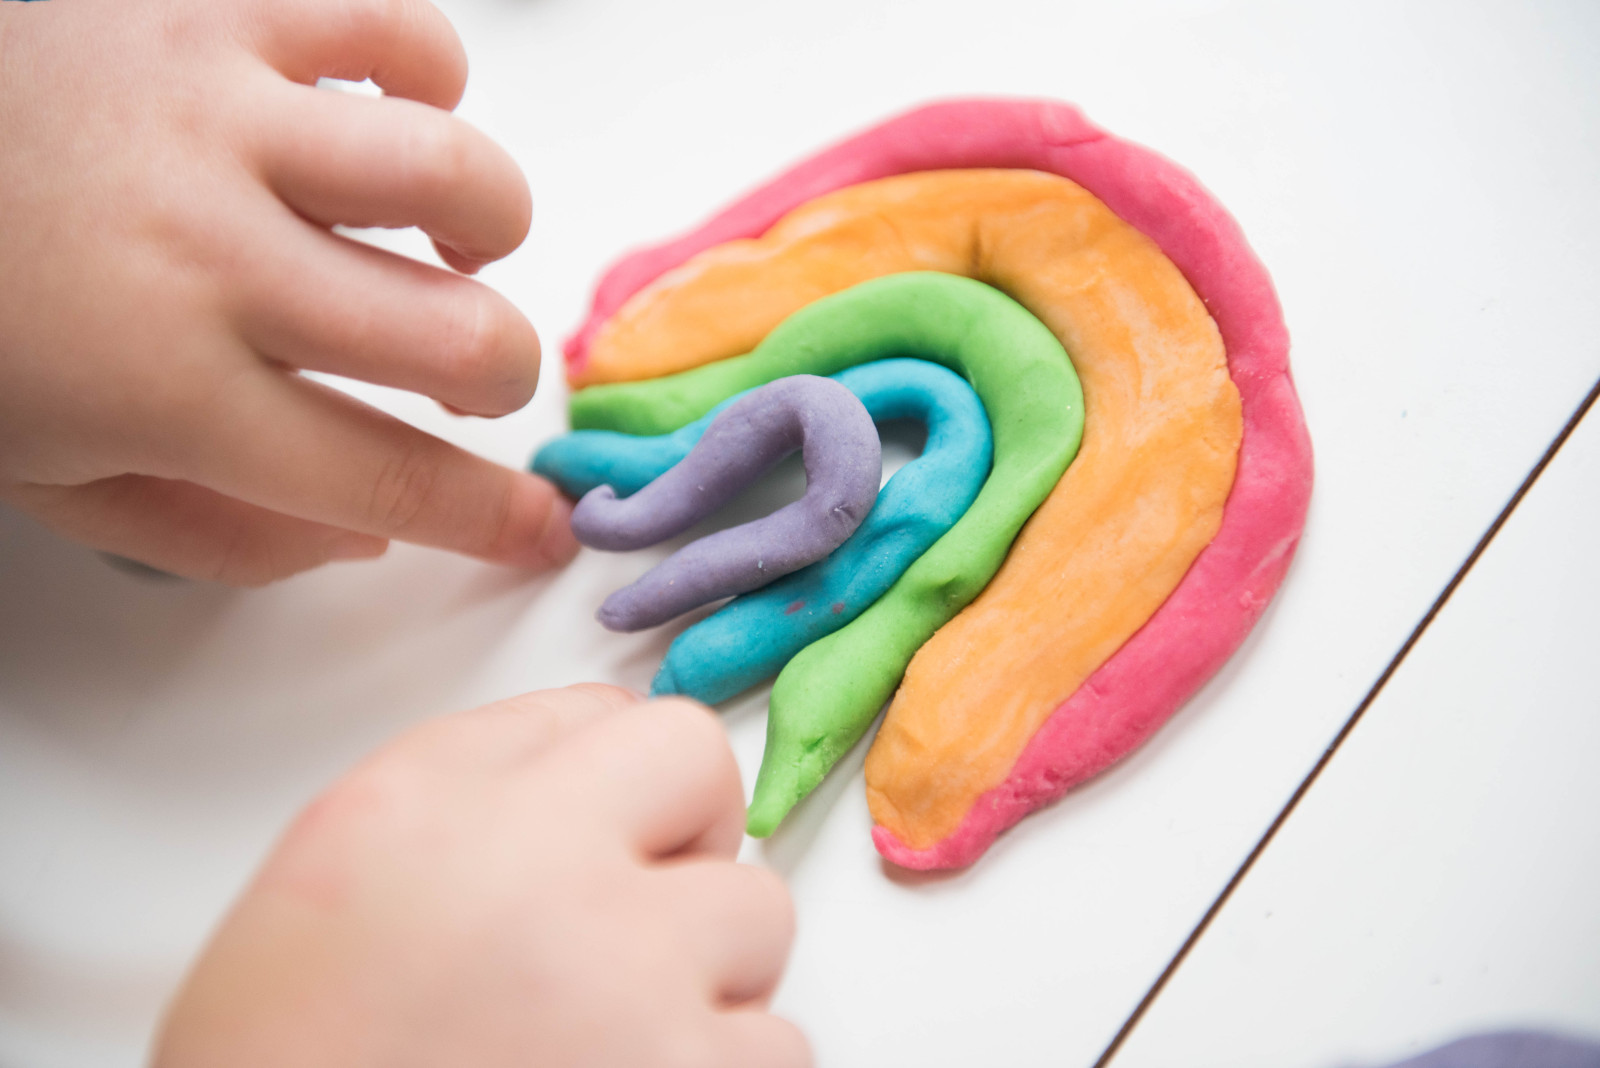
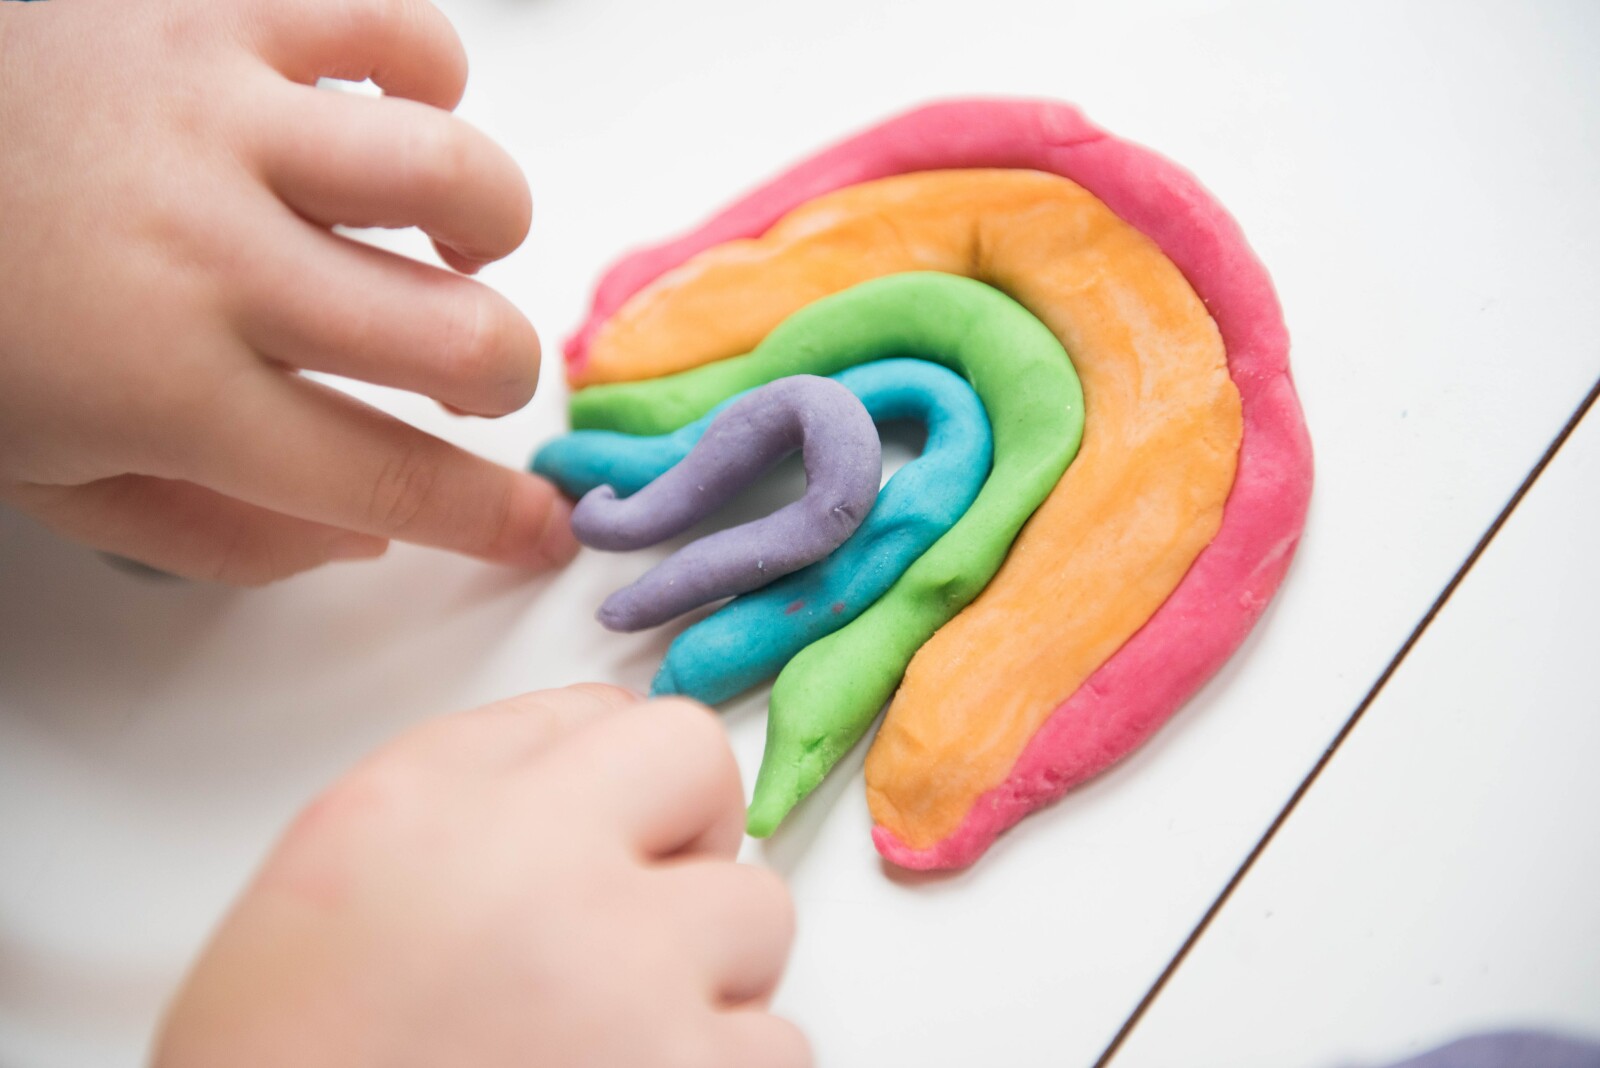
Feelings Dough
This tool incorporates smell, touch, and sight! I find that tools are more effective when you incorporate the senses. This is a tool you will want to create with your child!

What you will need:
2 cups cornstarch
1 cup lotion (non-scented or lightly scented is best. No fragrance)
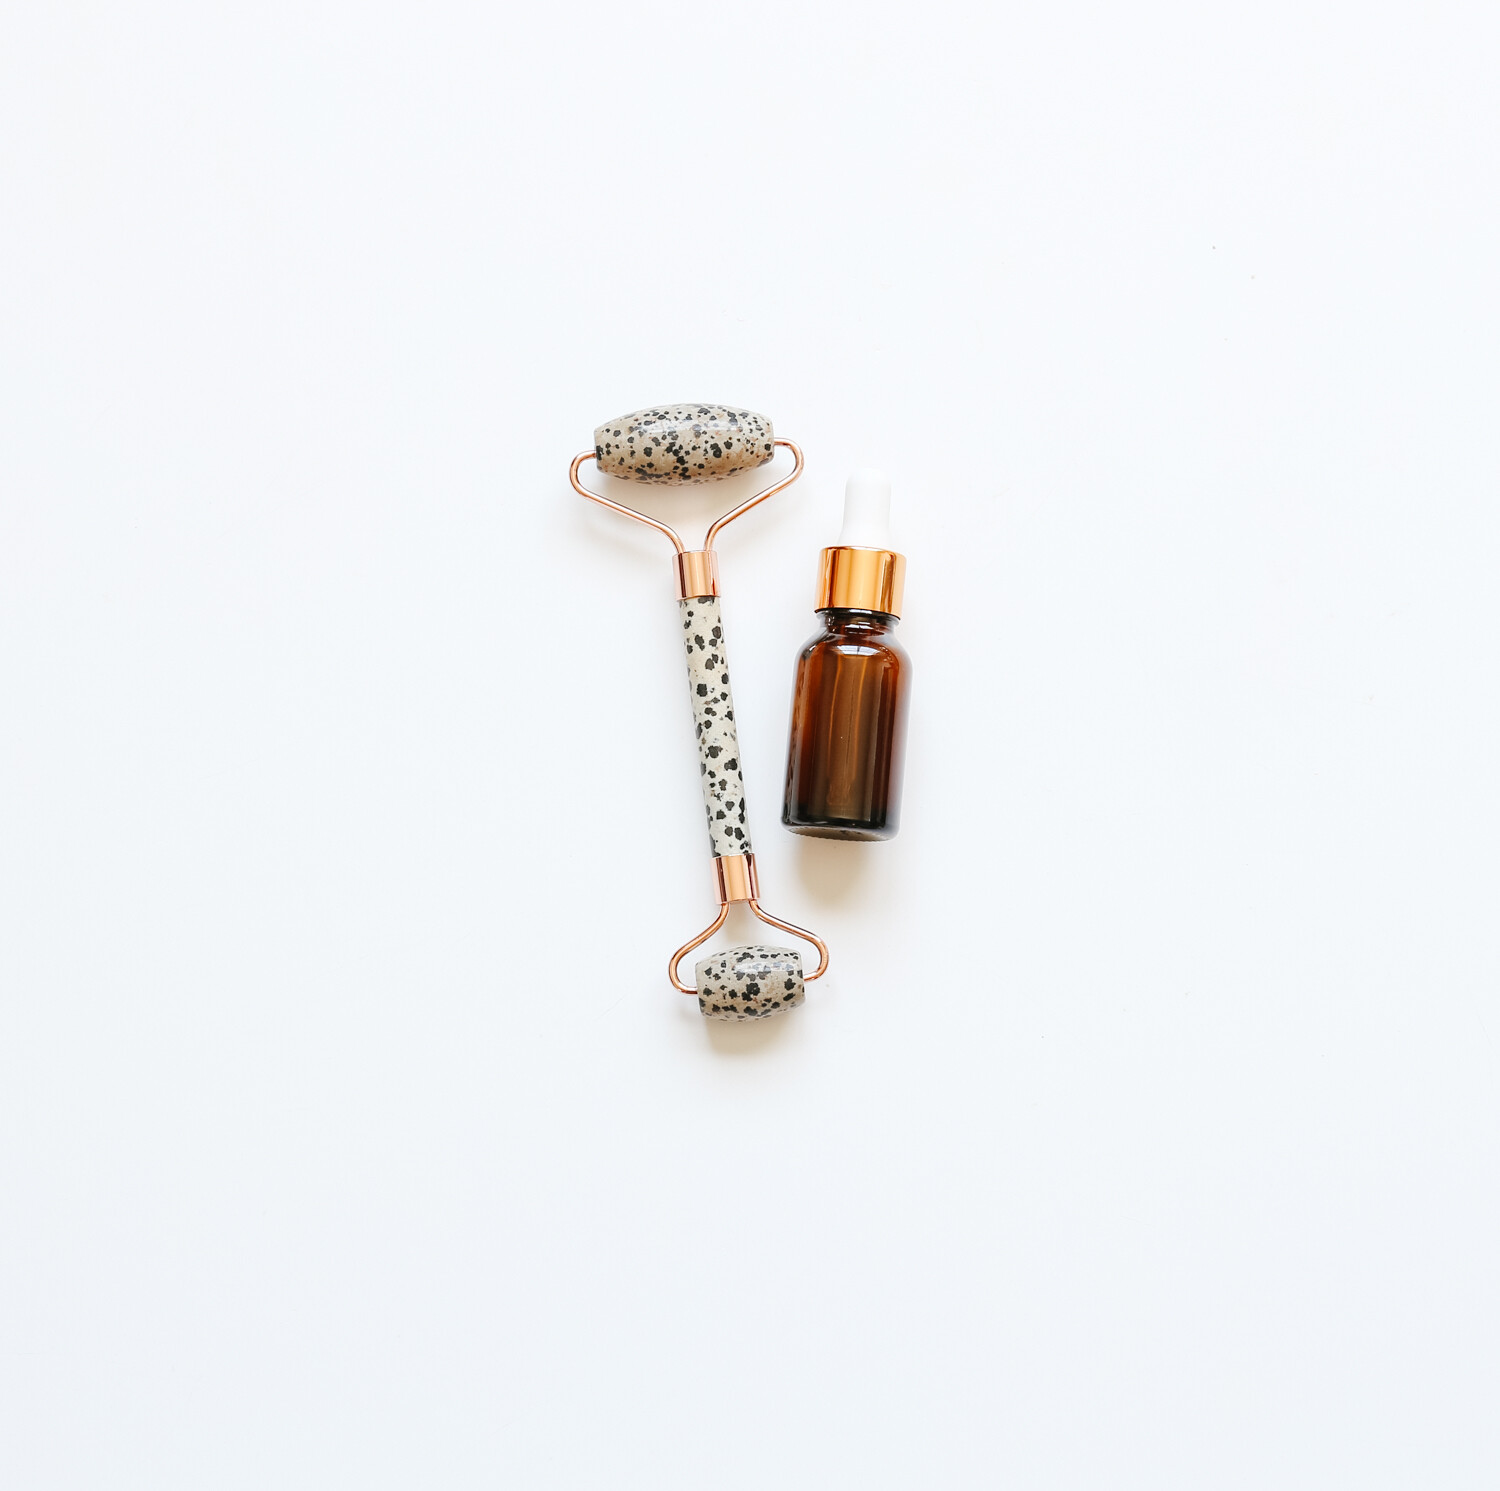
Three different essential oils.
One for “happy”- we like an oil blend called “Citrus Fresh”
One for “calm” -we like an oil called “Peace and Calming”
One for “brave”- we like an oil called “Valor”
Food Coloring
Combine the cornstarch, lotion, and oil for “happy”. Ask the child what color they associate with being happy. Add the color to the mixture! When combined, place in a jar with lid and label it “happy”.
Repeat this for the “calm” and “brave” jar.
Explain to the child, when they feel themselves getting frustrated, sad, or discouraged, to grab the desired jar and play with that playdough for a bit. Once, they have settled, they can bring it to you and you can talk through what was bothering the child.
You can also create dough that promotes focus.
This tool is perfect to have on hand in a classroom, playroom, or therapy bag!
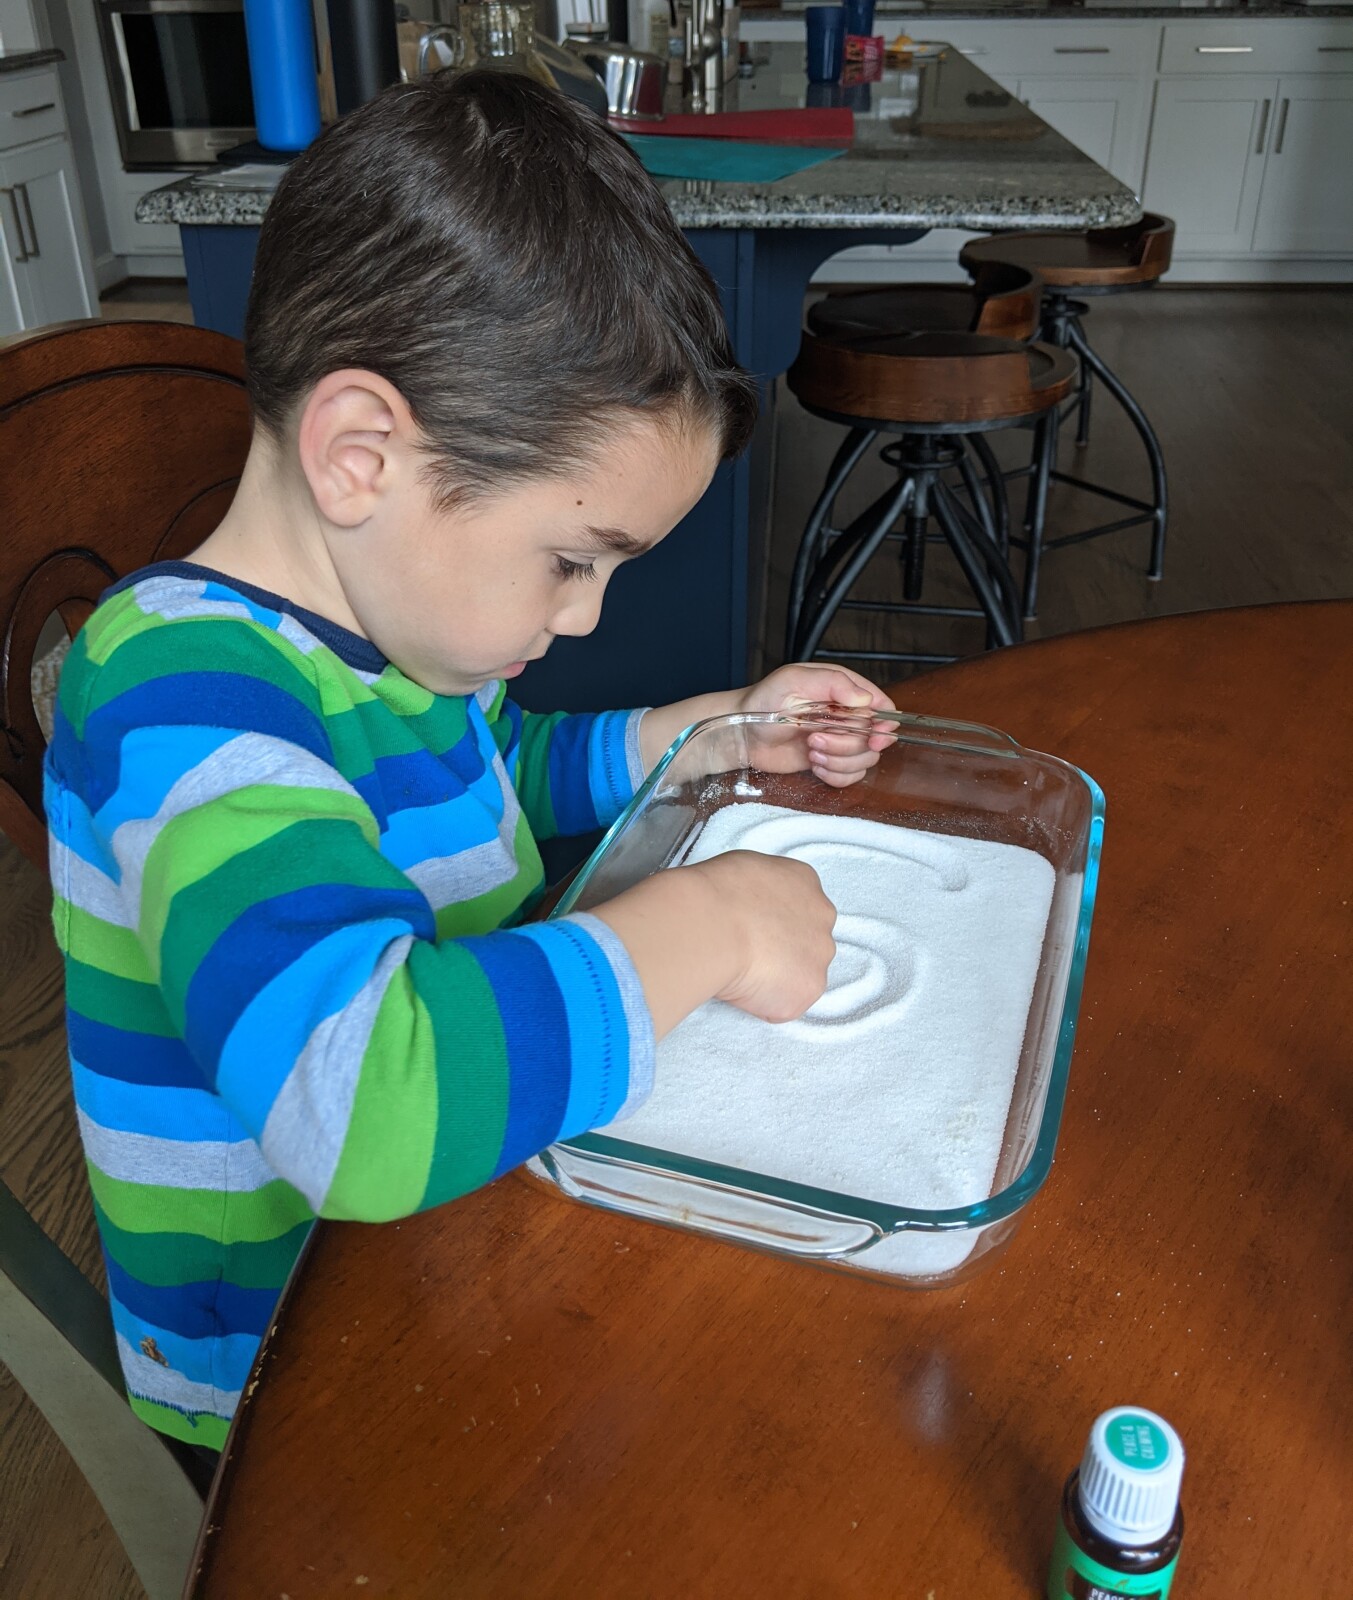
This is a fun sensory activity that is playful and incorporates learning at the same time!
This activity really engages the senses!
You can create various colors.
You should incorporate calming aromas.
You have tactile stimulation.
What you will need:
Salt ( I just grabbed some from the Dollar Tree)
Food dye
Calming essential oils ( Our favorites are Peace & Calming, Stress Away, and Valor)
A cookie sheet or baking dish
Optional:
Pencil, stick, small objects
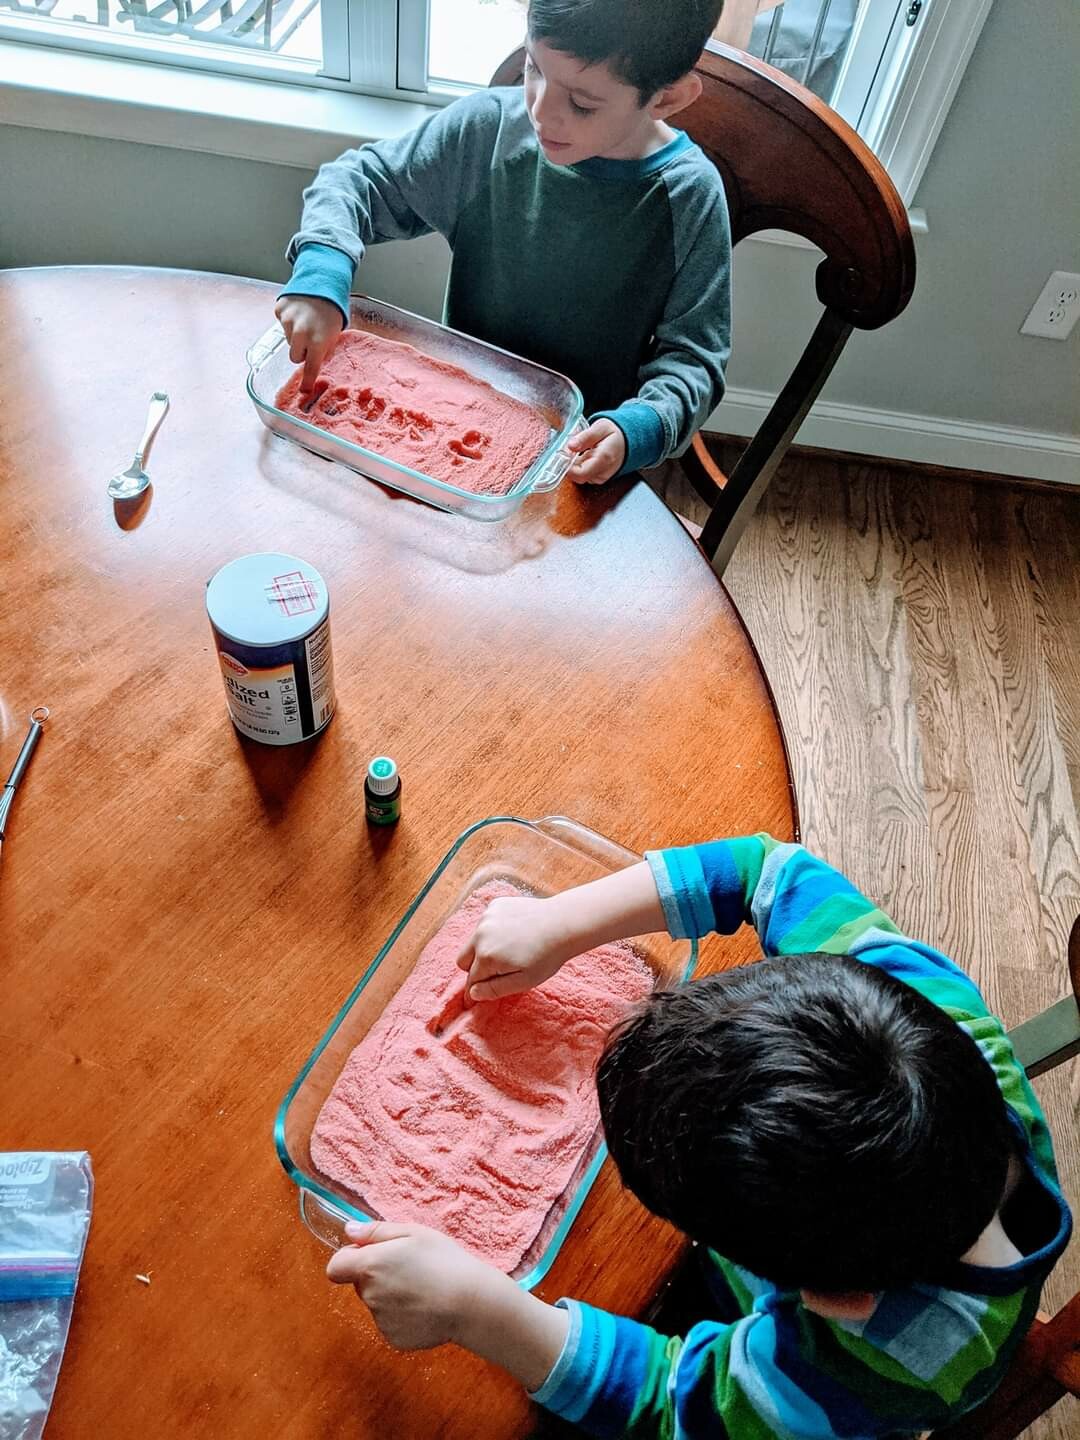
To create the colorful, scented salts, pour 2-3 cups of salt into a large ziplock bag. Add several drops of desired food coloring and allow your child to shake it up until well mixes.
Have a few options of oils available. Let the child smell the oils and pick the one they prefer. Add a few drops of oil to the bag and mix around once more.
Pour the contents onto a baking sheet or a baking dish. You may want a dish for the smaller kiddos.
Pick the activity you are going to work on! Here are some ideas:
-Practicing their uppercase and lowercase letters
-Practicing writing their name.
-Writing down the letter of the sound you provide them.
- Drawing shapes.
- Practicing a spelling list from school.
- practicing vocabulary by giving the child a definition of the word and having them right the correct word
- Practicing writing their numbers
-Writing math equations
The possibilities are endless! You can have the child use their finger, a pencil, or other simple objects. For the littles, you can simply have them search for objects in the salt. For example, "Can you find the ____, for me?"
By engaging the senses, you make a daunting task less stressful and more fun!
Who thinks that this is simple enough to give it a try?
Okay! The kids are home, and you are looking for simple yet entertaining fun.
The feeding therapist in me LOVES this game. My kids and I have played a version of this but of course, I prefer my way.
Who is this game for? ANYONE! I will give tips below for working with more sensitive and picky kiddos.
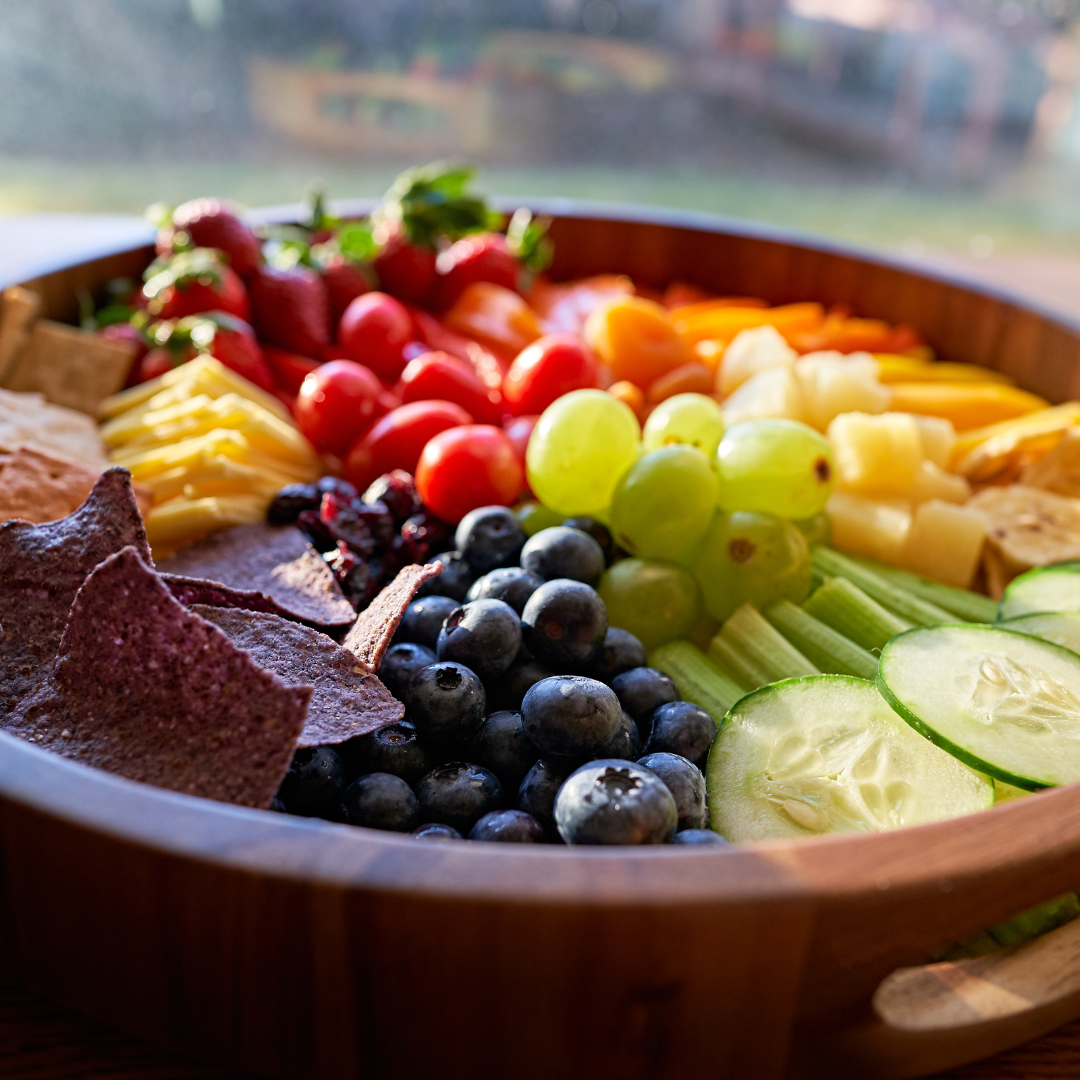
THE FOOD COLOR CHALLENGE-
What you will need:
A game spinner that you can find at the link below
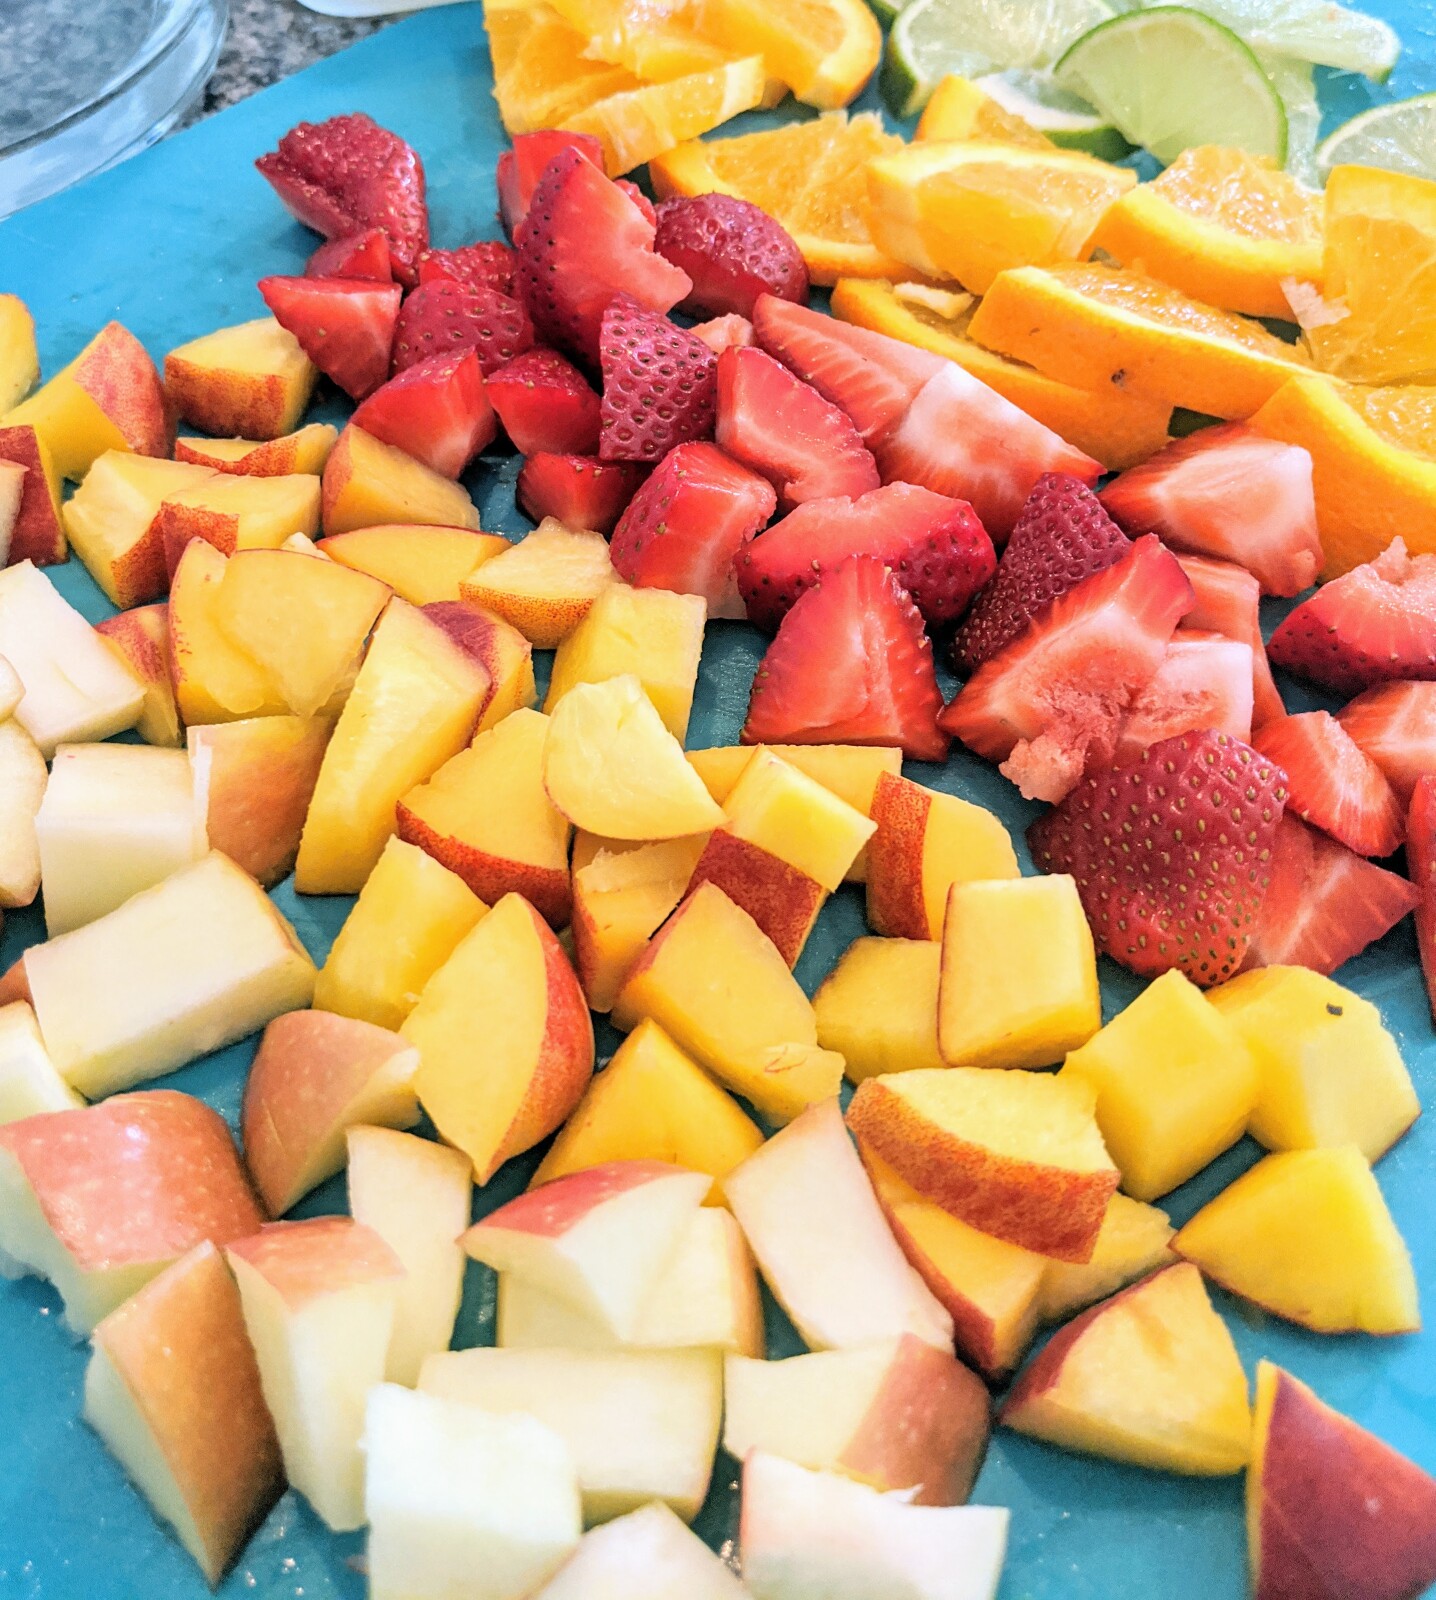
2-3 foods that correspond with each color on the spinner (you may need to get creative for some)
Dry Erase Marker
How to play:
With your dry erase marker, write numbers on the different colors. This will correspond with the # of bites the person has to take of that food.
Decide who will go first. Youngest to oldest always seems to work best in our house. Get your spinner ready. Next, that first player will spin the game spinner. They will land on a color and will need to choose which food they will eat from the foods offered for that color. Once a food is consumed, it is removed from the options corresponding to that color.
Then the next player goes.
If a player refuses to eat their corresponding bites/color, they are out.
The first player to eat something from each color, wins!
Tips & Tricks:
-If you have picky eaters, put two likes and one challenging food per color.
-If your child is sensitive to textures or certain flavors, you can change the # of bites to them tolerating touching it, smelling it, or simply bringing it to their lips.
This game isn’t intended to be traumatic for those who struggle with different foods.
-You can also use various textures of the same food. For instance, if you are creating the yellow plate. Rather than have three different yellow foods, you can pick one item and present it in different textures.
For example, you can present a whole banana that they take a bite from. You can present mashed banana they can eat with a spoon, or you can cut up some bite size pieces for them to eat with a fork.
I know my boys absolutely challenging each other in games like this, so if you think your kids can handle it, allow them to help with the food options on the plate!
Who thinks their kids will have fun with this one?! I can’t wait to hear if you try it.


