
Whether you are a new parent or your newest addition is throwing you for a loop when it comes to feeding, the lead up to introducing those first solid foods can cause your head to spin and your stress-levels to rise. You may find yourself reading blogs like this one, watching REEL after REEL to see how other families are doing things, doing internet searches such as "Introducing Solids to my Baby" and second guessing the choices you make as the time to start solids approaches.
TAKE A DEEP BREATH! Also, distance yourself from social media where you will find conflicting approaches and opinions when it comes to what and how to feed your child. Hone in to YOUR child and their behaviors. You will know when they are ready.
In the meantime, here are three simple steps you can take to help with a smooth transition to mealtime before the introduction of solids begins.

Pick the high chair/ booster seat that your child will use!
Look for a seat that provides all around support and a place that their feet can rest to help stabilize them. You will want to get them used to sitting in the seat and enjoying themself. You do not want to introduce two new things at once. Start with small increments of small play tasks using this seat and gradually increase it. I always say that 15 minutes is a good amount of time! Start with 5 minutes and work your way up. This may be easy peasy for some little ones and trickier for others. It is better to know before you begin to introduce food which category your child fits in.
Include your baby in mealtime before they begin their introduction to solids!
Pull that booster/highchair right up to the table with the rest of the family. Place a bottle or empty cup in front of them and let them do their thing while you eat. You can also provide them with handheld toys meant for oral exploration. Including them in mealtime at the table will pique their interest in what you are doing and entice them to want to be apart of the meal. Your baby may even start reaching for items on your plate. This is a good indicator that they are ready to go!
Breast or bottle feed prior to introducing the new food!
You do not want to bring a hungry baby to the table. About an hour before you present them with their solid food, feed them. When they are placed in their seat, you will have a content child that is ready to explore. If need be, after trialing the new food, you can provide milk once more so they can associate this mealtime with a full belly. We want them satisfied and happy!
Hopefully, these three tips ease you and your little one into the transition of starting their new feeding stage. Remember, you want to keep things simple and stress-free. The gradual introductions mentioned above, will add to your confidence going into that first introduction.
If you feel like you need some professional guidance and strategies, I serve families in the North Raleigh, Wake Forest, Rolesville, and Youngsville areas of North Carolina and I am happy to help! Visit me over at Balanced Beginnings Pediatric Therapy

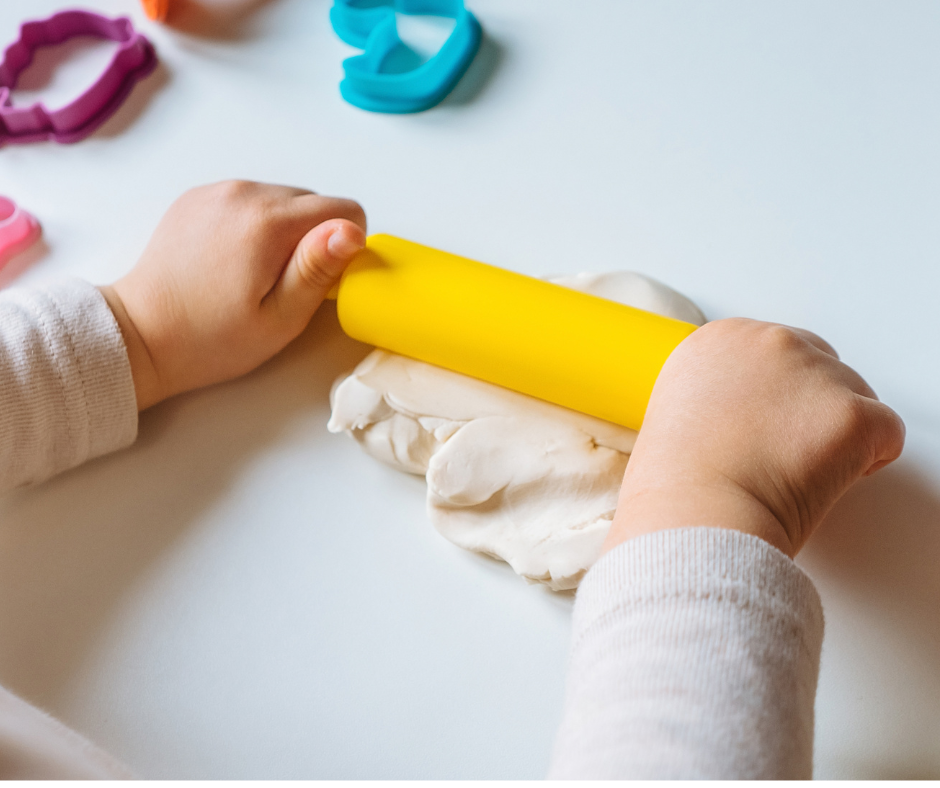
You know I love a good sensory activity!
As I planned my "Let's Eat" small group for the week, I remembered how much I enjoy incorporating play dough into sensory play. Then it dawned on me. As a way to lead into snack time for a therapy session, I will create aromas for the play dough using essential oils and food flavoring oils.
The recipe I used can be found below, along with various ways we used the playdough prior to diving into
our meal time.

The recipe for the playdough is from kidsactivities.com
2 Cups of Flour
2 Tbsp of Oil, I used fractionated coconut oil
1/2 Cup of Salt
2 Tbsp Cream of Tartar
1 1/2 Cup Boiling Water
Gel Food Coloring ( You can use regular food coloring but the color will not be as vibrant)
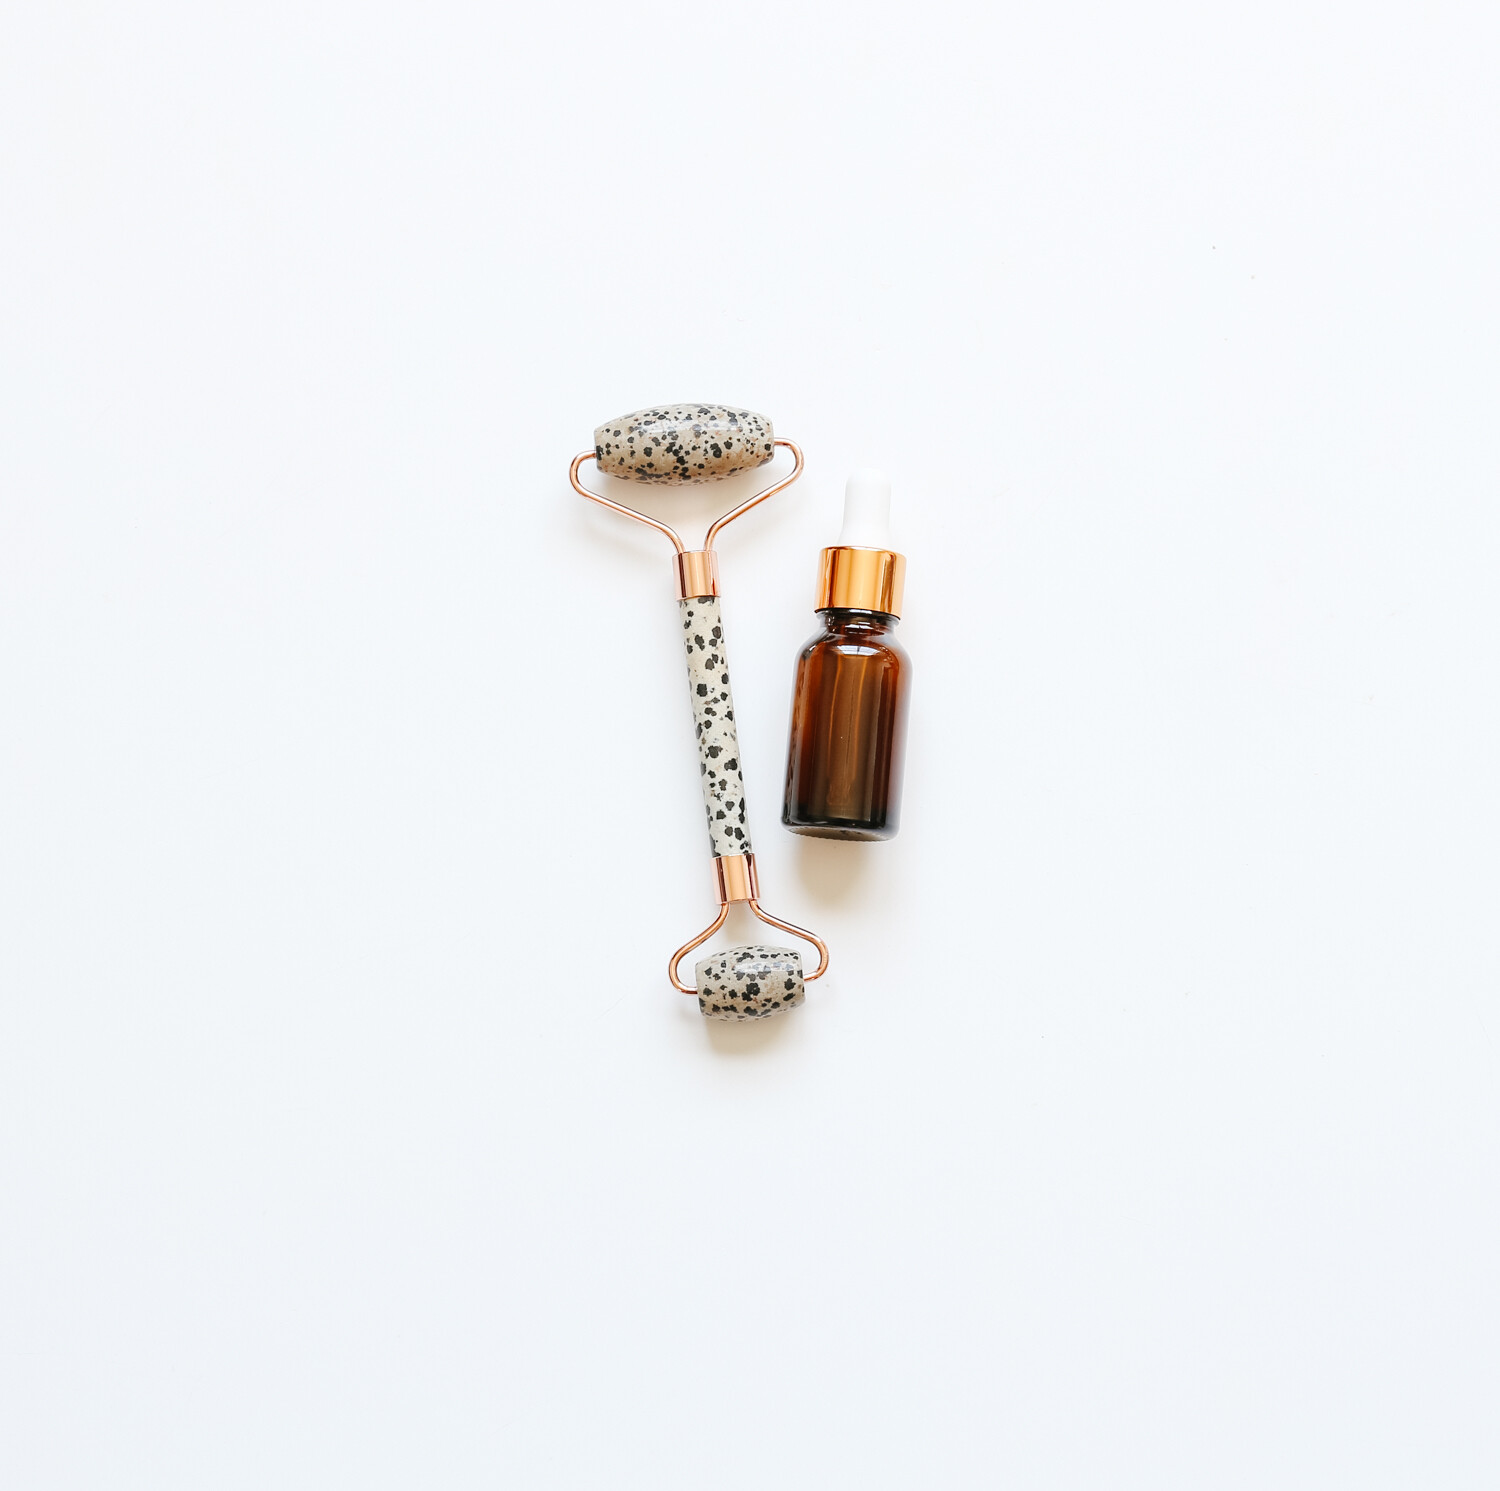
You will need citrus essential oils and/or the LorAnnfood oils of your choice.
To create the playdough, first put 1/5 cups of water on the stove to boil. While you are waiting, add the flour, oil, salt, and Cream of Tartar to a bowl. Mix well. Once the water is boiling, power the water over your flour mixture and begin to stir. It will be hot so please be care. Continue to manipulate the mixture until it is the consistency of dough. Set aside and allow to cool.
Once cool, separate into four equal parts to create four balls of dough. Create a divot into each ball with your thumb. Add several drops of desired dye to each ball of dough. Manipulate the dough until the color is well mixed.
Next, create the balls of dough and create a divot in each once more. Add 10-15 drops of your essential oil/food oils to the dough and knead until well mixed. You should be able to hold the dough to your nose and be able to identify the aroma.
Try to match your color with a corresponding aroma. For instance, Lemon was yellow dough, Orange was orange dough, Strawberry was red, and Green was apple.
Store each ball of dough separately in a small jar or individual bags.
How do you incorporate this into a feeding focused sensory activity?
Simple! You touch, smell, look, and manipulate that dough. Talk about what it smells like. Describe what you think it smells and tastes like. Provide the child with vocabulary so they can associate certain words with smells. All them to roll, cut, smash, explore the different color dough. Ask them what it reminds them of.
You can even help them create food with the dough! This activity will get them excited and get their senses excited to explore their upcoming meal or snack time.
It will be a huge hit for everyone!
Enjoy!

All of us moms have been there. It is your first kiddo and they are wanting more than just pureed baby food at meal time. The panic sets in and all the nerves about your child choking, gagging, or refusing the eat kick in. What do we reach for? All the soft mushy stuff! Bananas, overcooked noodles, giant wafers, itty bitty puffs that dissolve so that there is no chance of choking.
What if I told you that while those foods are not bad, you do need to provide your child with firmer or crunchy foods so that they can learn to manipulate their food correctly.
When you stick to much and soft textures, your child's go to manipulation method is going to to mashing that food with their tongue against the roof of their mouth. Then, when it is time to had over a firm or crunchy food, we panic when they don't chew it or manipulate it the way they need to. This can lead to the gagging, choking, swallowing food whole, or food aversion or picky eating. It is so important that your child learns how to manipulate and chew their food with the right textures and consistencies.
Good news!
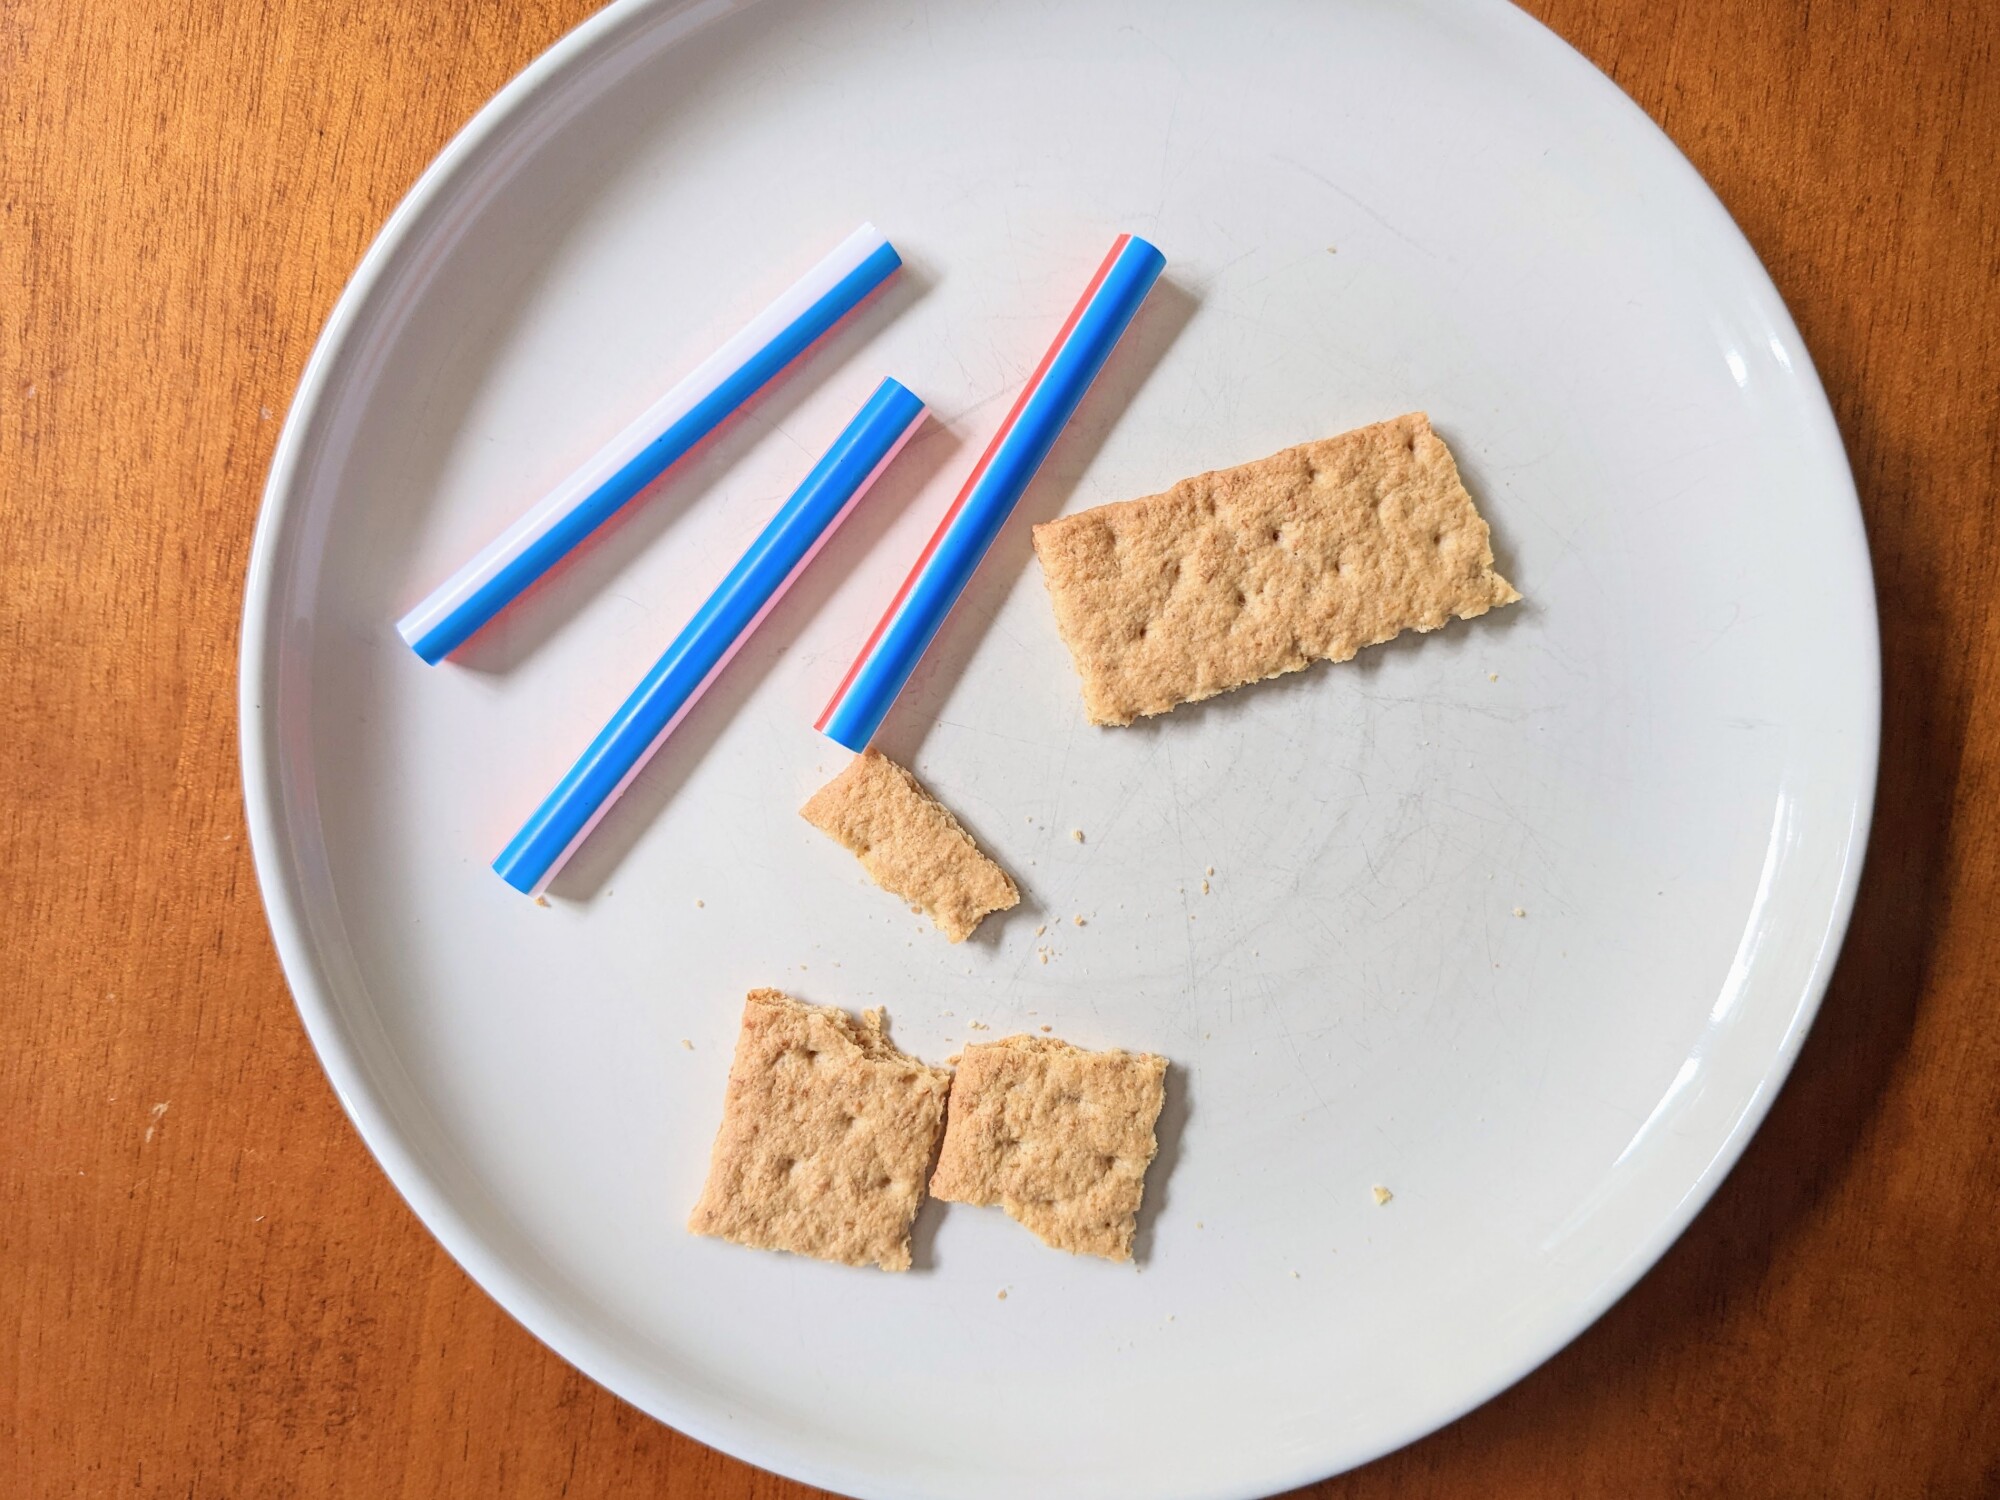
There are ways to do this without causing excess stress for the child and parents. Start with foods that are easily broken down. Reach for a graham cracker or a club cracker. Take a look at the technique below. Grab a milk shake straw. Cut it into thirds and stuff it with the cracker. Create several of these tools. One for you. One for your child, and a few more for them to independently grab and explore. Guide them to place the straw on the right or left gum line and model or tell them to "Crunch" or "bite". They get immediate sensory input from the sound and feeling of the crunch. This reinforces another bite, and another. As they manipulate the food in the straw it will work it's way out , make it's way to the tongue and they can safely swallow. You can do this with them to model the appropriate placement and chewing patter as well. I have done this with apple, melon, crackers, and chicken nuggets. As your child gets the hang of it, you can easily explore different textures using this same method!
Other tips for introducing solid foods correctly:
-Cut bananas into handheld spears. Freeze them. This is a handheld that with easily soften but can also be placed on the lateral surface to reinforce the correctly manipulation.
-Cut grilled cheese or quesadillas into handheld strips.
- As the child progresses try narrow carrot sticks or apple sticks (you can also freeze).
-Crisp up some sweet potato fries!
The easier for them to hold and place, the better.
Say goodbye to large dissolvable wafers and handheld nets. You will set yourself up for an easier transition with the above suggestions!