DIY or BUY: Elderberry Edition

DIY or BUY: Elderberry Edition
It is back to school season which means we are doing all the things to keep our household healthy! One of the items we tend to grab in the fall and winter is elderberry syrup. You can purchase this or make your own. Making elderberry syrup is actually much simpler that you would think. You can even use your Instant Pot!

I have hit some roadblocks with elderberry syrup. The first one is, my kids and I do not prefer the taste. The second one is, I don't always have time to make it. The third one is, I am not always near somewhere where I can just "Go grab a jar." This has us purchasing our elderberry supplement in gummy form these days! 

Today, I thought I would share the DIY recipe that we have used in the past and also share some information about our new favorite elderberry gummies (it is actually more than an elderberry gummy). Let's get started!

DIY Elderberry Syrup
I love a good DIY. Any DIYer knows that they are typically great money savers AND the ingredients are much simpler! We made this recipe a few years ago. Essential oils take this recipe up a notch. If giving to your kids, definitely taste test before as some of the oils can add a "spicy" taste to the mix. Take a peek below!

Directions:
Bring the berries, water, ginger, cinnamon, and clove to a boil. 
Cover and simmer or 45 minutes. 
Once warm, mash and strain the berries from the liquid. 
In a small bowl, combine the honey and essential oils. 
Once the berry mixture begins to cool, slowly stir in your honey mixture. 
Adults take one tablespoon daily. 
Children take 1 teaspoon daily. 

You can grab the elderberries here.
Grab your Thieves and Lemon Vitality Oils here. 

The BUY
Now, if the recipe above doesn't appeal to you, check out these Immugummies!
Not only do they have elderberry flower in them, they also contain beta-glucans. You can't beat the ingredients or the fact that there is no added sugar or dyes. 
Here is some information I pulled from the LIfestepsApp that will fill you in on the details of this gem. 

Support your family's wellness with our the Immugummies daily supplement! These delicious elderflower- and lime-flavored gummies are more than just a sweet treat. They naturally support optimal immune function, immune health, and upper respiratory tract health.
Packed with power, flavor, and pure algal beta-glucans, these gummies are a daily must-have for a healthy immune system.
ELDERBERRY & ELDERFLOWER
Elderberry and elderflower are two different parts of the same medicinal shrub, and both can be used for their health benefits! While similar, they each have distinct properties that can be used for immune and respiratory health.
Elderberries have been utilized in traditional folk medicine for thousands of years. In European folklore, elderberry consumption was associated with increased longevity and vigor! They are a great source of antioxidants, dietary fiber and vitamins, and are a wonderful way to provide immune support for the body.
Elderflowers are the flowers of the same plant that bloom before the berries form. They have a slight sweet, floral taste, making them a popular choice for teas and cordials. Elderflowers have been shown to have up to two times higher antioxidant activity than the berries due to a higher phenolic content, and they are great for supporting the respiratory system.
KEY INGREDIENTS
1,3 beta-glucans (from Euglena gracilis algae): Beta- glucans support immune health, immune function, and upper respiratory tract health. They're sourced through a sustainable indoor fermentation process to reduce waste and prevent harm to marine ecosystems.
Elderberry fruit juice concentrate: This ingredient contains antioxidants that combat free radicals and support the immune system.
Elderflower natural flavor: Flowers from the elder tree have been used for centuries to support a healthy respiratory system.
Lime essential oil: This zesty oil is a good source of d-limonene, a terpene that has antioxidant properties

What do they taste like?
These gummies are a combination of fruity and floral. You can definitely taste the Lime oil as well. 
I was skeptical about whether the kids would like them but they enjoy them. In fact, they will even remind me to give them one if I forget. 

You can grab the Immugummies here.

So what do you think? Are you a DIYer or a BUYer when it comes to your elderberry supplement?

DIY Cough & Throat Solution!

DIY Cough & Throat Solution!
This is a fall and winter favorite for the entire family!
Sore throat? Grab a honey drop!
Annoying tickle? Grab a honey drop!
Nagging cough? Grab a honey drop!
My kids will gladly go to the freezer and just pop one for the heck of it as well. I have no problem with it because these little drops and packed full of simple and health supporting ingredients.
I started making these when my kids were younger. They were too young for cough syrup and an effective cough drop wasn’t going go over well with their picky tastes.
I love that these drops do not have dyes, artificial flavors, and unnecessary sugars. Each ingredient serves a purpose, and I can customize the essential oils that I need in them.
For younger kiddos, you may just want to stick to Lemon Vitality oil.
As they grow older, you can add Thieves Vitality and/or Peppermint Vitality oil.
You can also change the oils you use based on what you are trying to address.

You can use your tummy Vitality Oils.
You can use your calming Vitality oils.
OR
You can use your seasonal sniffle Vitality Oils.

What do you need?
A silicone mold (This one is great!)
Organic Coconut Oil
Honey
Essential Oils (I am particular about the essential oils we put into our body, and we use the Vitality Collection from Young Living Grab oils here!)

Directions:
You will want to whip ¼ cup coconut oil with ¼ cup of honey. If you need to soften the mixture in the microwave, do so. Then add your essential oils.
Kids: No more than 20 drops total of the oils you select.
Adults: 30-40 drops total of the oils you select.
Mix oils in and let mixture turn opaque once more. Make sure it is room temperature. If it is too much like a liquid, the honey and coconut oil will separate. Once the mixture is opaque, whip once more.
Then, spread or pour mixture into silicone molds. Place your molds into the freezer for 5-10 minutes. Next, pop your honey drops out of the mold and place in a freezer safe container. Store the drops in the freezer and use as needed for daily support or to assist with seasonal changes.
Take this up a notch by adding lollipop sticks into your mold after being in the freezer for several minutes. This will turn your creation into a sweet pop! 
These mini morsels will quickly melt in your mouth and provide a sweet treat while serving a purpose. I hope you enjoy!
 

Itchy Scalp...

Itchy Scalp...

The last blog entry led to more questions about tools that can be used to struggling with an itchy scalp. 

There are so many factors to consider when dealing with an itchy scalp. Is it dry? Is it dermatitis? Is it stress related? There are somethings you can be doing to help maintain a healthy scalp that can help with all the above. 

From the inside: 

Again, check your diet. If it is high in sugar, this could lead to imbalance in pH and the good bacteria your skin needs to thrive and be healthy. Once more, a quality probiotic, such as Life 9, can support this. Not only, can you take it as directed BUT you can open a capsule up and add it to your shampoo from time to time to support your scalp with some healthy bacteria. 

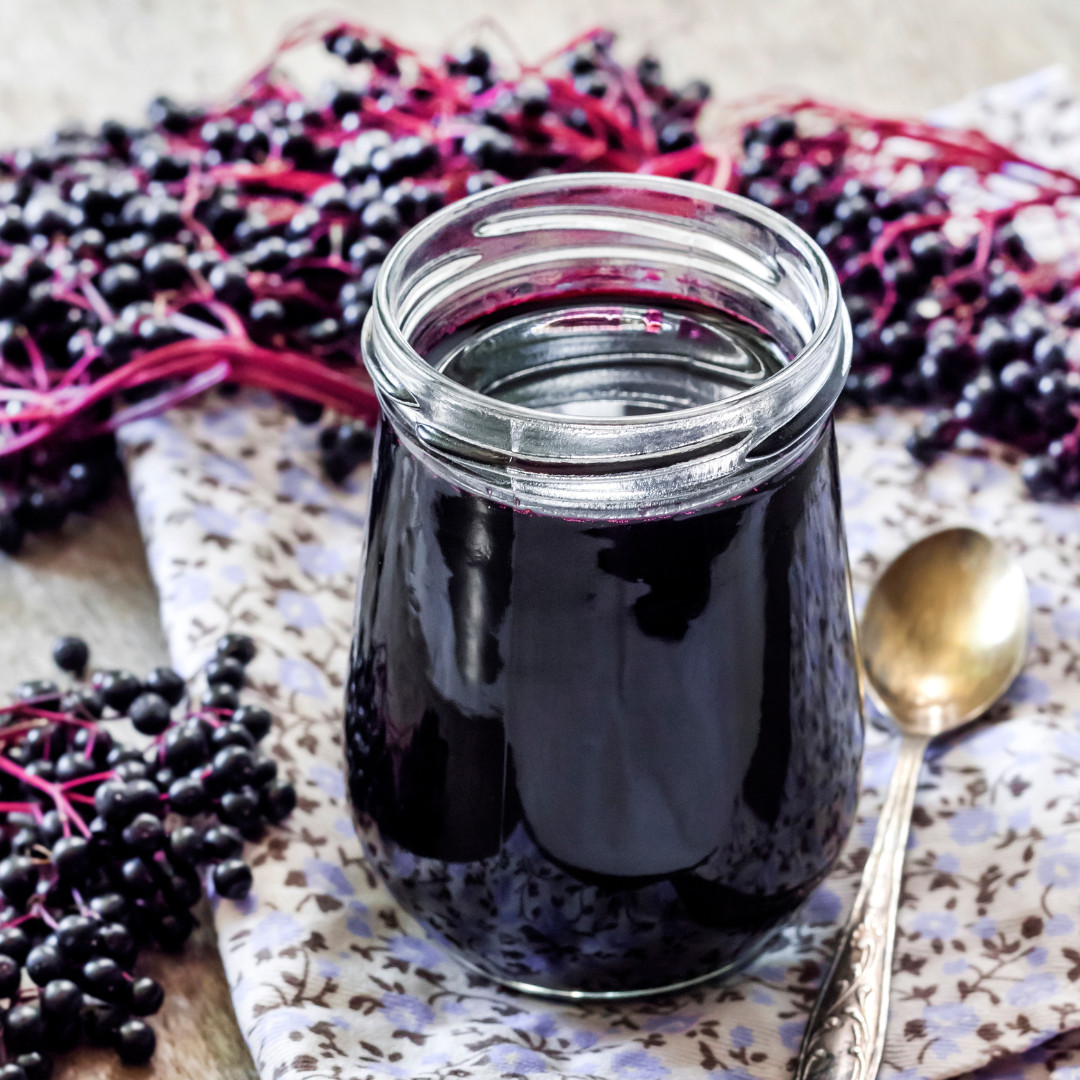
Another way to get that scalp exposed to healthy bacteria, is with an apple cider vinegar rinse.

APPLE CIDER VINEGAR RINSE

Supplement the conditioning benefits of our hot oil treatment with our clarifying apple cider vinegar rinse. If built-up product has left you in a hairy situation, use this recipe to help untangle the mess. After you rinse away the excess weight from dead skin cells, pool chemicals, saltwater, shampoo, and conditioner, you’ll notice more bounce and volume to your hair.

In addition to helping, you nail the perfect hair flip, our apple cider vinegar rinse also soothes the scalp and adds luster to your locks.
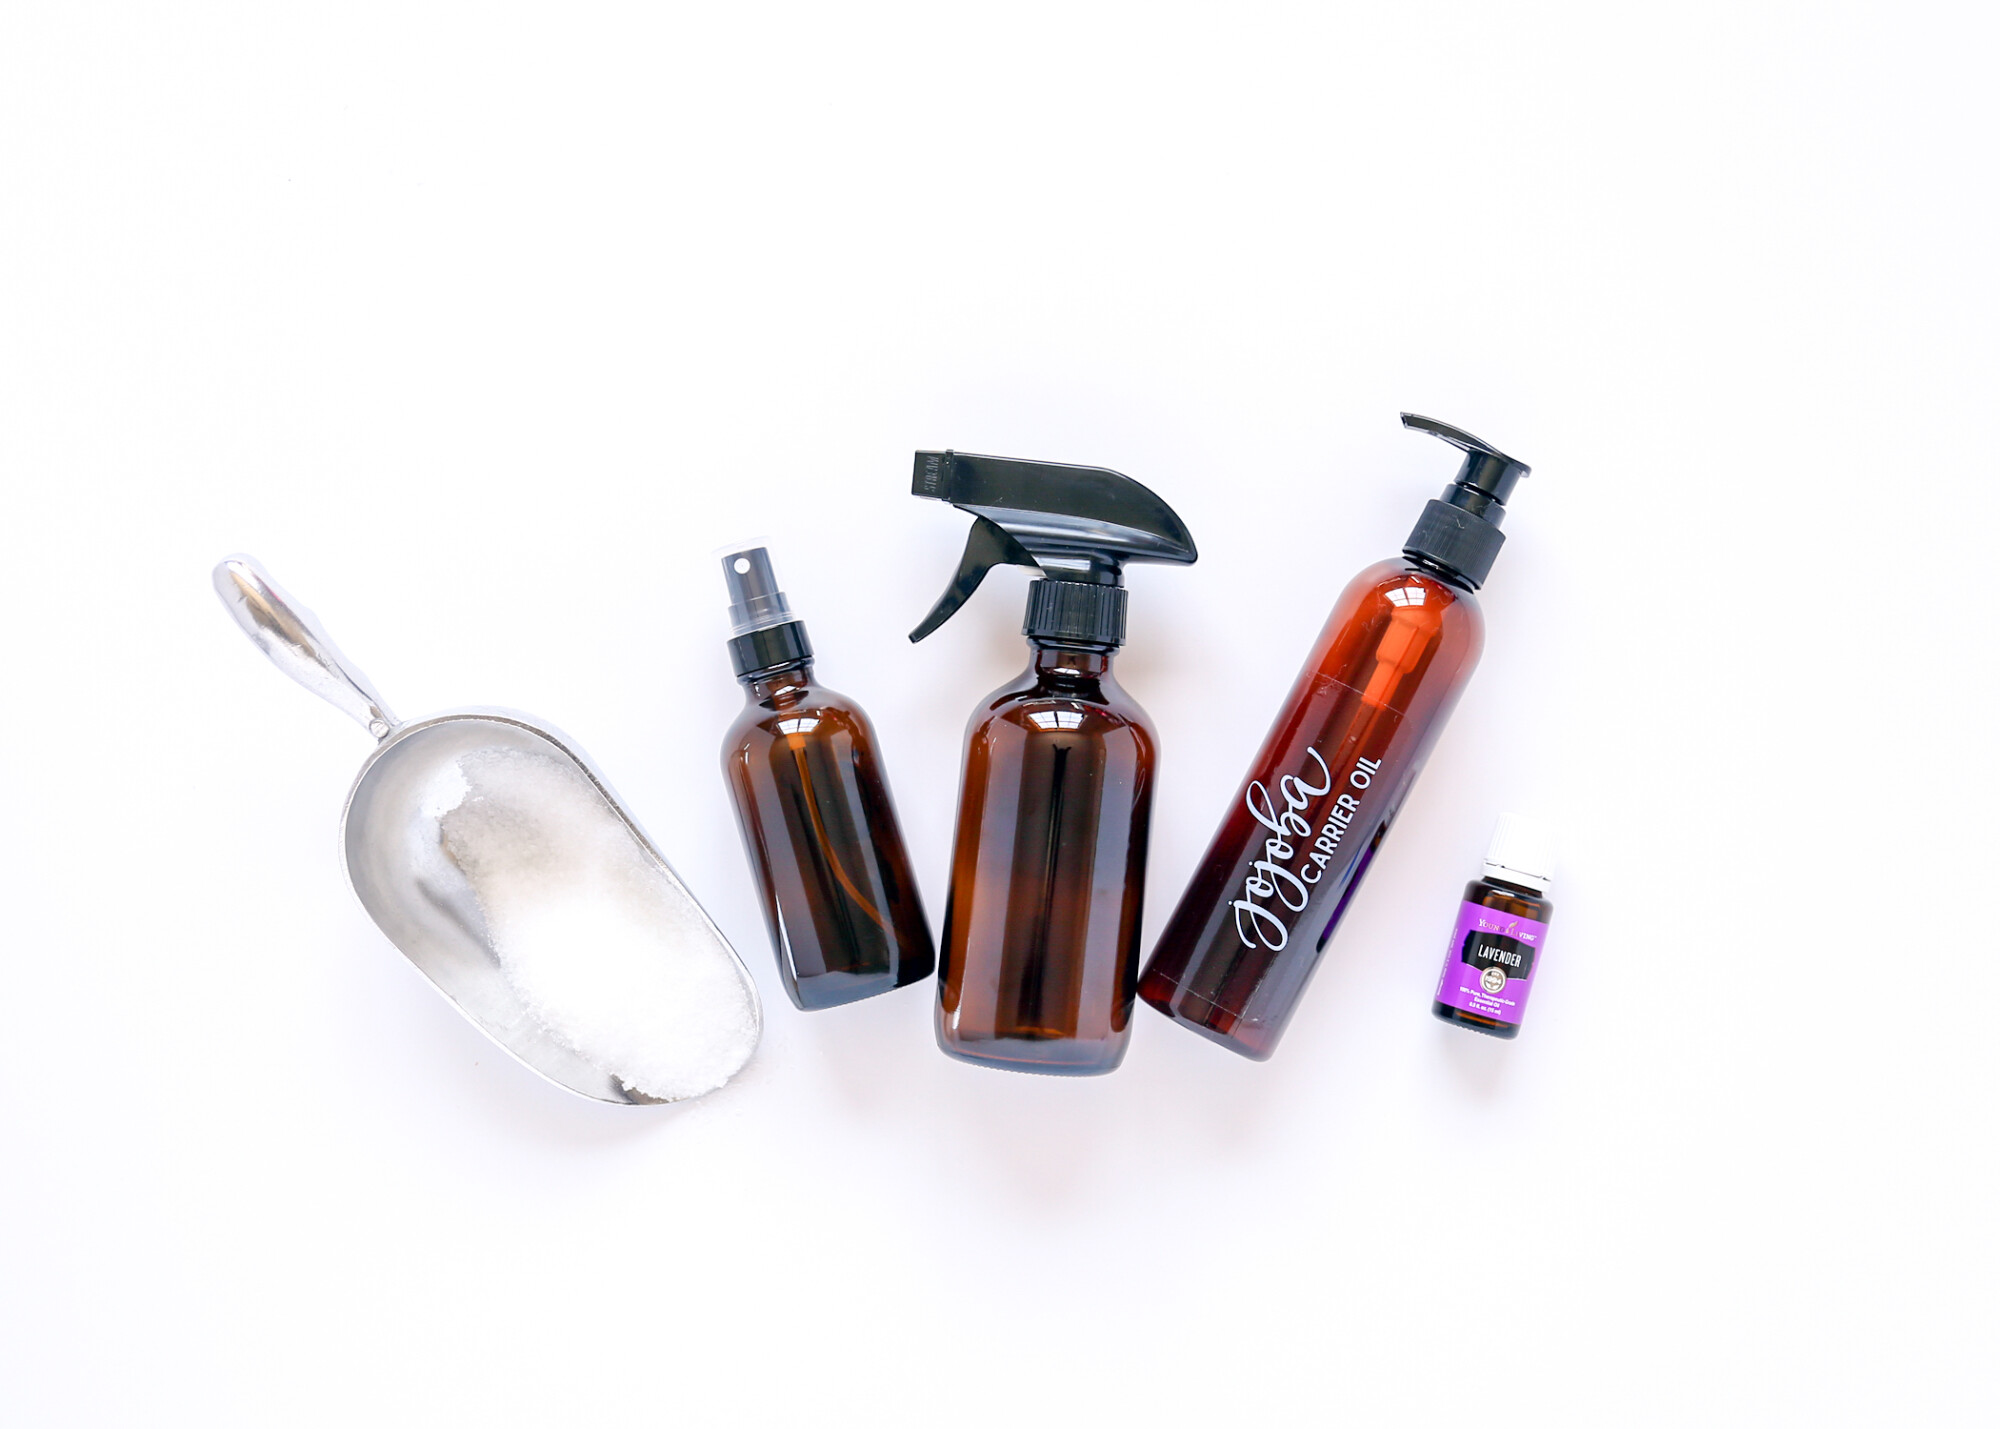
What you need:

YL tip: For dry hair, use 1/4 cup apple cider vinegar; for normal to oily hair, use 1/2 cup.

How to make it:

1. Mix all ingredients together in the spray bottle.

2. Spray mixture all over hair, focusing on the scalp and roots. Lift hair in sections to make sure you completely saturate your hair—your hair should be thoroughly damp, but not dripping.

3. Massage into scalp with fingertips to stimulate the scalp and increase circulation.

4. Let the mixture sit for 2-3 minutes.

5. Rinse, then shampoo and condition hair as normal.

6. Use once per week.

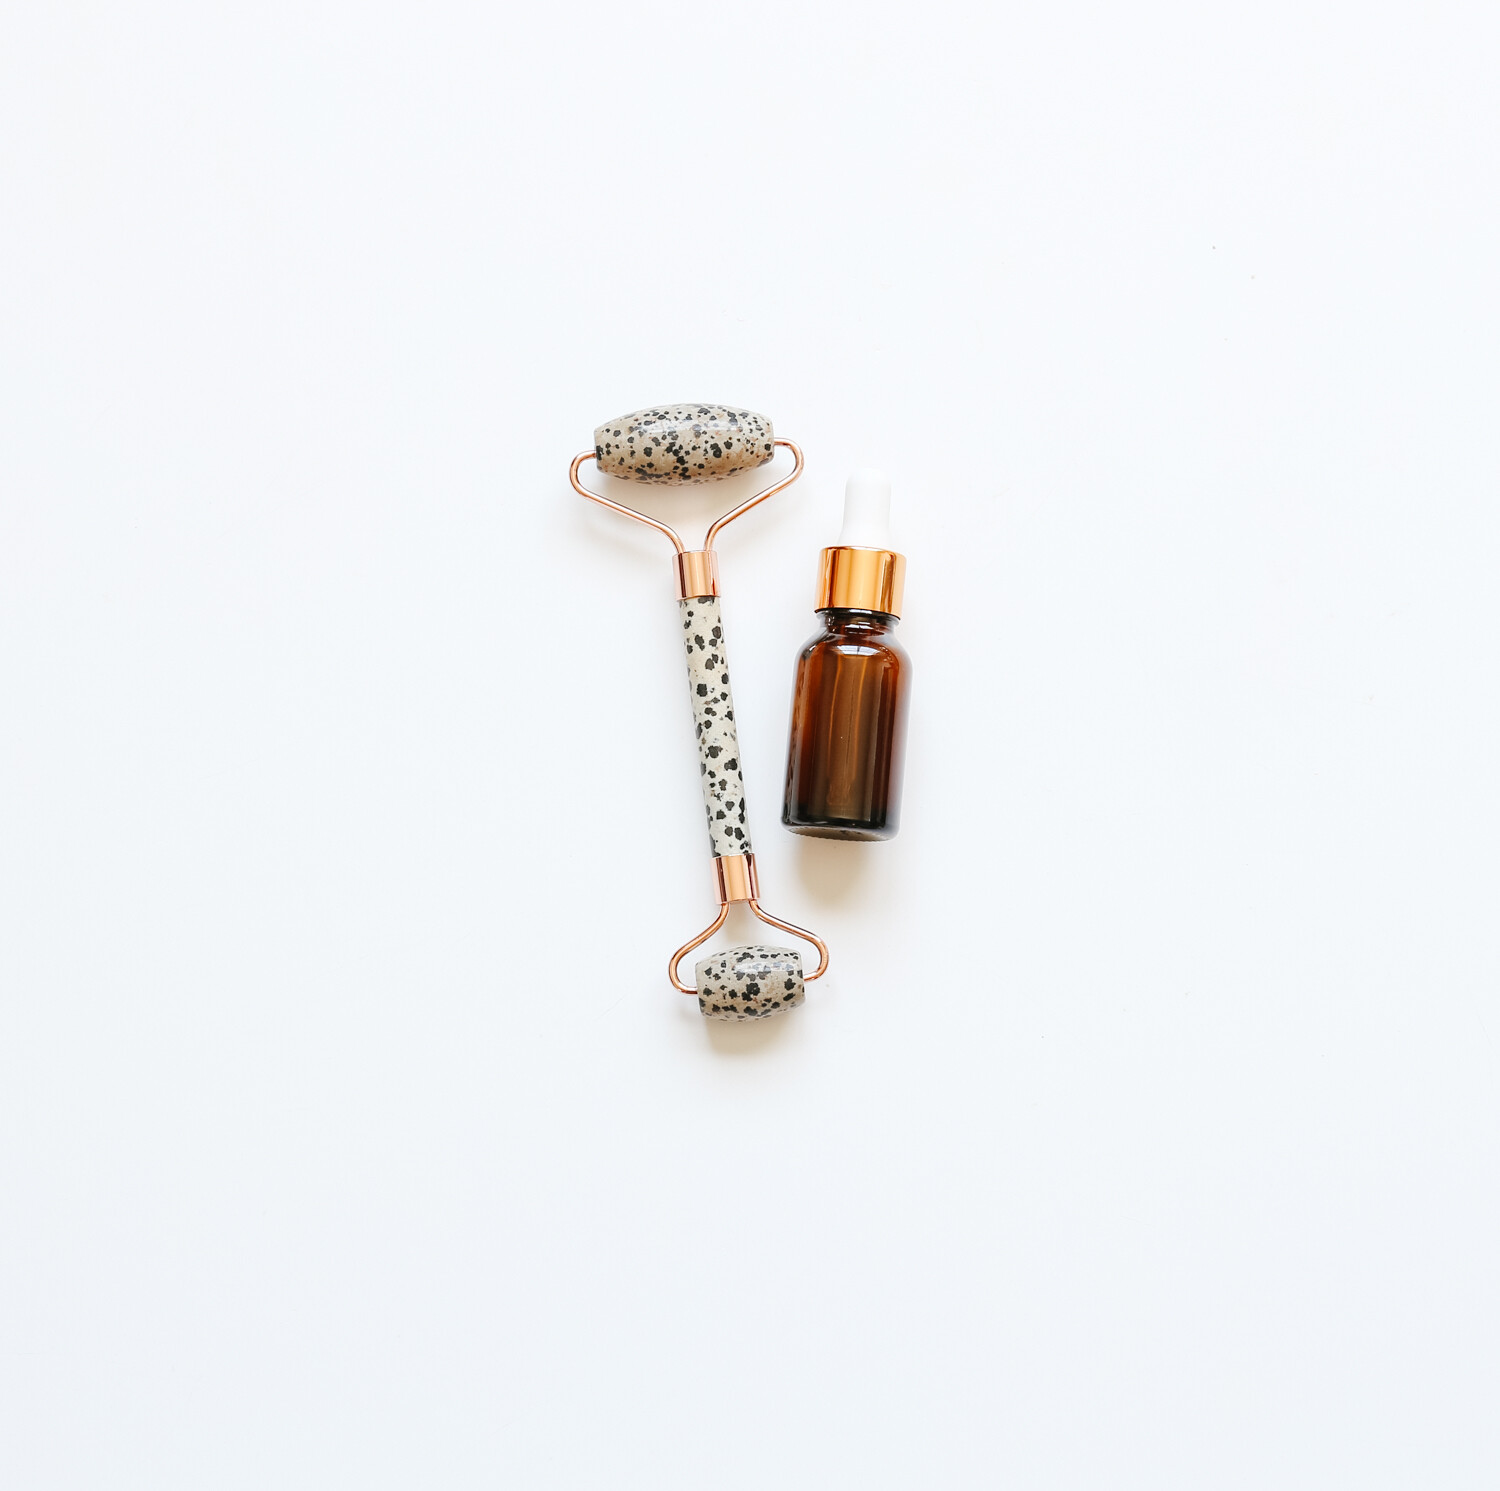
 Check out this Lavender Life blog entry for more recipes that support a healthy head of hair.


See the above link for more hair recipes from Young Living.  


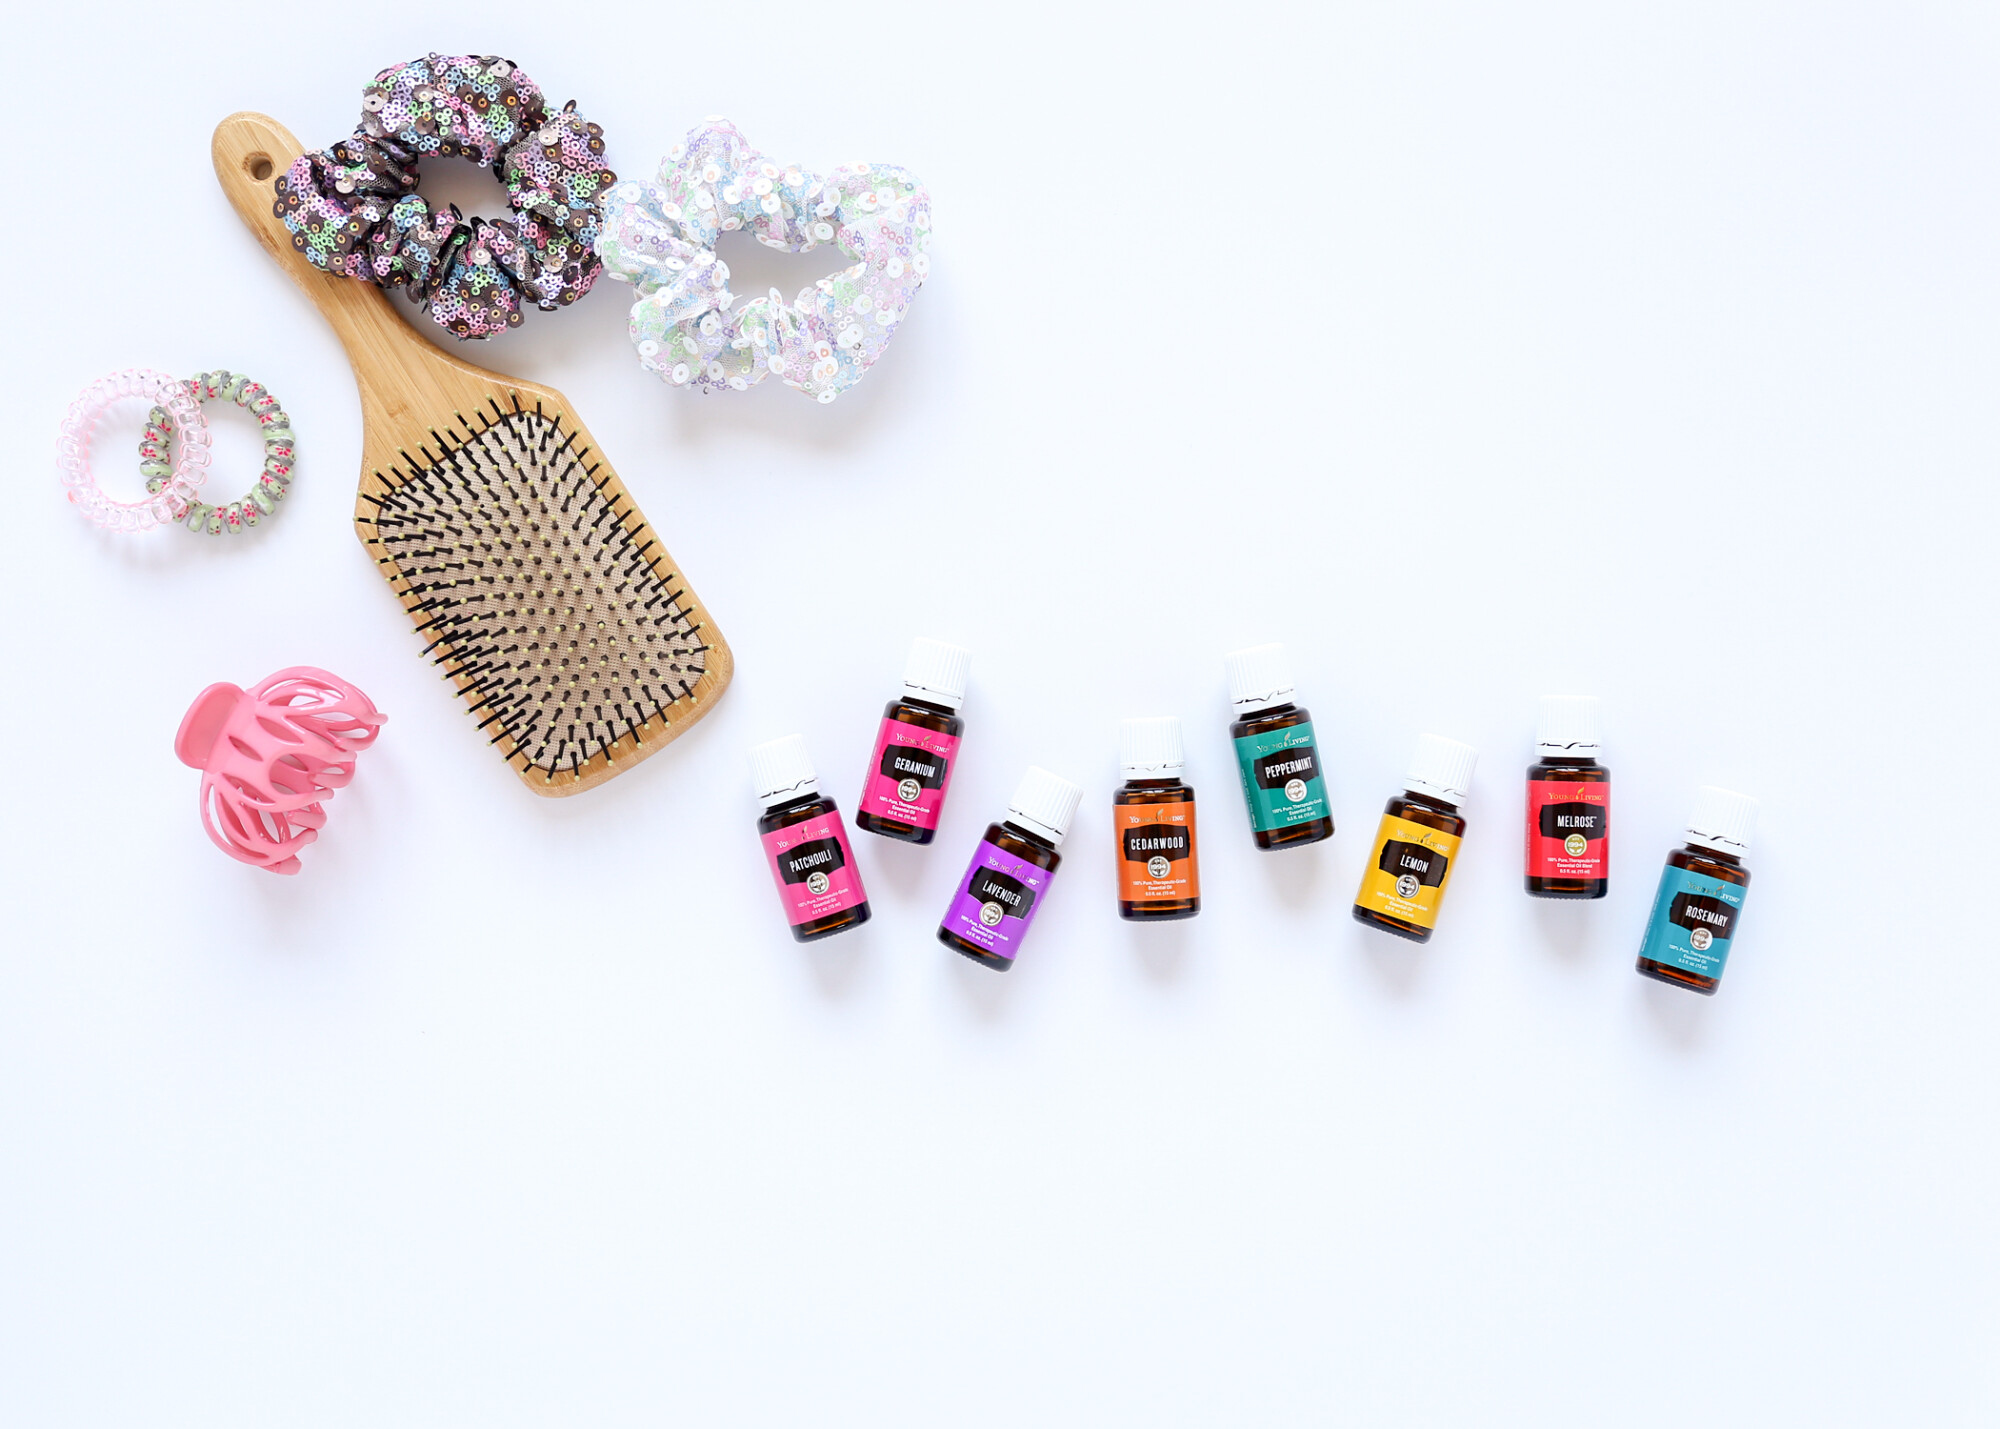
Now, let’s chat supporting those over symptoms of an irritated scalp. There is nothing worse than an uncontrollable itch on your head and a pile of flakes on your shoulder. Over time, I have seen really great results using Young Living’s Voluminous Lavender Shampoo (remember, it contains MSM!! 😊) and the addition of some of my favorite oils. 

My favorite blend of essential oils to add to my Lavender shampoo are Melrose (blend), Cedarwood, and Peppermint. Now, you do not want to overdo this and walk away with an oily head of hair. I recommend starting with 1 drop of essential oil per ounce of shampoo. If you need to add more, you can always do so. If you add too much, then you are going to struggle. If your bottle is 8 ounces, add 2 drops Melrose, 3 drops of Cedarwood, and 2 drops of Peppermint. 

Take to topical application up a notch post-shower! Create a scalp mist to spritz on your scalp before drying. See the recipe below: 

4 ounce spray bottle

2 ounces distilled water

2 ounces alcohol-free witch hazel

2 drops Melrose

2 drops Lavender

2 drops Cedarwood

2 drops Peppermint 

Spritz scalp and massage mixture into the root of your hair. Blow-dry as usual! 

If you are interested in trying these recipes and do not have all these oils on hand. Do not hesitate to reach out for assistance with substitutions. 

Here is to a healthy head of hair!


Sniffles and Sinuses

Sniffles and Sinuses
In our member Facebook group, we recently held a Q & A. We had a question pertaining to sinus issues! I am sure we can all relate to this. Especially with the seasons changing, issues with seasonal sniffles and upper respiratory support may be a struggle.  Here are some tips and recipes to help you through your struggles!

Diffuser Ideas:  Equal amounts of each oil in each diffuser blend: 

Lemon, Lavender, Peppermint
Melrose, Lavender, Lemon
Copaiba, Raven, Lemon 
Rosemary, Peppermint, Eucalyptus 
RC, Lavender, Cedarwood( great for bedtime)  

 #protip: If you have any citrus oil on hand for these issues, let it be lemon! I like to refer to it as the "drainer" :) 

Roll-On Ideas:  
Top 10 ml roller bottle with carrier oil after oils are added. Apply over sinuses, back of neck, and downward over neck and chest. Breathe Again Roll-On ( already made for ya!) 

15 Lemon, 15 Lavender, 10 Copaiba, 10 Peppermint ( may vary from person to person. )
10 Lemon, 10 Digize, 10 Copaiba, 15 Lavender, 5 Peppermint
10 RC, 5 Pine, 10 Lemon, 10 Lavender, 5 Ravintsara 

Nasal Swab:  Grab a teaspoon of Rose Ointment OR Coconut oil ( coconut oil may be a little greasy when it warms up.Add: 
2 drops of RC+ 2 drops Lavender
 OR 2 drops Melrose + 2 drops Lavender
Take a cotton swap, dip it into mixture and swab the inside of each nostril. Dispose of cotton swab. 

Steam Tent:  
Grab a mug of hot water. You want steam! Have a towel ready to drape over head and mug once oils are added to steaming water. Have the tissues ready! To mug of steaming water add one of the following combinations: 
2 Tea Tree, 2 Lemon, 2 Peppermint 
2 Melrose, 2 Peppermint, 2 Lavender
 2 Oregano, 2 Eucalyptus, 2 Lemon
 2 RC, 2 Rosemary, 2 Lavender 
Once oils are mixed in water, drape towel over head. Breathe in and breathe out for several minutes. Close your eyes as vapors will be strong.  

I leave you with another favorite recipe! We love a good Epsom salt soak in this house. This is a favorite when we are suffering from the seasonal changes. 

Hope you have found these recipes and tips helpful!