I spent all of 2022 doing "thought dumps" or "thought downloads" at the beginning of my day to help get myself into a better headspace. It was a new routine I had worked into to my mornings and loved the shift I saw in my approaches to the hard days and weeks. Getting my thoughts out on paper helped me sort through my emotions and mindset. It was a game changer when it came to starting my day.

Cue a few weeks ago when I woke up on a Monday morning and overwhelm hit. I knew the weekly to-do list in my head was a mile long. However, the thought of "all the things" left me feeling frozen and stumped on where to even begin. I have always been a pen and paper gal so I quicky started making one long list for the week. I love being able to cross tasks off as I tackle them. However, this time I was still feeling the overwhelm. It dawned on me to categorize my to-dos. One list for things to be done around the house, one for my new speech therapy business, one for my essential oil business, one for the boys. I quickly prioritized all the tasks. I pulled what needed to be done right away from each list and put it down for Monday. Then I wrote down what my list needed to be for Tuesday, and so on. When I saw that long list turn into short, doable lists organized into days, I felt a weight lift. In a matter of minutes, my brain dump turned into an organized week of tasks that would be crossed off by Friday!
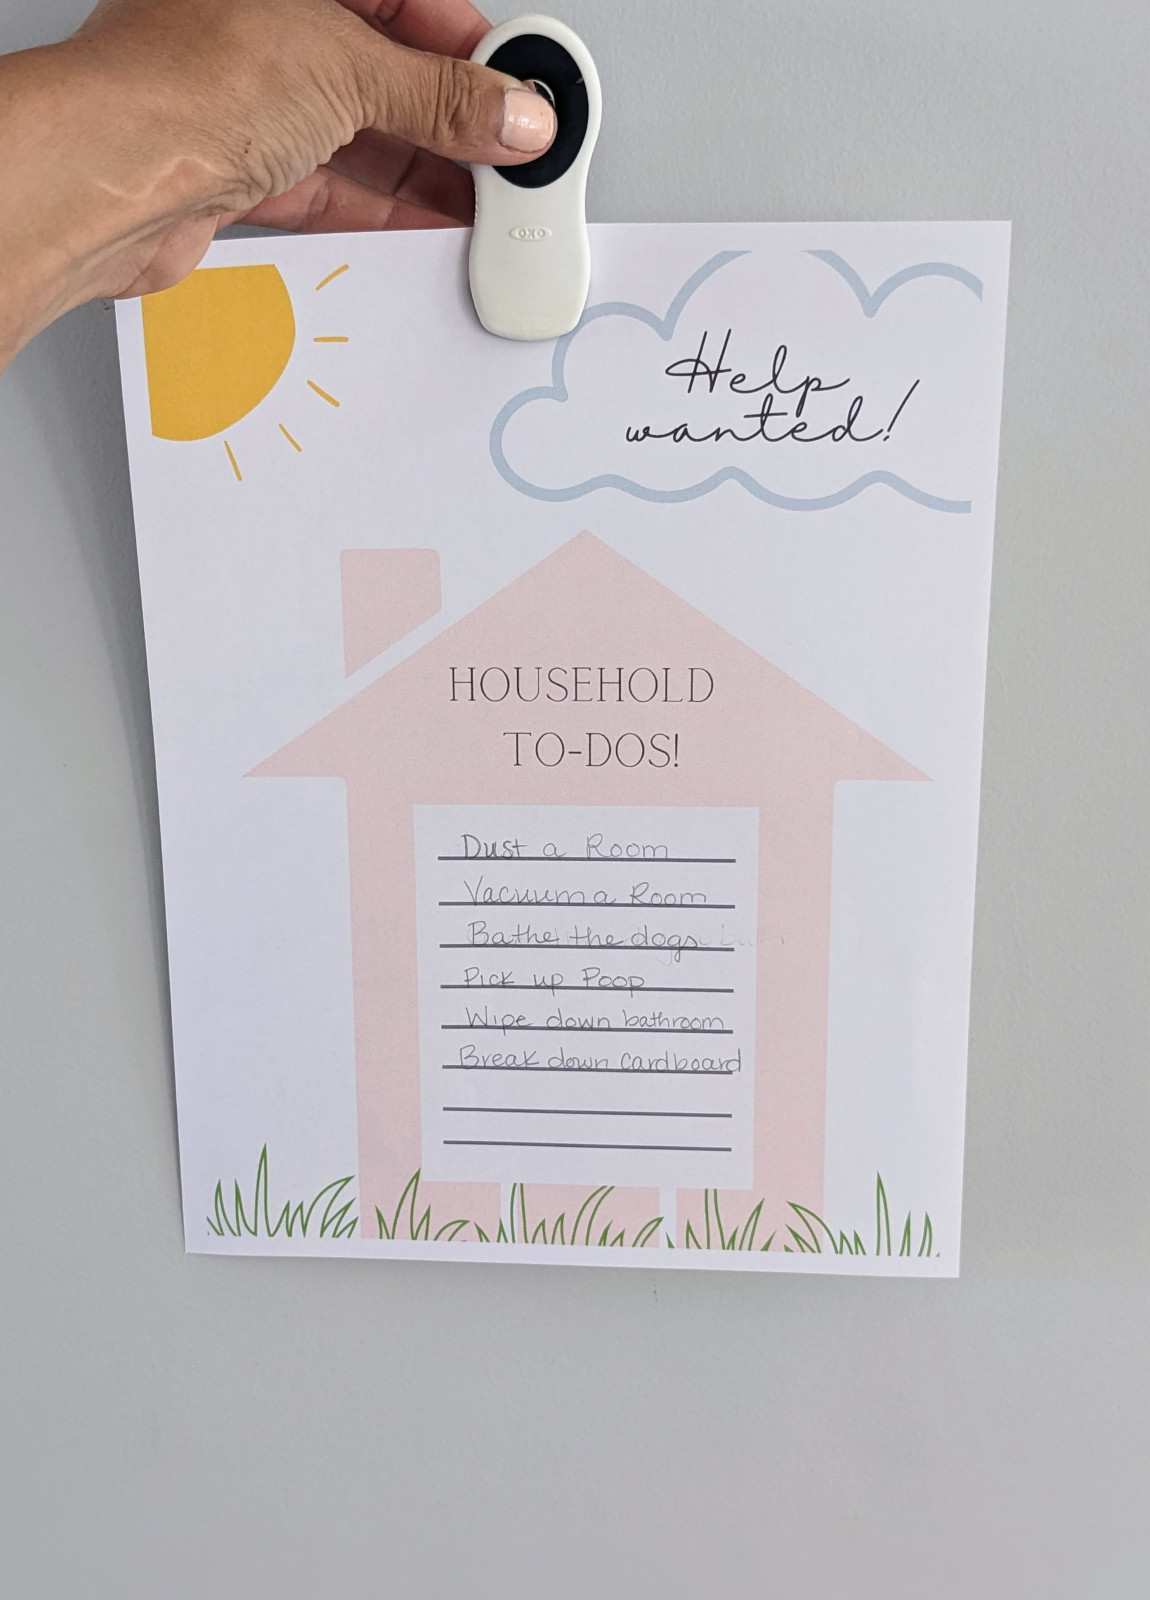
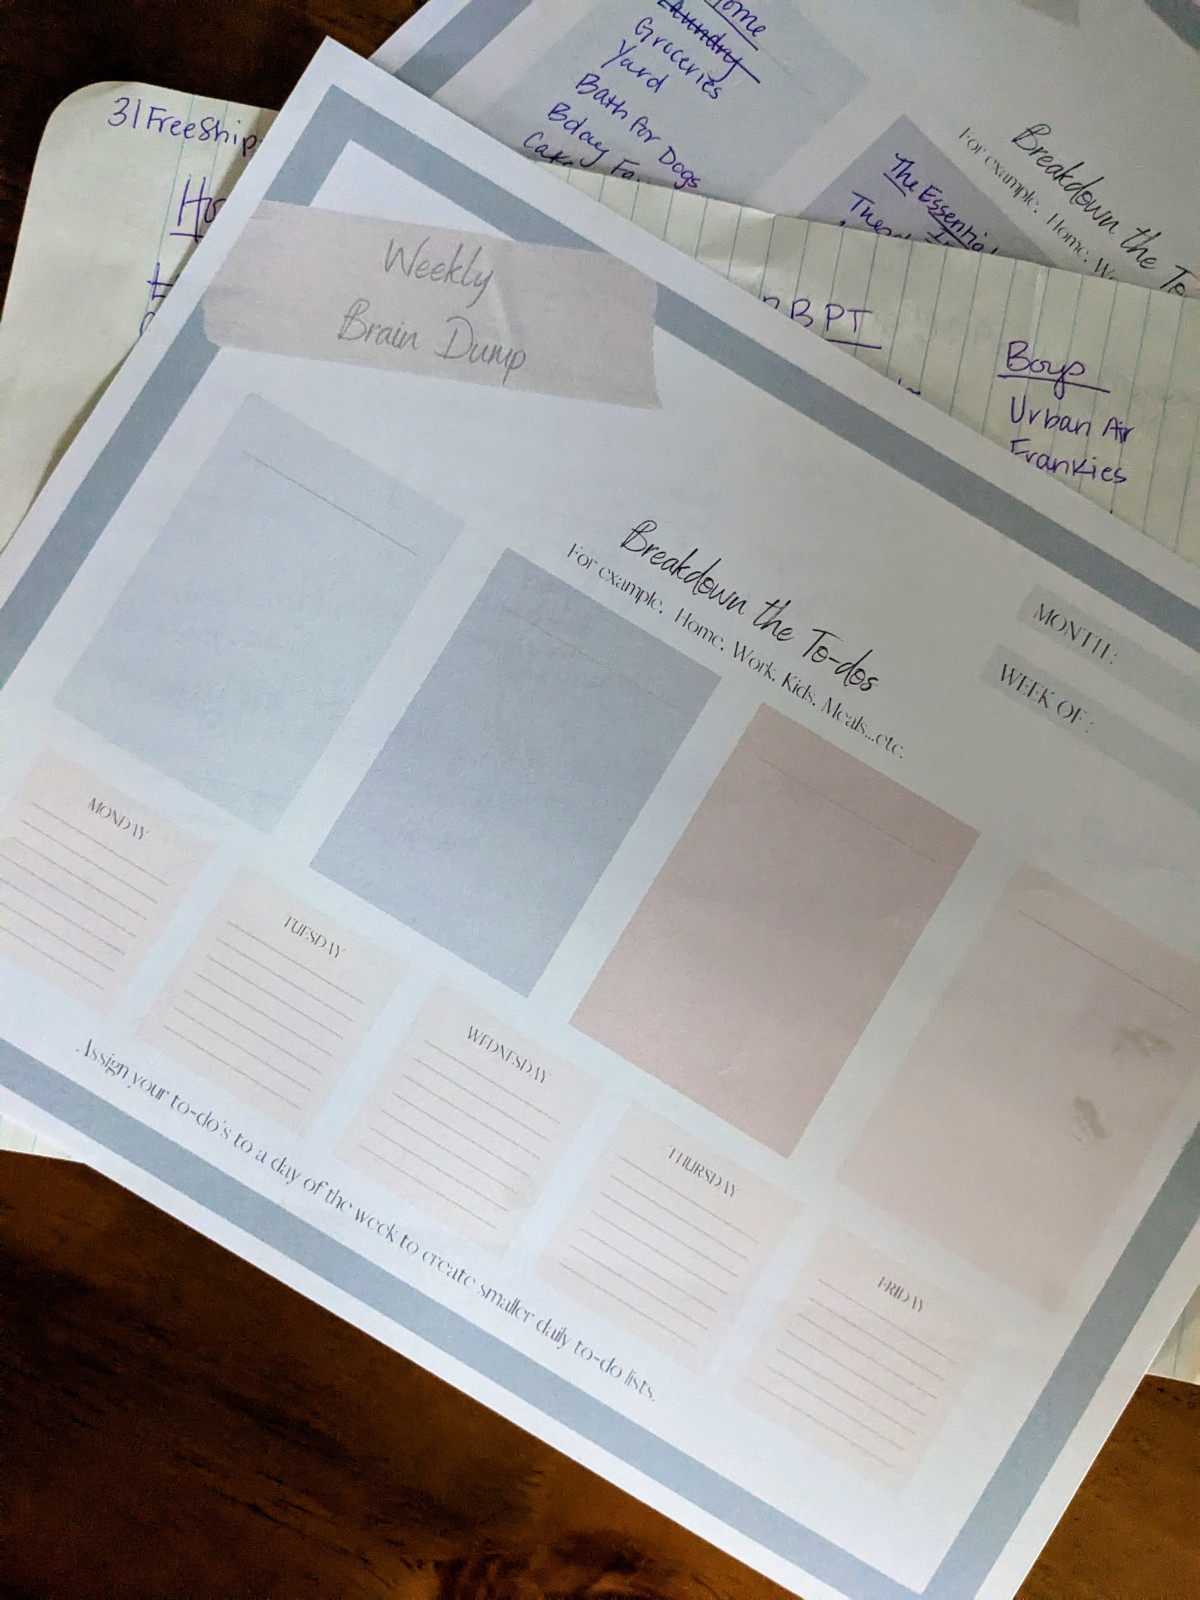
For the past two weeks, I have been quickly creating a hand drawn grid with pen and paper to create my Monday Brain Dump. Today I decided this habit was going to stick and created a printable that would make the "To-Do List Break Down" look more organized and clean!
You are invited to start this habit with me. Enjoy the free "Weekly Brain Dump" printable below!
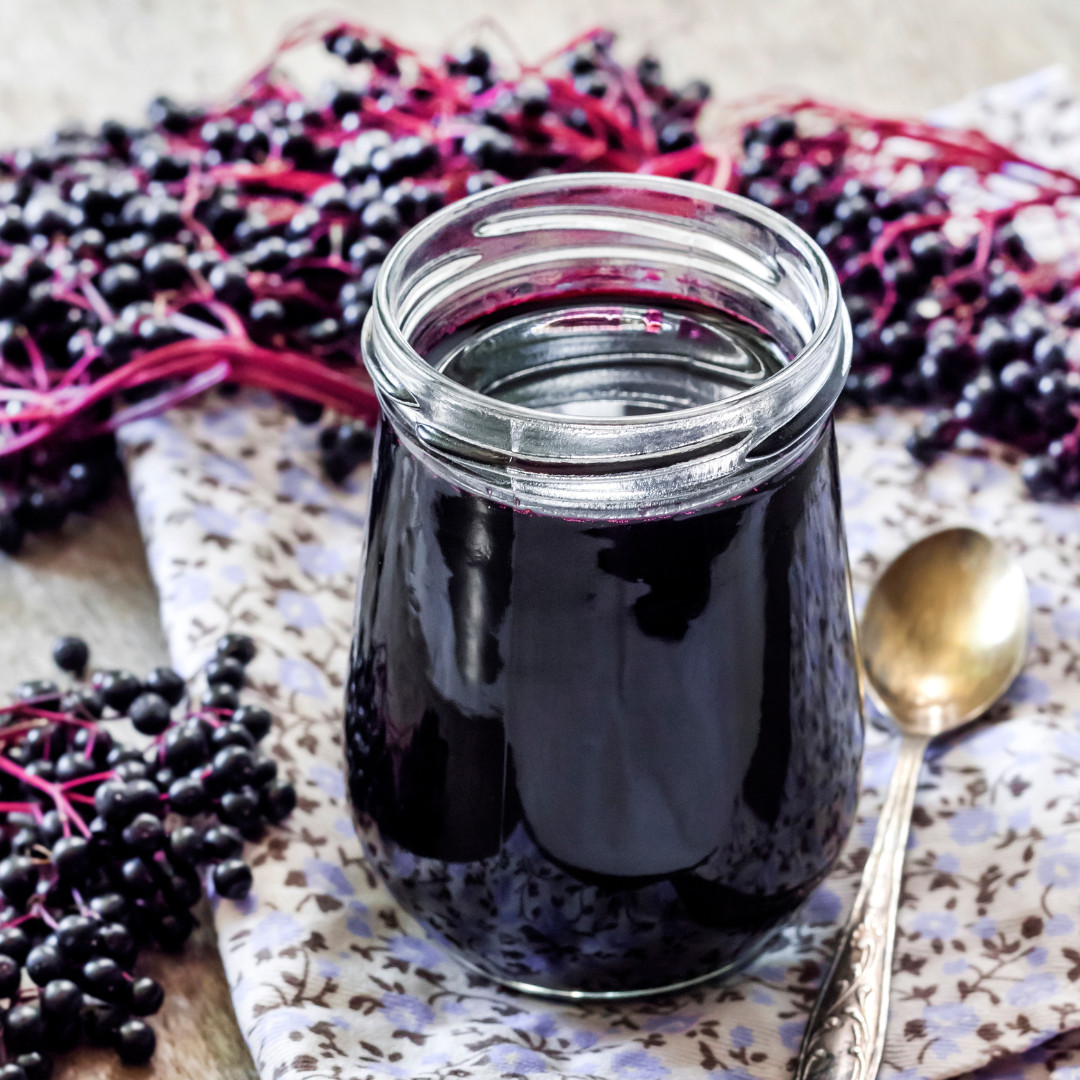
This is a fall and winter favorite for the entire family!
Sore throat? Grab a honey drop!
Annoying tickle? Grab a honey drop!
Nagging cough? Grab a honey drop!
My kids will gladly go to the freezer and just pop one for the heck of it as well. I have no problem with it because these little drops and packed full of simple and health supporting ingredients.
I started making these when my kids were younger. They were too young for cough syrup and an effective cough drop wasn’t going go over well with their picky tastes.
I love that these drops do not have dyes, artificial flavors, and unnecessary sugars. Each ingredient serves a purpose, and I can customize the essential oils that I need in them.
For younger kiddos, you may just want to stick to Lemon Vitality oil.
As they grow older, you can add Thieves Vitality and/or Peppermint Vitality oil.
You can also change the oils you use based on what you are trying to address.
You can use your tummy Vitality Oils.
You can use your calming Vitality oils.
OR
You can use your seasonal sniffle Vitality Oils.
What do you need?
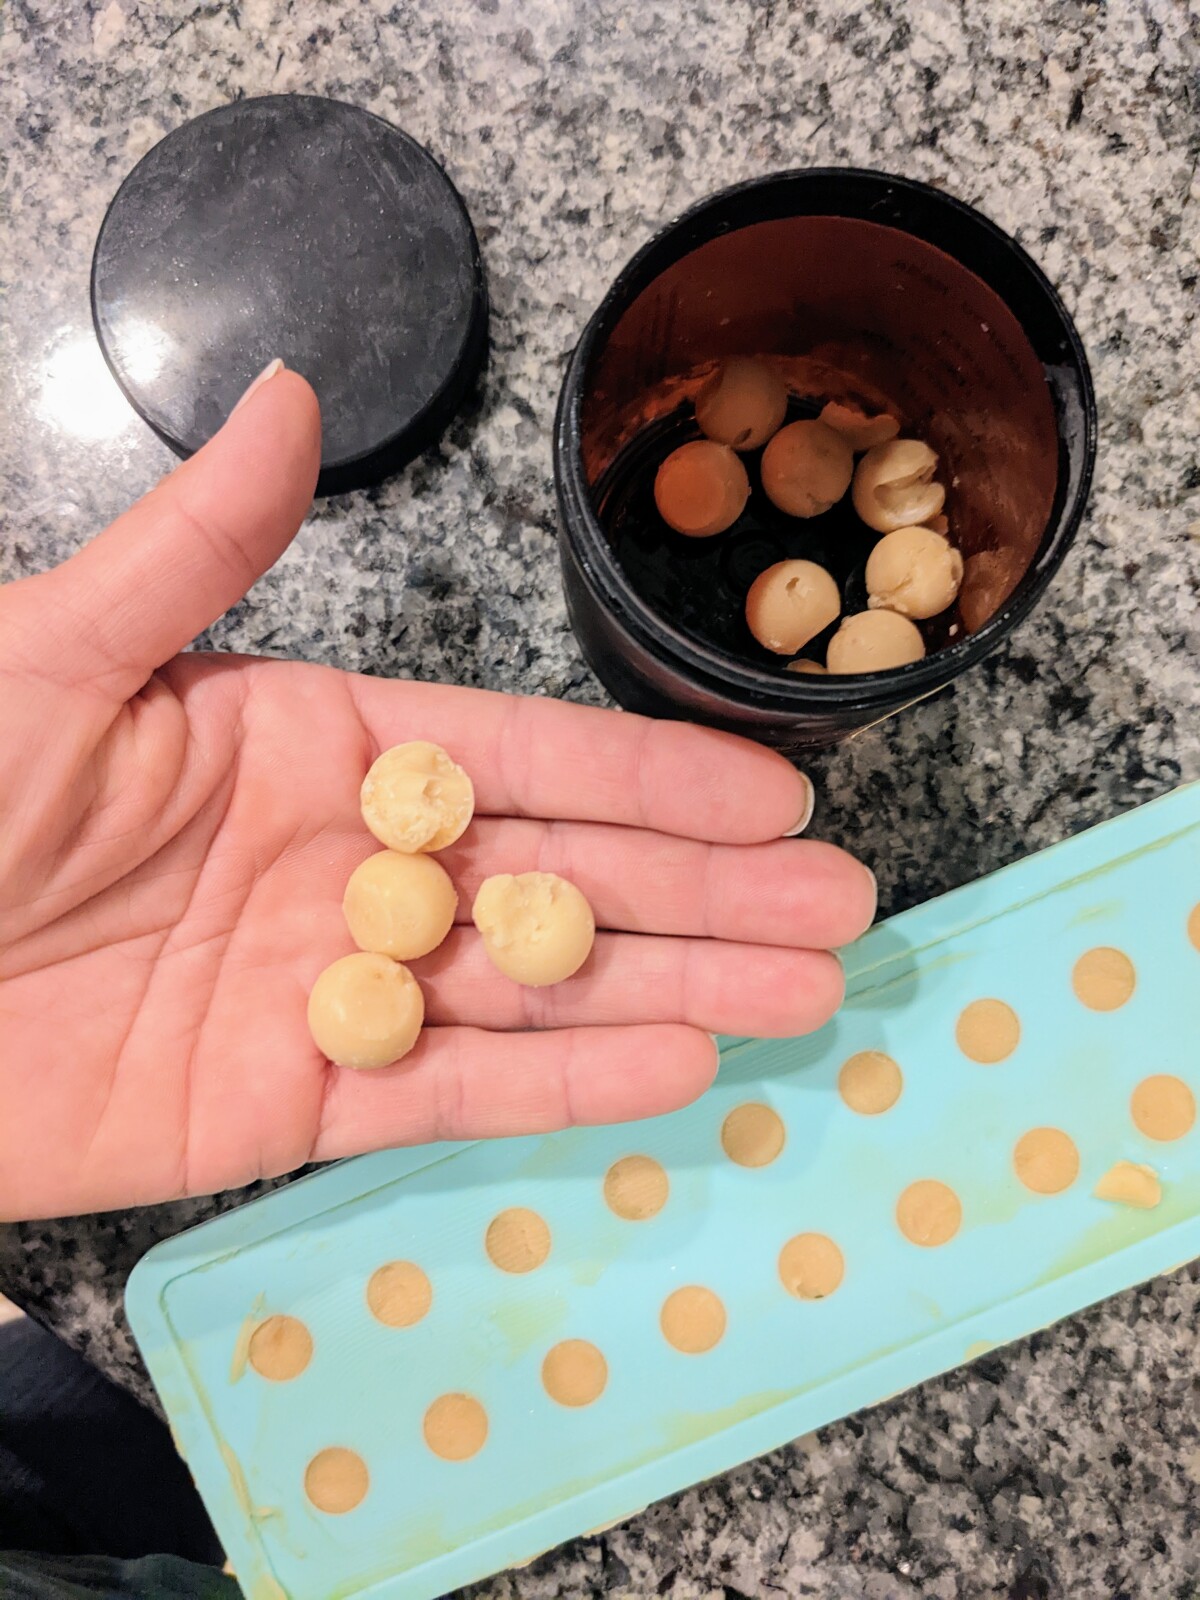
A silicone mold (This one is great!)
Organic Coconut Oil
Honey
Essential Oils (I am particular about the essential oils we put into our body, and we use the Vitality Collection from Young Living Grab oils here!)
Directions:
You will want to whip ¼ cup coconut oil with ¼ cup of honey. If you need to soften the mixture in the microwave, do so. Then add your essential oils.
Kids: No more than 20 drops total of the oils you select.
Adults: 30-40 drops total of the oils you select.
Mix oils in and let mixture turn opaque once more. Make sure it is room temperature. If it is too much like a liquid, the honey and coconut oil will separate. Once the mixture is opaque, whip once more.
Then, spread or pour mixture into silicone molds. Place your molds into the freezer for 5-10 minutes. Next, pop your honey drops out of the mold and place in a freezer safe container. Store the drops in the freezer and use as needed for daily support or to assist with seasonal changes.
Take this up a notch by adding lollipop sticks into your mold after being in the freezer for several minutes. This will turn your creation into a sweet pop!
These mini morsels will quickly melt in your mouth and provide a sweet treat while serving a purpose. I hope you enjoy!
Have you ever stopped to think about the fact that we wash our hands to support a healthy immune system, but the majority of the hand soaps on the store shelves are riddled with toxins and unwanted chemicals?
If you think your soap is " clean" check for that "Fragrance" label. That is the term companies are able to hide the nasty ingredients under (whether it has to do with the smell or not!). They do not have to disclose that information either....it is proprietary!
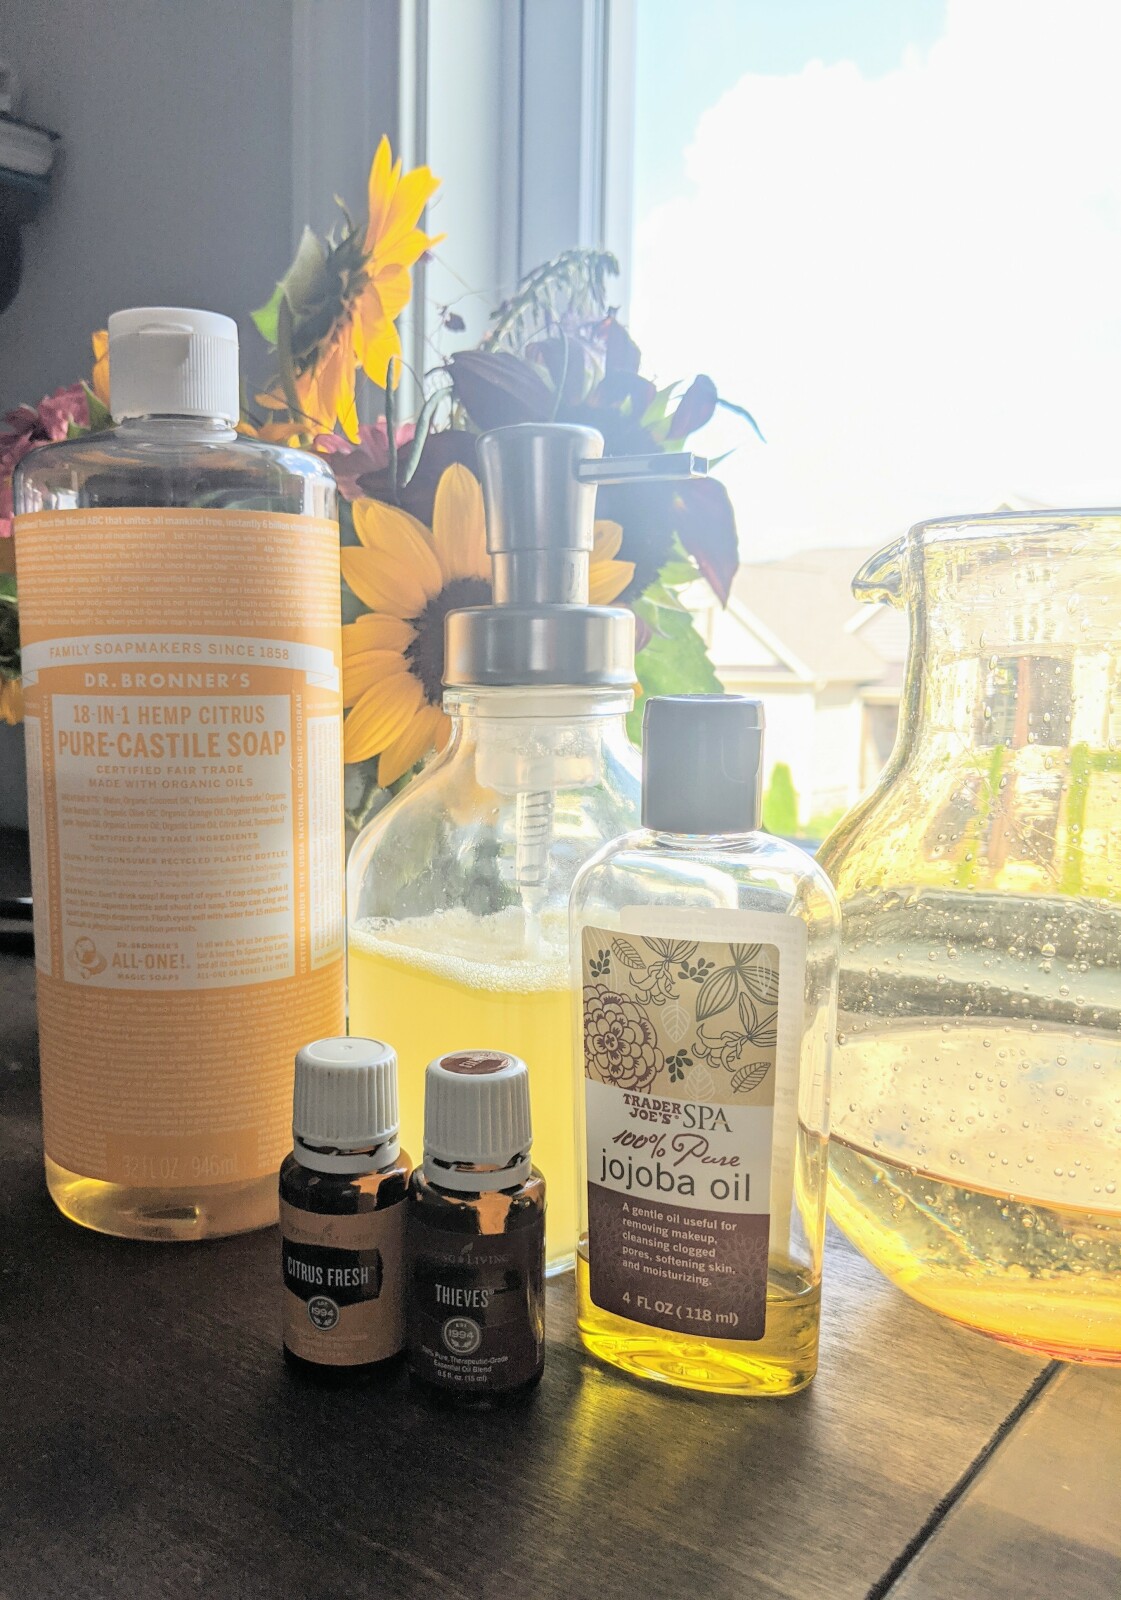
Well, here is an INEXPENSIVE and TOXIN-FREE recipe to keep those hands clean and moisturized. All you need is three ingredients and your distilled water! The ability to create your own signature soap scent, is endless!
Here is the recipe:
1/3 cup Castile Soap or YL Bath & Shower Gel base
1 tsp. Carrier oil
20-25 drops EOs
8-12 ounces water
Mix in foaming soap dispenser! Great gift idea too!
What are some of your favorite combos?
1 tsp. Carrier oil
20-25 drops EOs
8-12 ounces water
Mix in foaming soap dispenser! Great gift idea too!
What are some of your favorite combos?
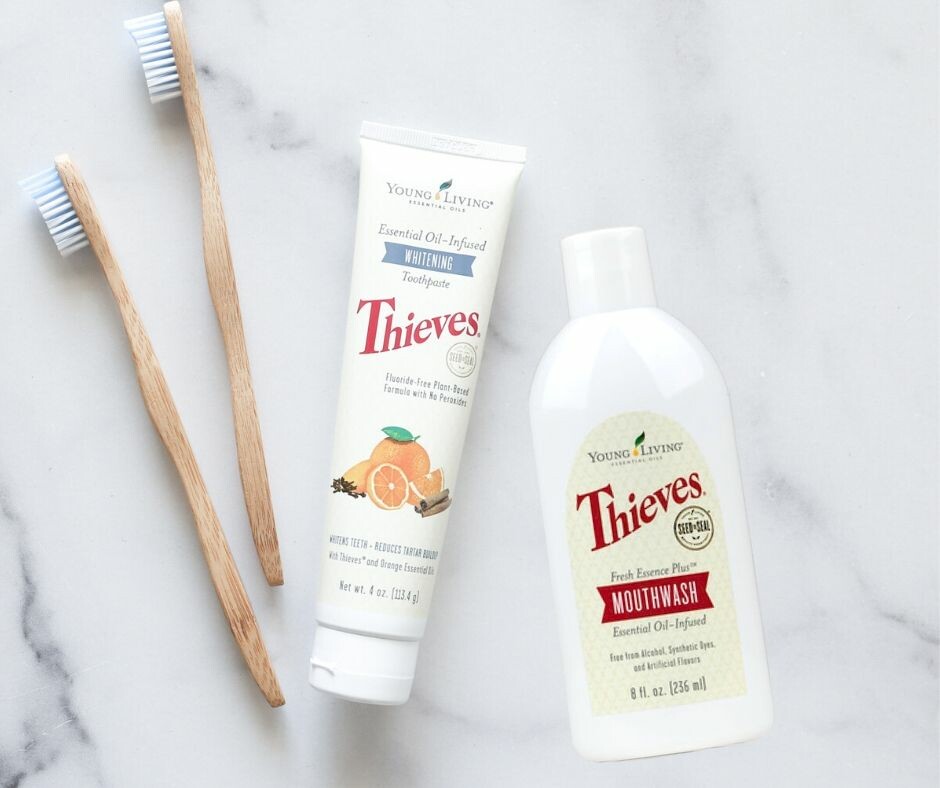
Giveaway #4: Thieves Whitening Toothpaste and Mouthwash aka The Dental Duo
We have been using Thieves dental products and the Kidscents toothpaste for at least 5 years now. After missing cleanings for two years, I still walked away with an amazing hygiene report. My hygienist wanted to know what I was using and then bought some for herself  My last visit, she whispered in my ear, " All of the stuff that is put into toothpastes, is not meant for everyday use...it's not good for us everyday."
For the longest time, I was brushing, flossing, and mouth washing like crazy to avoid the " Your gums are a little red and irritated... " statement. I didn't understand why my gums were receding when my oral care routine was on point. One day, I noticed some discoloration occuring along my gum line and between my teeth. After doing some digging, I realized my mouthwash was causing this!! Apparently, I wasn't the only one having this issue and the product was still on the market. This was before I was even investigating what I was in my products. It did get me thinking though....why all this irritation and discoloration when I am doing what I am supposed to be doing?
Years later, my interest was piqued when I saw Thieves toothpaste and Thieves Mouthwash. I actually tried the mouthwash first! Wow! It packed a punch and was not like the mouthwash you get at the store. Everything from the taste to the color is different. The tingling wasn't from alcohol burning my gums, it is alcohol-free. It was from the formula of Thieves! The second ingredient on the label is colloidal silver. That combined with the Thieves packs a punch when it comes to all the bacteria living in our mouths. Simply swish and spit ( do not ingest)! If you prefer a mintier mouthwash, add some peppermint! If you want to stretch your product, dilute with distilled water 1:1 and add peppermint. I like to add Frank to mine to support health gums.
At the convention in 2019, the Thieves Whitening toothpaste was released. A limit had to be placed on this one immediately! If you have had trouble with natural toothpastes in the past, this is the perfect one to try! I use a pea-sized amount on my toothbrush and my mouth is left feeling clean. Yes, this one also does give you that foaming feeling that we sometimes miss with a natural product. In the words of my husband, " This is their best toothpaste yet!" This family is sold on the switch! ( and yes, my teeth are nice and bright!)
Whew! I know that was a long read but these are truly, two of my favorite must-haves!!
To be entered to win this dental duo, comment below with a song that you like to blast all summer long!