You know I love a good sensory activity!
As I planned my "Let's Eat" small group for the week, I remembered how much I enjoy incorporating play dough into sensory play. Then it dawned on me. As a way to lead into snack time for a therapy session, I will create aromas for the play dough using essential oils and food flavoring oils.
The recipe I used can be found below, along with various ways we used the playdough prior to diving into
our meal time.

The recipe for the playdough is from kidsactivities.com
2 Cups of Flour
2 Tbsp of Oil, I used fractionated coconut oil
1/2 Cup of Salt
2 Tbsp Cream of Tartar
1 1/2 Cup Boiling Water
Gel Food Coloring ( You can use regular food coloring but the color will not be as vibrant)
You will need citrus essential oils and/or the LorAnnfood oils of your choice.
To create the playdough, first put 1/5 cups of water on the stove to boil. While you are waiting, add the flour, oil, salt, and Cream of Tartar to a bowl. Mix well. Once the water is boiling, power the water over your flour mixture and begin to stir. It will be hot so please be care. Continue to manipulate the mixture until it is the consistency of dough. Set aside and allow to cool.
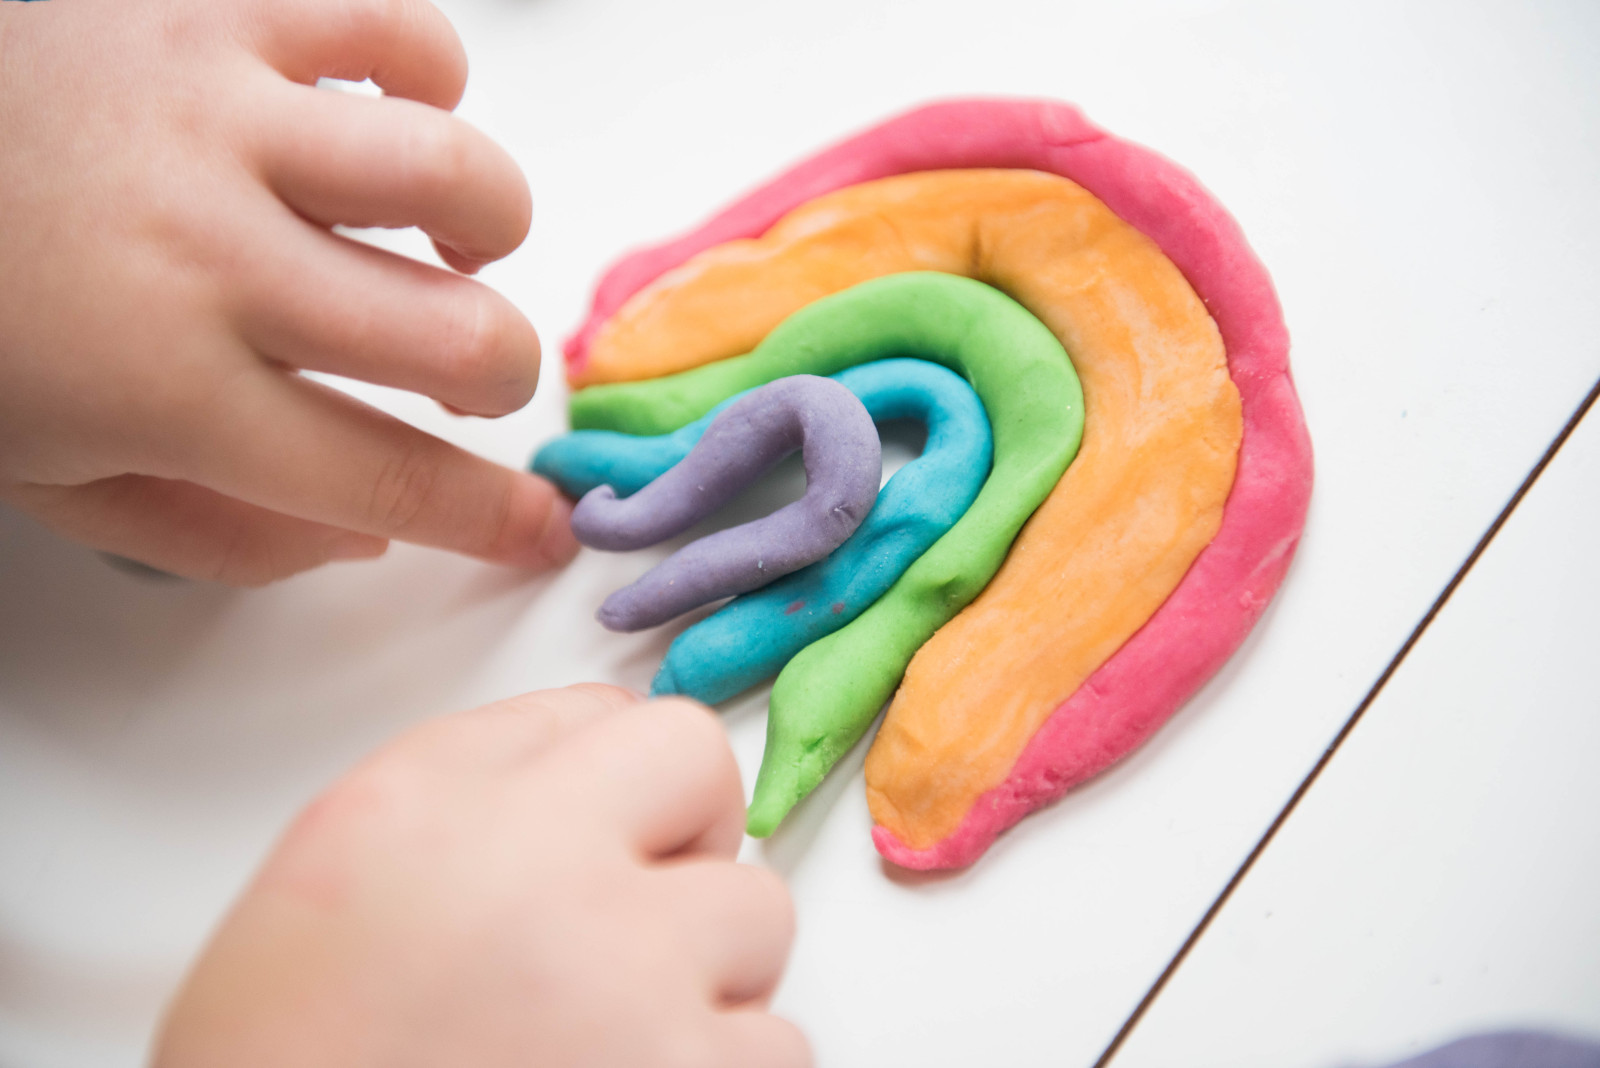
Once cool, separate into four equal parts to create four balls of dough. Create a divot into each ball with your thumb. Add several drops of desired dye to each ball of dough. Manipulate the dough until the color is well mixed.
Next, create the balls of dough and create a divot in each once more. Add 10-15 drops of your essential oil/food oils to the dough and knead until well mixed. You should be able to hold the dough to your nose and be able to identify the aroma.
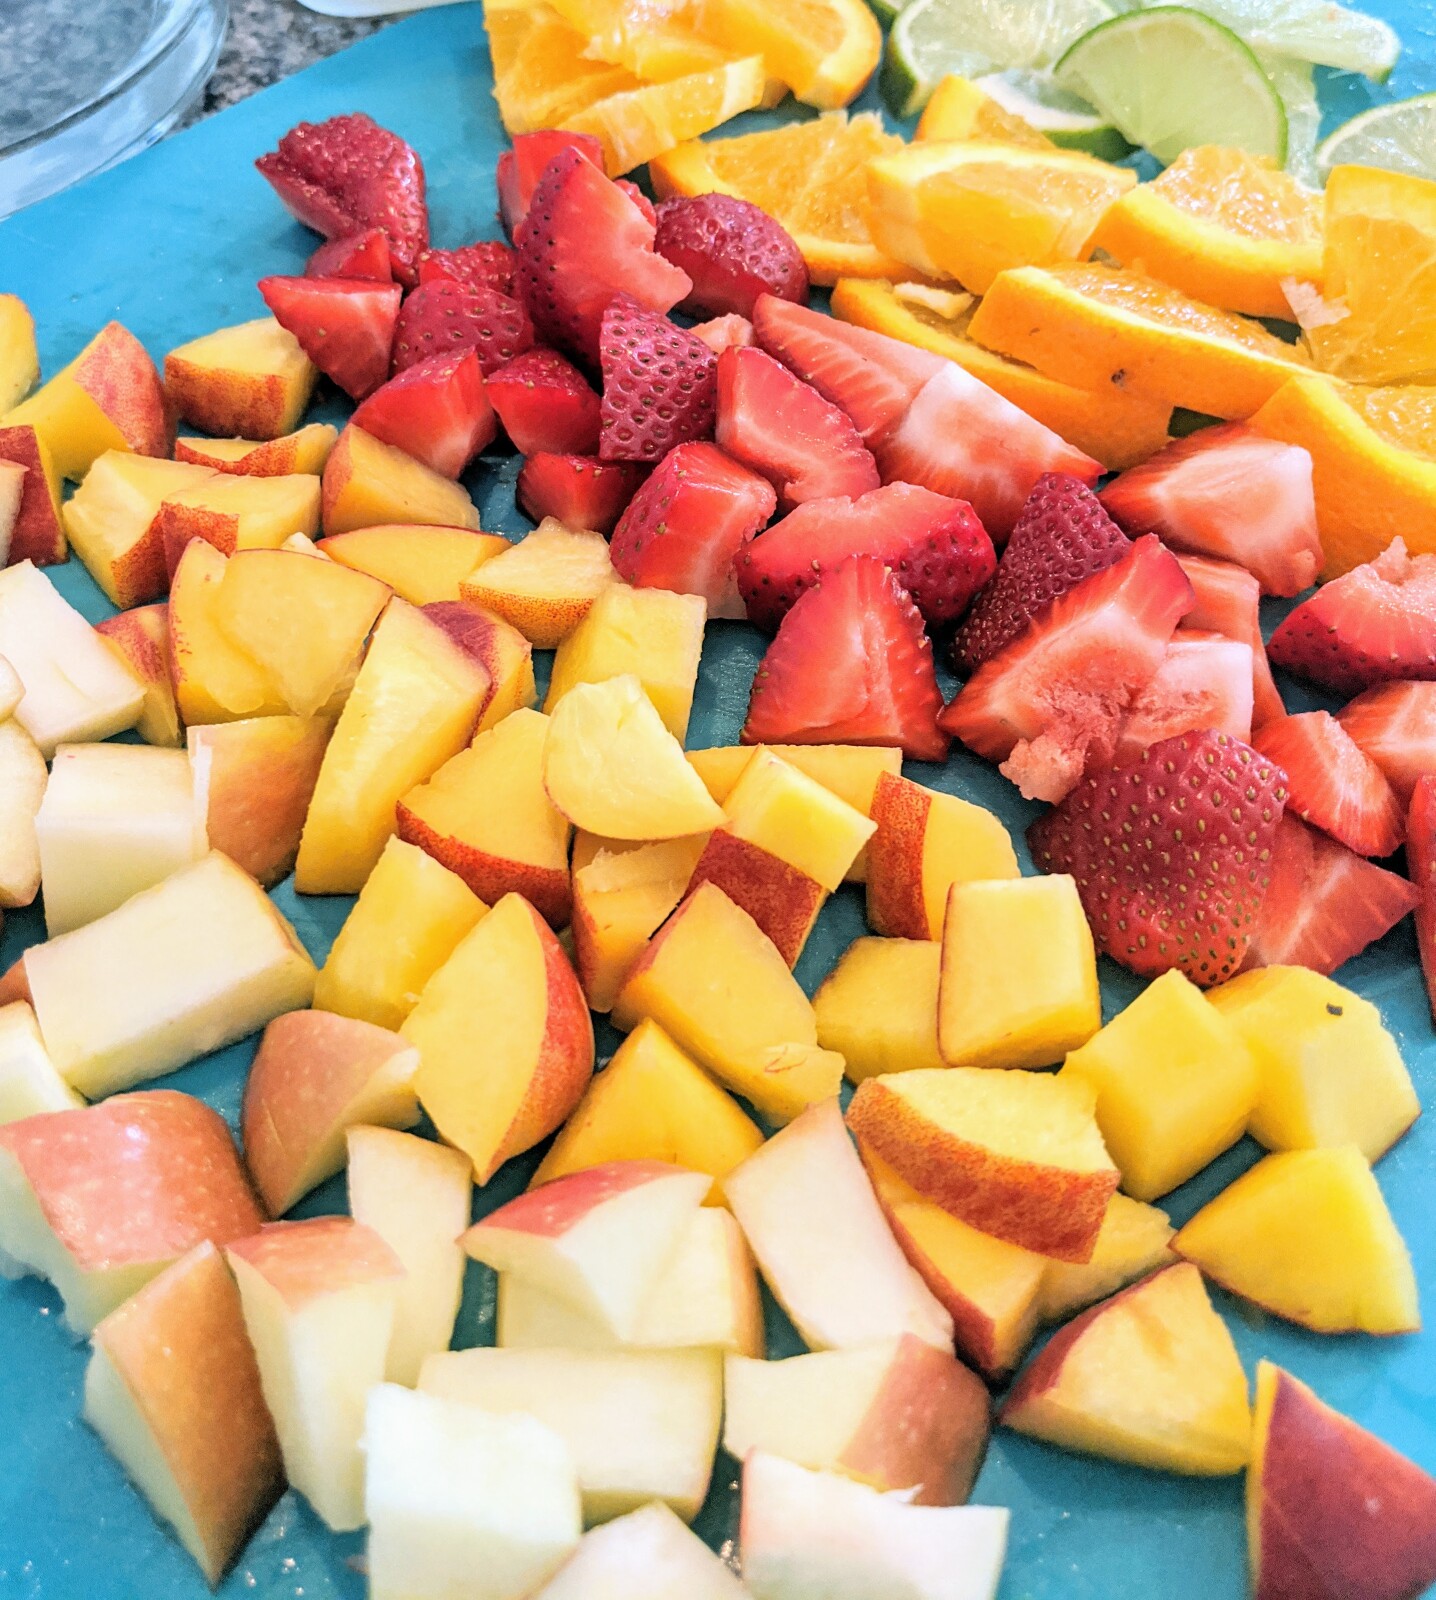
Try to match your color with a corresponding aroma. For instance, Lemon was yellow dough, Orange was orange dough, Strawberry was red, and Green was apple.
Store each ball of dough separately in a small jar or individual bags.
How do you incorporate this into a feeding focused sensory activity?
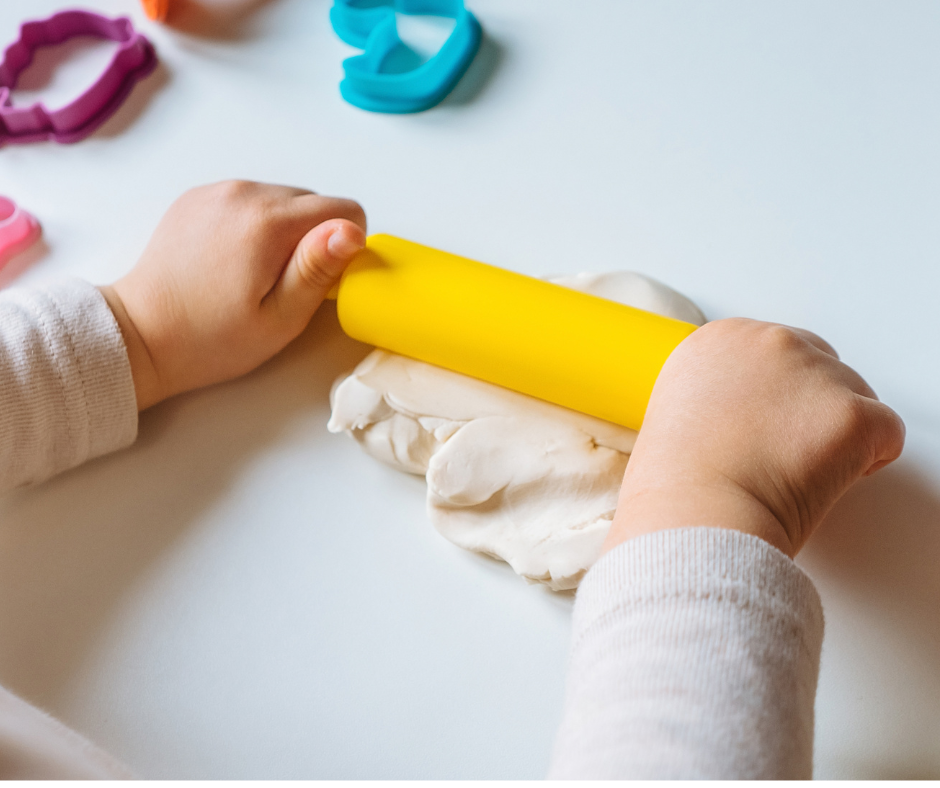
Simple! You touch, smell, look, and manipulate that dough. Talk about what it smells like. Describe what you think it smells and tastes like. Provide the child with vocabulary so they can associate certain words with smells. All them to roll, cut, smash, explore the different color dough. Ask them what it reminds them of.
You can even help them create food with the dough! This activity will get them excited and get their senses excited to explore their upcoming meal or snack time.
It will be a huge hit for everyone!
Enjoy!

This is a fun sensory activity that is playful and incorporates learning at the same time!
This activity really engages the senses!
You can create various colors.
You should incorporate calming aromas.
You have tactile stimulation.
What you will need:
Salt ( I just grabbed some from the Dollar Tree)
Food dye
Calming essential oils ( Our favorites are Peace & Calming, Stress Away, and Valor)
A cookie sheet or baking dish
Optional:
Pencil, stick, small objects
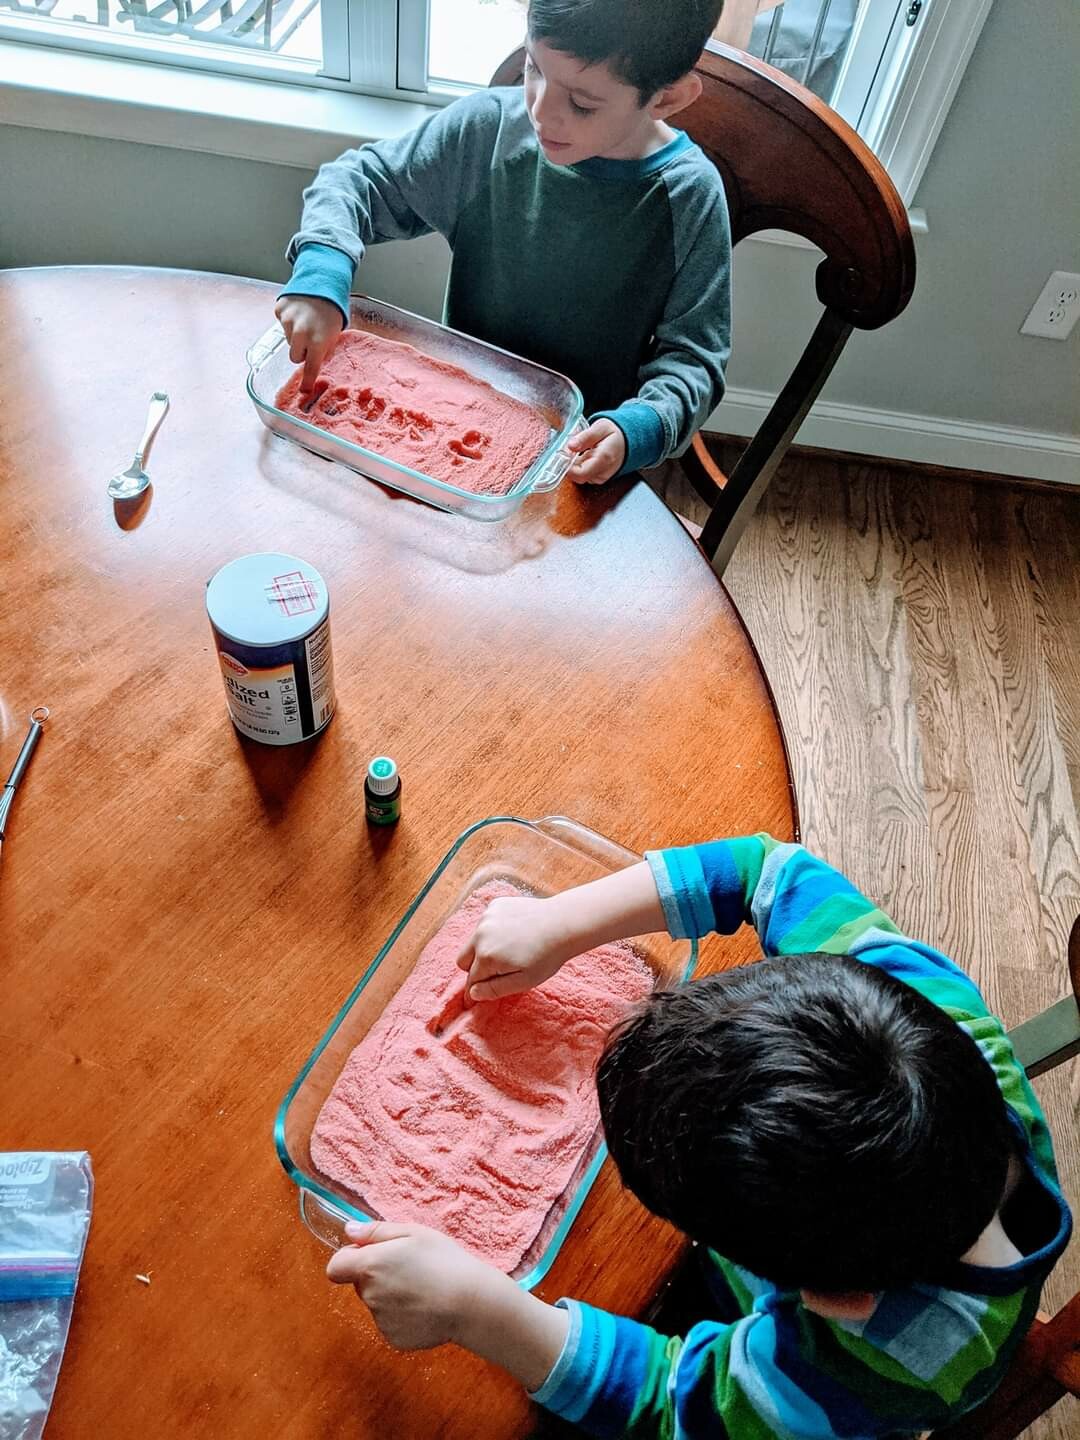
To create the colorful, scented salts, pour 2-3 cups of salt into a large ziplock bag. Add several drops of desired food coloring and allow your child to shake it up until well mixes.
Have a few options of oils available. Let the child smell the oils and pick the one they prefer. Add a few drops of oil to the bag and mix around once more.
Pour the contents onto a baking sheet or a baking dish. You may want a dish for the smaller kiddos.
Pick the activity you are going to work on! Here are some ideas:
-Practicing their uppercase and lowercase letters
-Practicing writing their name.
-Writing down the letter of the sound you provide them.
- Drawing shapes.
- Practicing a spelling list from school.
- practicing vocabulary by giving the child a definition of the word and having them right the correct word
- Practicing writing their numbers
-Writing math equations
The possibilities are endless! You can have the child use their finger, a pencil, or other simple objects. For the littles, you can simply have them search for objects in the salt. For example, "Can you find the ____, for me?"
By engaging the senses, you make a daunting task less stressful and more fun!
Who thinks that this is simple enough to give it a try?
Okay! The kids are home, and you are looking for simple yet entertaining fun.
The feeding therapist in me LOVES this game. My kids and I have played a version of this but of course, I prefer my way.
Who is this game for? ANYONE! I will give tips below for working with more sensitive and picky kiddos.
THE FOOD COLOR CHALLENGE-
What you will need:
A game spinner that you can find at the link below
2-3 foods that correspond with each color on the spinner (you may need to get creative for some)
Dry Erase Marker
How to play:
With your dry erase marker, write numbers on the different colors. This will correspond with the # of bites the person has to take of that food.
Decide who will go first. Youngest to oldest always seems to work best in our house. Get your spinner ready. Next, that first player will spin the game spinner. They will land on a color and will need to choose which food they will eat from the foods offered for that color. Once a food is consumed, it is removed from the options corresponding to that color.
Then the next player goes.
If a player refuses to eat their corresponding bites/color, they are out.
The first player to eat something from each color, wins!
Tips & Tricks:
-If you have picky eaters, put two likes and one challenging food per color.
-If your child is sensitive to textures or certain flavors, you can change the # of bites to them tolerating touching it, smelling it, or simply bringing it to their lips.
This game isn’t intended to be traumatic for those who struggle with different foods.
-You can also use various textures of the same food. For instance, if you are creating the yellow plate. Rather than have three different yellow foods, you can pick one item and present it in different textures.
For example, you can present a whole banana that they take a bite from. You can present mashed banana they can eat with a spoon, or you can cut up some bite size pieces for them to eat with a fork.
I know my boys absolutely challenging each other in games like this, so if you think your kids can handle it, allow them to help with the food options on the plate!
Who thinks their kids will have fun with this one?! I can’t wait to hear if you try it.