You know I love a good sensory activity!
As I planned my "Let's Eat" small group for the week, I remembered how much I enjoy incorporating play dough into sensory play. Then it dawned on me. As a way to lead into snack time for a therapy session, I will create aromas for the play dough using essential oils and food flavoring oils.
The recipe I used can be found below, along with various ways we used the playdough prior to diving into
our meal time.

The recipe for the playdough is from kidsactivities.com
2 Cups of Flour
2 Tbsp of Oil, I used fractionated coconut oil
1/2 Cup of Salt
2 Tbsp Cream of Tartar
1 1/2 Cup Boiling Water
Gel Food Coloring ( You can use regular food coloring but the color will not be as vibrant)
You will need citrus essential oils and/or the LorAnnfood oils of your choice.
To create the playdough, first put 1/5 cups of water on the stove to boil. While you are waiting, add the flour, oil, salt, and Cream of Tartar to a bowl. Mix well. Once the water is boiling, power the water over your flour mixture and begin to stir. It will be hot so please be care. Continue to manipulate the mixture until it is the consistency of dough. Set aside and allow to cool.
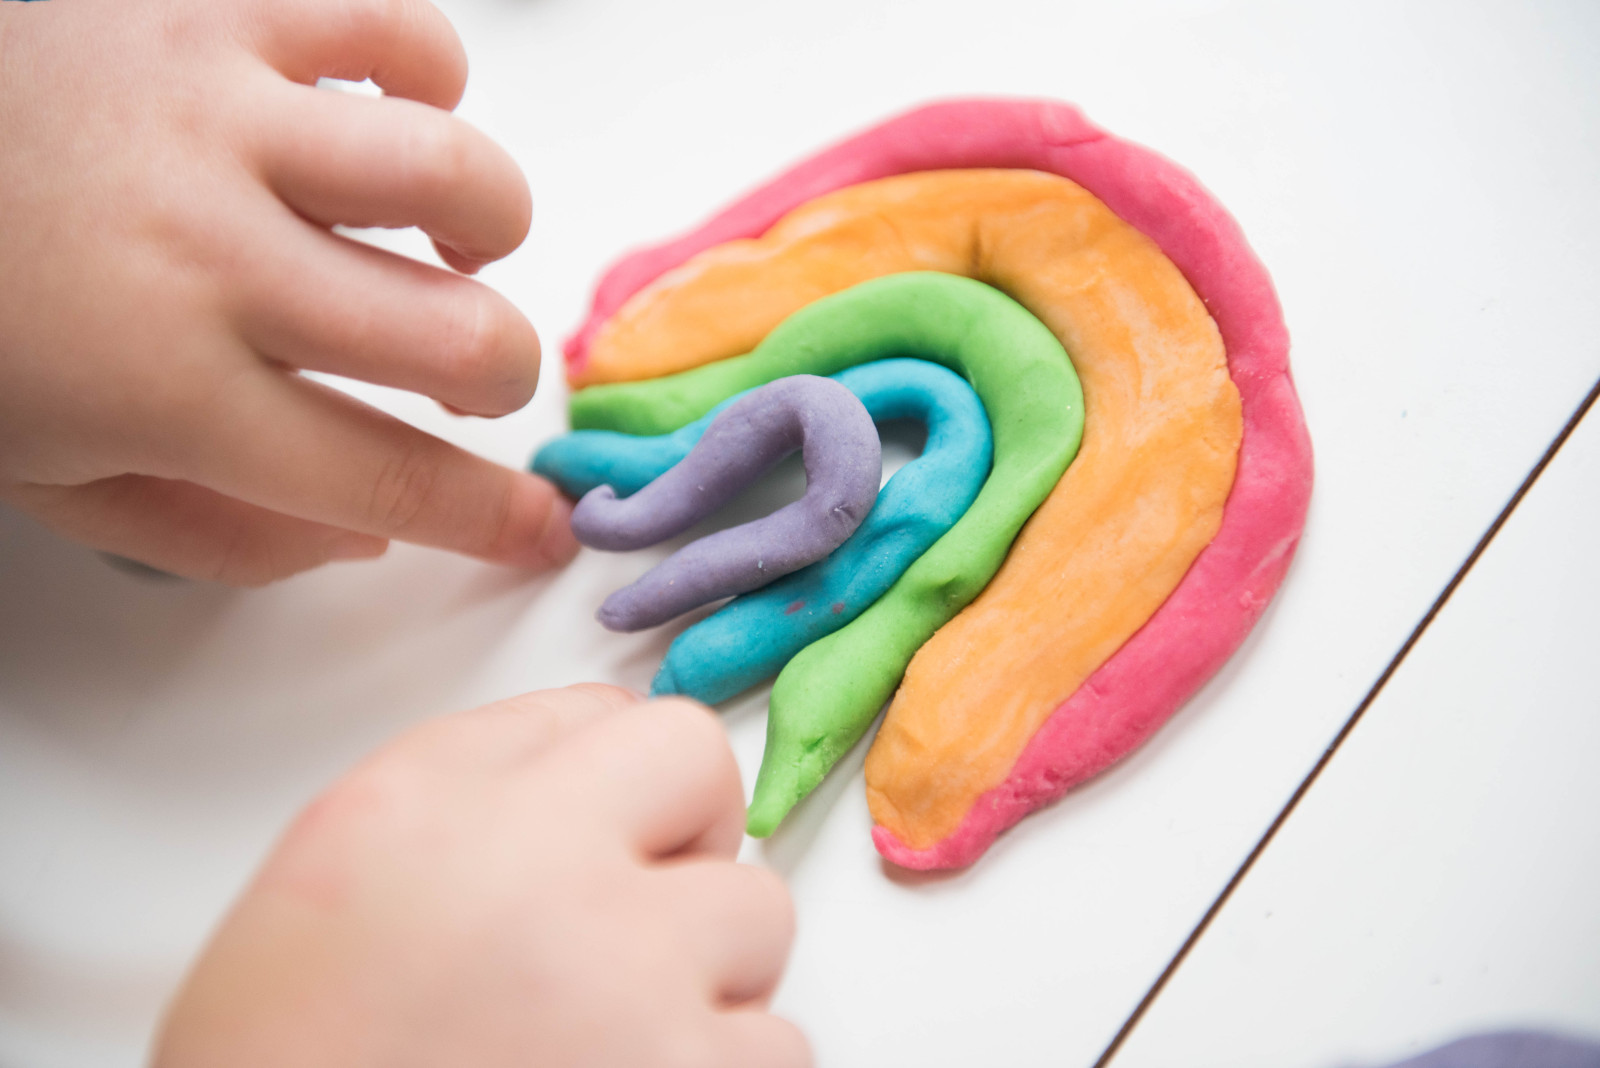
Once cool, separate into four equal parts to create four balls of dough. Create a divot into each ball with your thumb. Add several drops of desired dye to each ball of dough. Manipulate the dough until the color is well mixed.
Next, create the balls of dough and create a divot in each once more. Add 10-15 drops of your essential oil/food oils to the dough and knead until well mixed. You should be able to hold the dough to your nose and be able to identify the aroma.
Try to match your color with a corresponding aroma. For instance, Lemon was yellow dough, Orange was orange dough, Strawberry was red, and Green was apple.
Store each ball of dough separately in a small jar or individual bags.
How do you incorporate this into a feeding focused sensory activity?
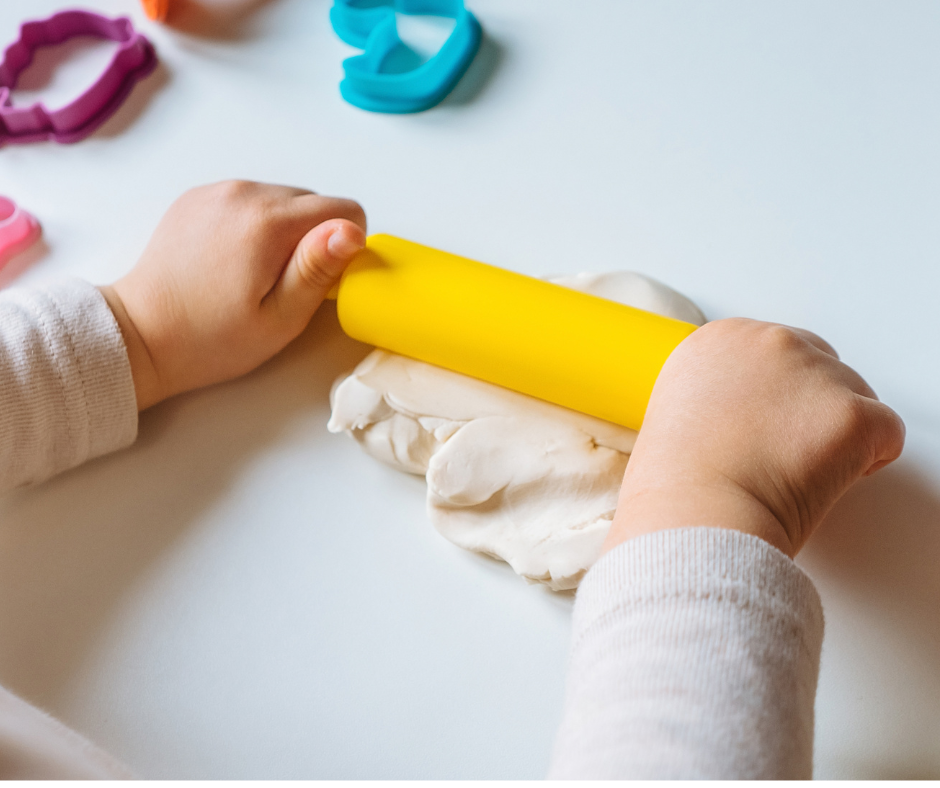
Simple! You touch, smell, look, and manipulate that dough. Talk about what it smells like. Describe what you think it smells and tastes like. Provide the child with vocabulary so they can associate certain words with smells. All them to roll, cut, smash, explore the different color dough. Ask them what it reminds them of.
You can even help them create food with the dough! This activity will get them excited and get their senses excited to explore their upcoming meal or snack time.
It will be a huge hit for everyone!
Enjoy!

As a speech pathologist, I have learned the importance of engaging the senses over the years. Whether it be for increased attention to task, eliciting speech/language production, or simply elevating a play activity, Sensory input can make a big difference in any routine.
Let's chat aromatics for calming and a simple bed time routine for those kiddos that find it difficult to settle or unwind.
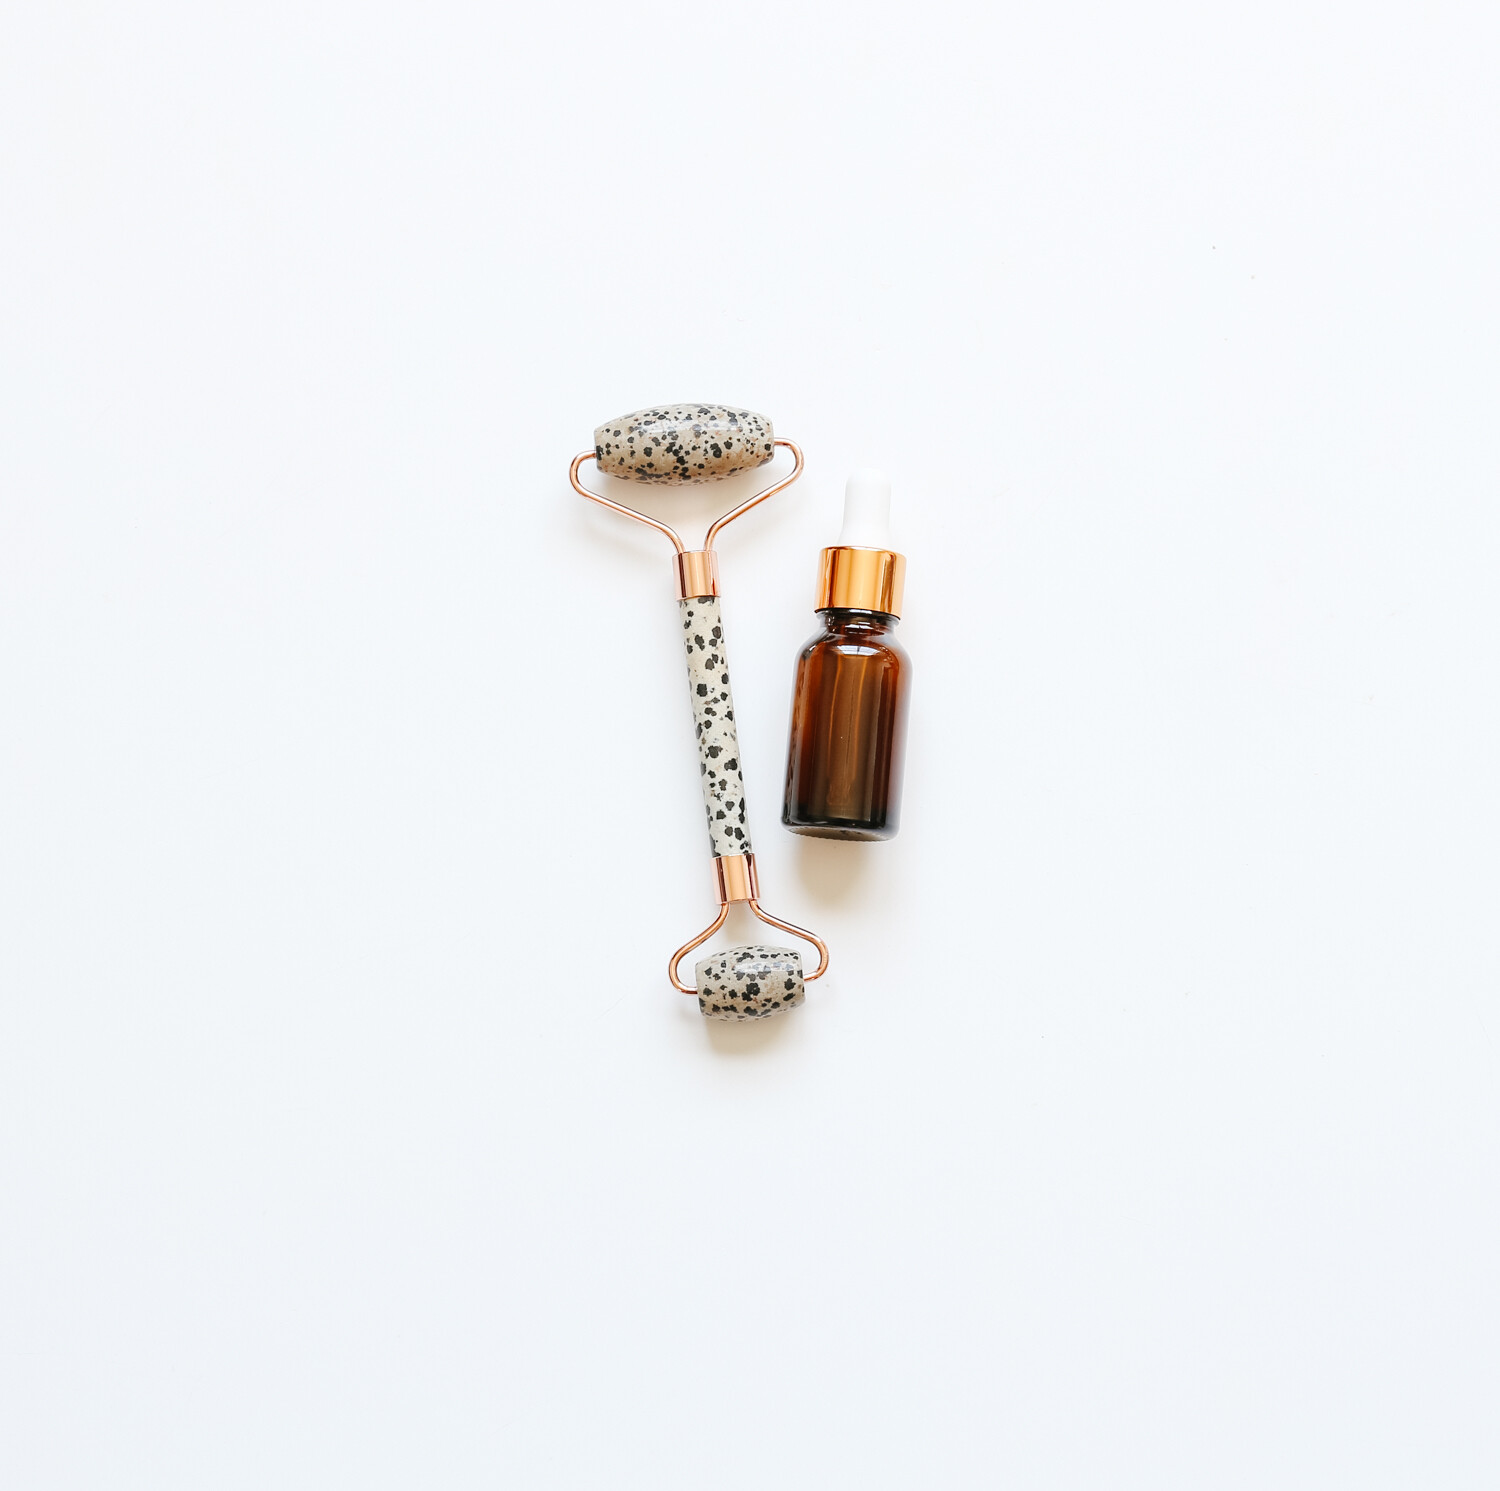
Essential oils and kiddos require a gentle approach. Some kids are ready to stand over the diffuser and breathe deeply while others are little more hesitant and may not care for such strong aromas. The key is to introduce the aromas slowly and gently! Here are some tips to carry over into their bedtime routine.
1. Involve them in the oil selection as much as possible. Pick 3-5 oils to have on hand in the evening. Allow them to open the bottle and smell them. Ask them to pick 1-2 oils that they would like to use for the night. The speech therapist in me will also tell you this is a great way to promote conversation skills, talking about feelings, and using descriptor words. Allow them to drop the oils into the diffuser water. I always say start low and slow. Have them count 3-4 drops out.
2. Let's talk bath time or even showers. Grab yourself a mason jar and fill it with Epsom salts. Allow them to a couple of aromas from your group of oils. Add about 10 - 15 drops to your jar of Epsom salts. Before they hop in the tub, mix in some "sprinkles" aka the bath salts to the water. This will help their body relax and trigger the mind for bedtime. If your kiddo takes a shower, simply pour some salts in the corner of the shower so that the aroma fills the bathroom while they are washing.
3. For the kiddo that needs some extra calm, try using an essential oil inhaler. These are inexpensive on Amazon and you can customize the wick with the essential oils of your choice. I put no more than 5 drops on each wick. This would be a great tool to hold under the child's nose while he/she takes deep breaths or simply discusses their day with you before bed.
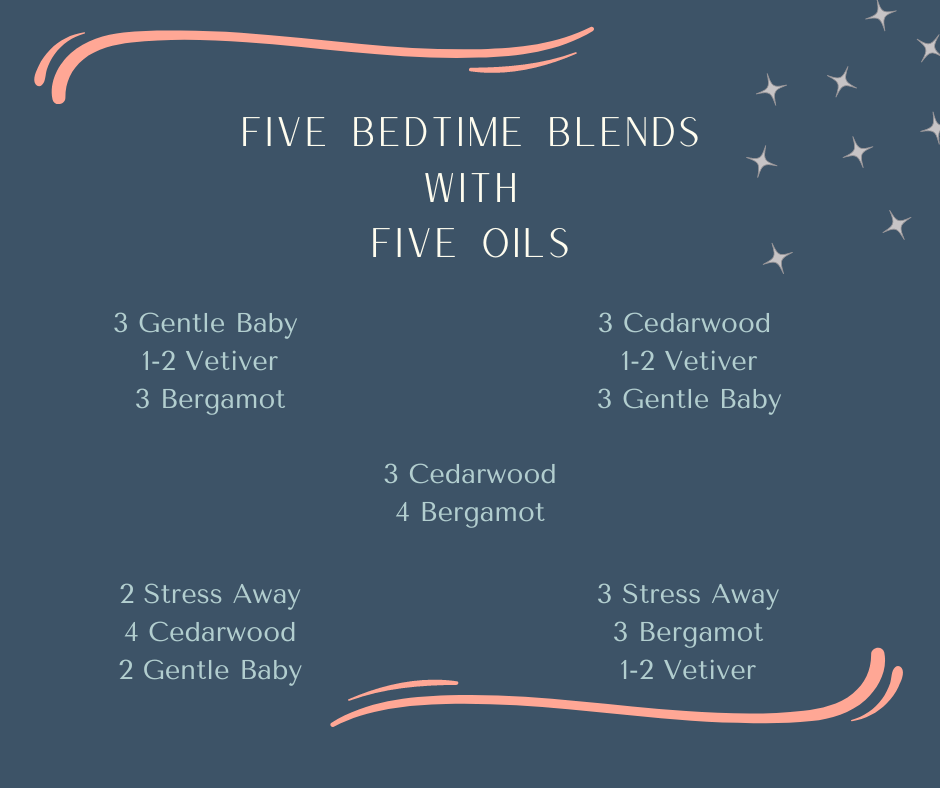
Here are some of our favorite bedtime oils to reach for!
If you are unfamiliar with oils, "blends" are a mixture of several oils to create a customized aroma. "Singles", are a bottle of essential oil that consists of oil from a single plant.
 |  |

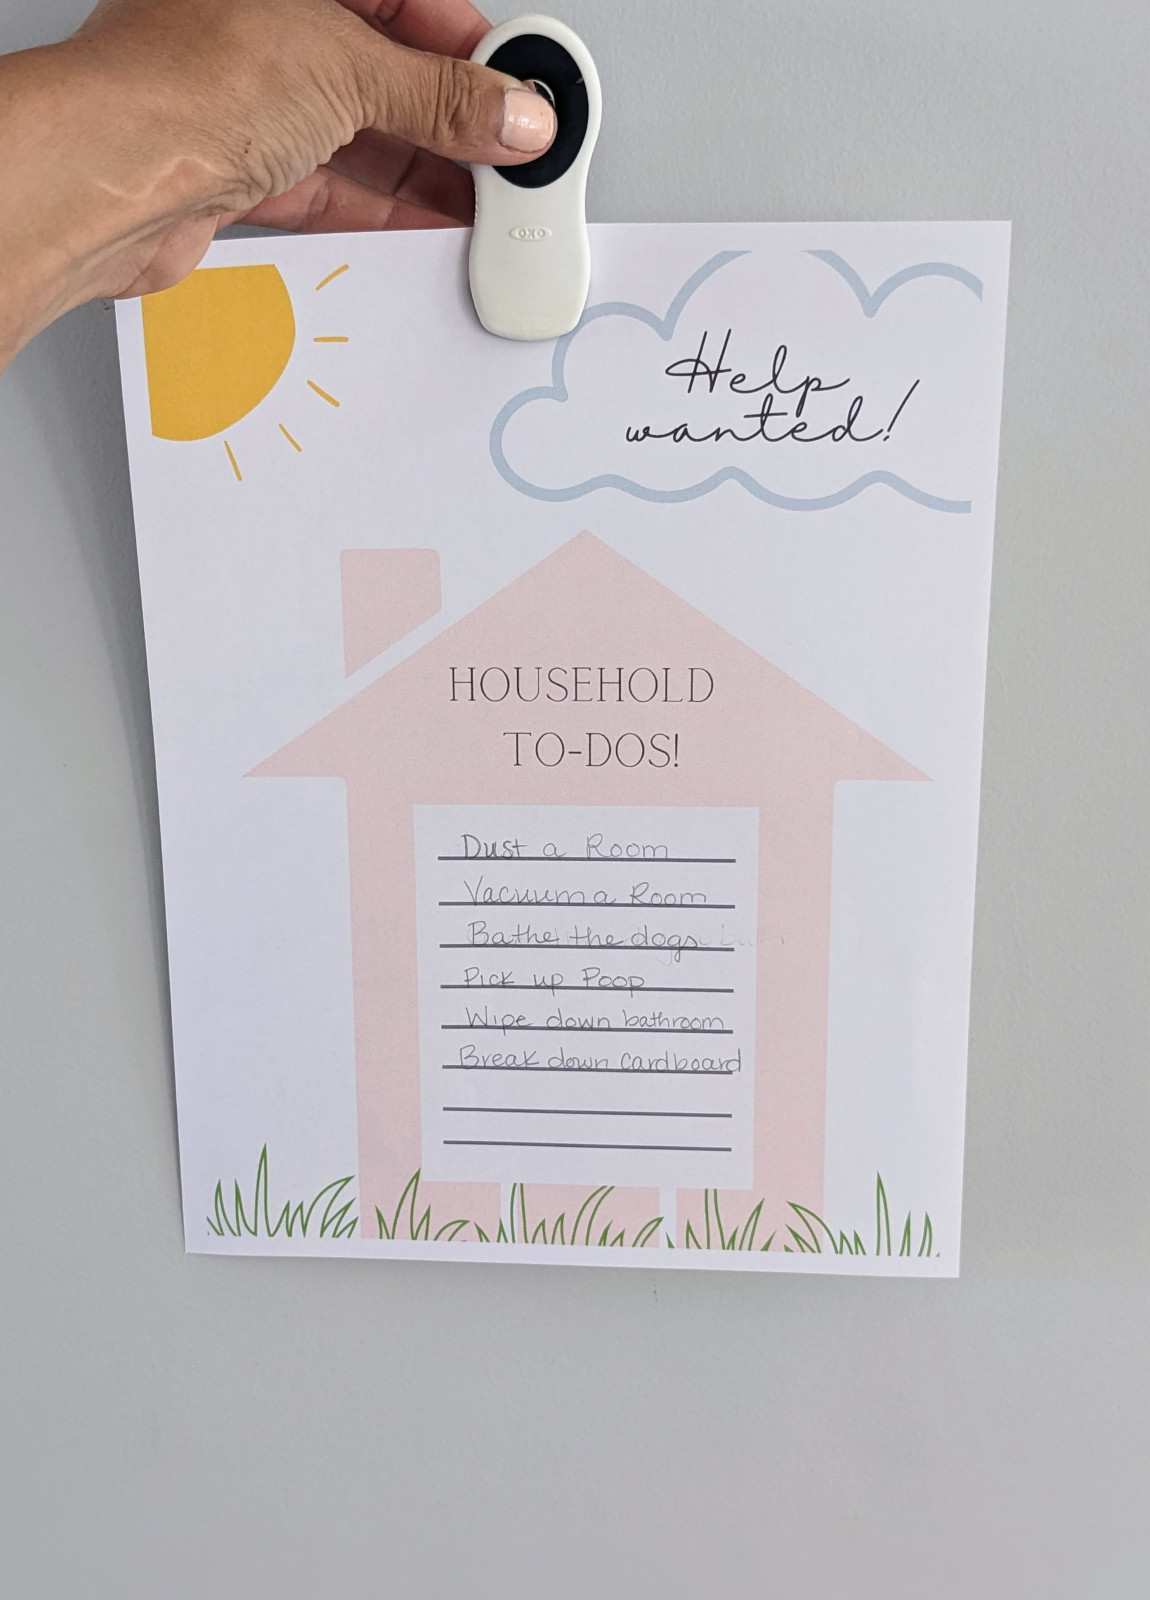
You have just wrapped up taking care of things around the house and sit down to play with your child. However, you find your child having a difficult time attending to the activity you are bring to their attention. They look, but then they get up and move onto the next toy/activity. As a parent, when we have a specific activity in mind, and our child doesn’t appear interested, it can be a tad frustrating and sometimes discouraging.
It is important to remember that children can be easily distracted and do not have a large attention span to begin with. Make sure you expectations are in the right place and minimize distractions.
When looking to engage your child, think about the senses. What can you present them with that will engage multiple senses?

Think of auditory stimulation. This can include music, sounds with simple objects, singing together, or simply raising and lowering the intonation of your voice. Pairing the sounds and/or music with movement is also fun and engaging for the child. Picture them stomping their feet on the ground while producing a “Boom!” with each step.
When it comes to visual stimulation, this can include bright, yet simple pictures. Also, simple objects that move or that the child can move themselves. Pairing auditory stimulation with a visual is a great way to promote speech production.
Tactile stimulation is a GREAT way to increase engagement and attention in your little one. This could be exploring different textures. Fill bins with beans, sand, sugar, pom-pom balls, and let them explore. Play-dough is always a huge hit. Children often find the soft and manipulative texture calming. For the kiddo who has a tough time attending to pictures, find books that present the child with various textured pictures.
The next one, may not have been on your radar, but smell is another way to engage your child and stimulate their senses in play. Have you ever seen how excited your child gets around Mr. Sketch markers? Not only due they get to color with those bright colors, but there is a sweet aroma that goes along with it. Add some essential oils or a spice such as cinnamon to their playdough or sensory bins. Attention and focus will be elevated!
When multiple senses are engaged at one time, your child is likely to attend better to task as well as engage and participate in the activity you present them with! Don’t be afraid to be silly with your voice or movements when it comes to play either. Get creative with various textures and smells. This could include playing with various foods or helping you in the kitchen.
Next time you go to sit down with your child, think about how you can elevate your activity by incorporating the senses.
All of us moms have been there. It is your first kiddo and they are wanting more than just pureed baby food at meal time. The panic sets in and all the nerves about your child choking, gagging, or refusing the eat kick in. What do we reach for? All the soft mushy stuff! Bananas, overcooked noodles, giant wafers, itty bitty puffs that dissolve so that there is no chance of choking.
What if I told you that while those foods are not bad, you do need to provide your child with firmer or crunchy foods so that they can learn to manipulate their food correctly.
When you stick to much and soft textures, your child's go to manipulation method is going to to mashing that food with their tongue against the roof of their mouth. Then, when it is time to had over a firm or crunchy food, we panic when they don't chew it or manipulate it the way they need to. This can lead to the gagging, choking, swallowing food whole, or food aversion or picky eating. It is so important that your child learns how to manipulate and chew their food with the right textures and consistencies.
Good news!
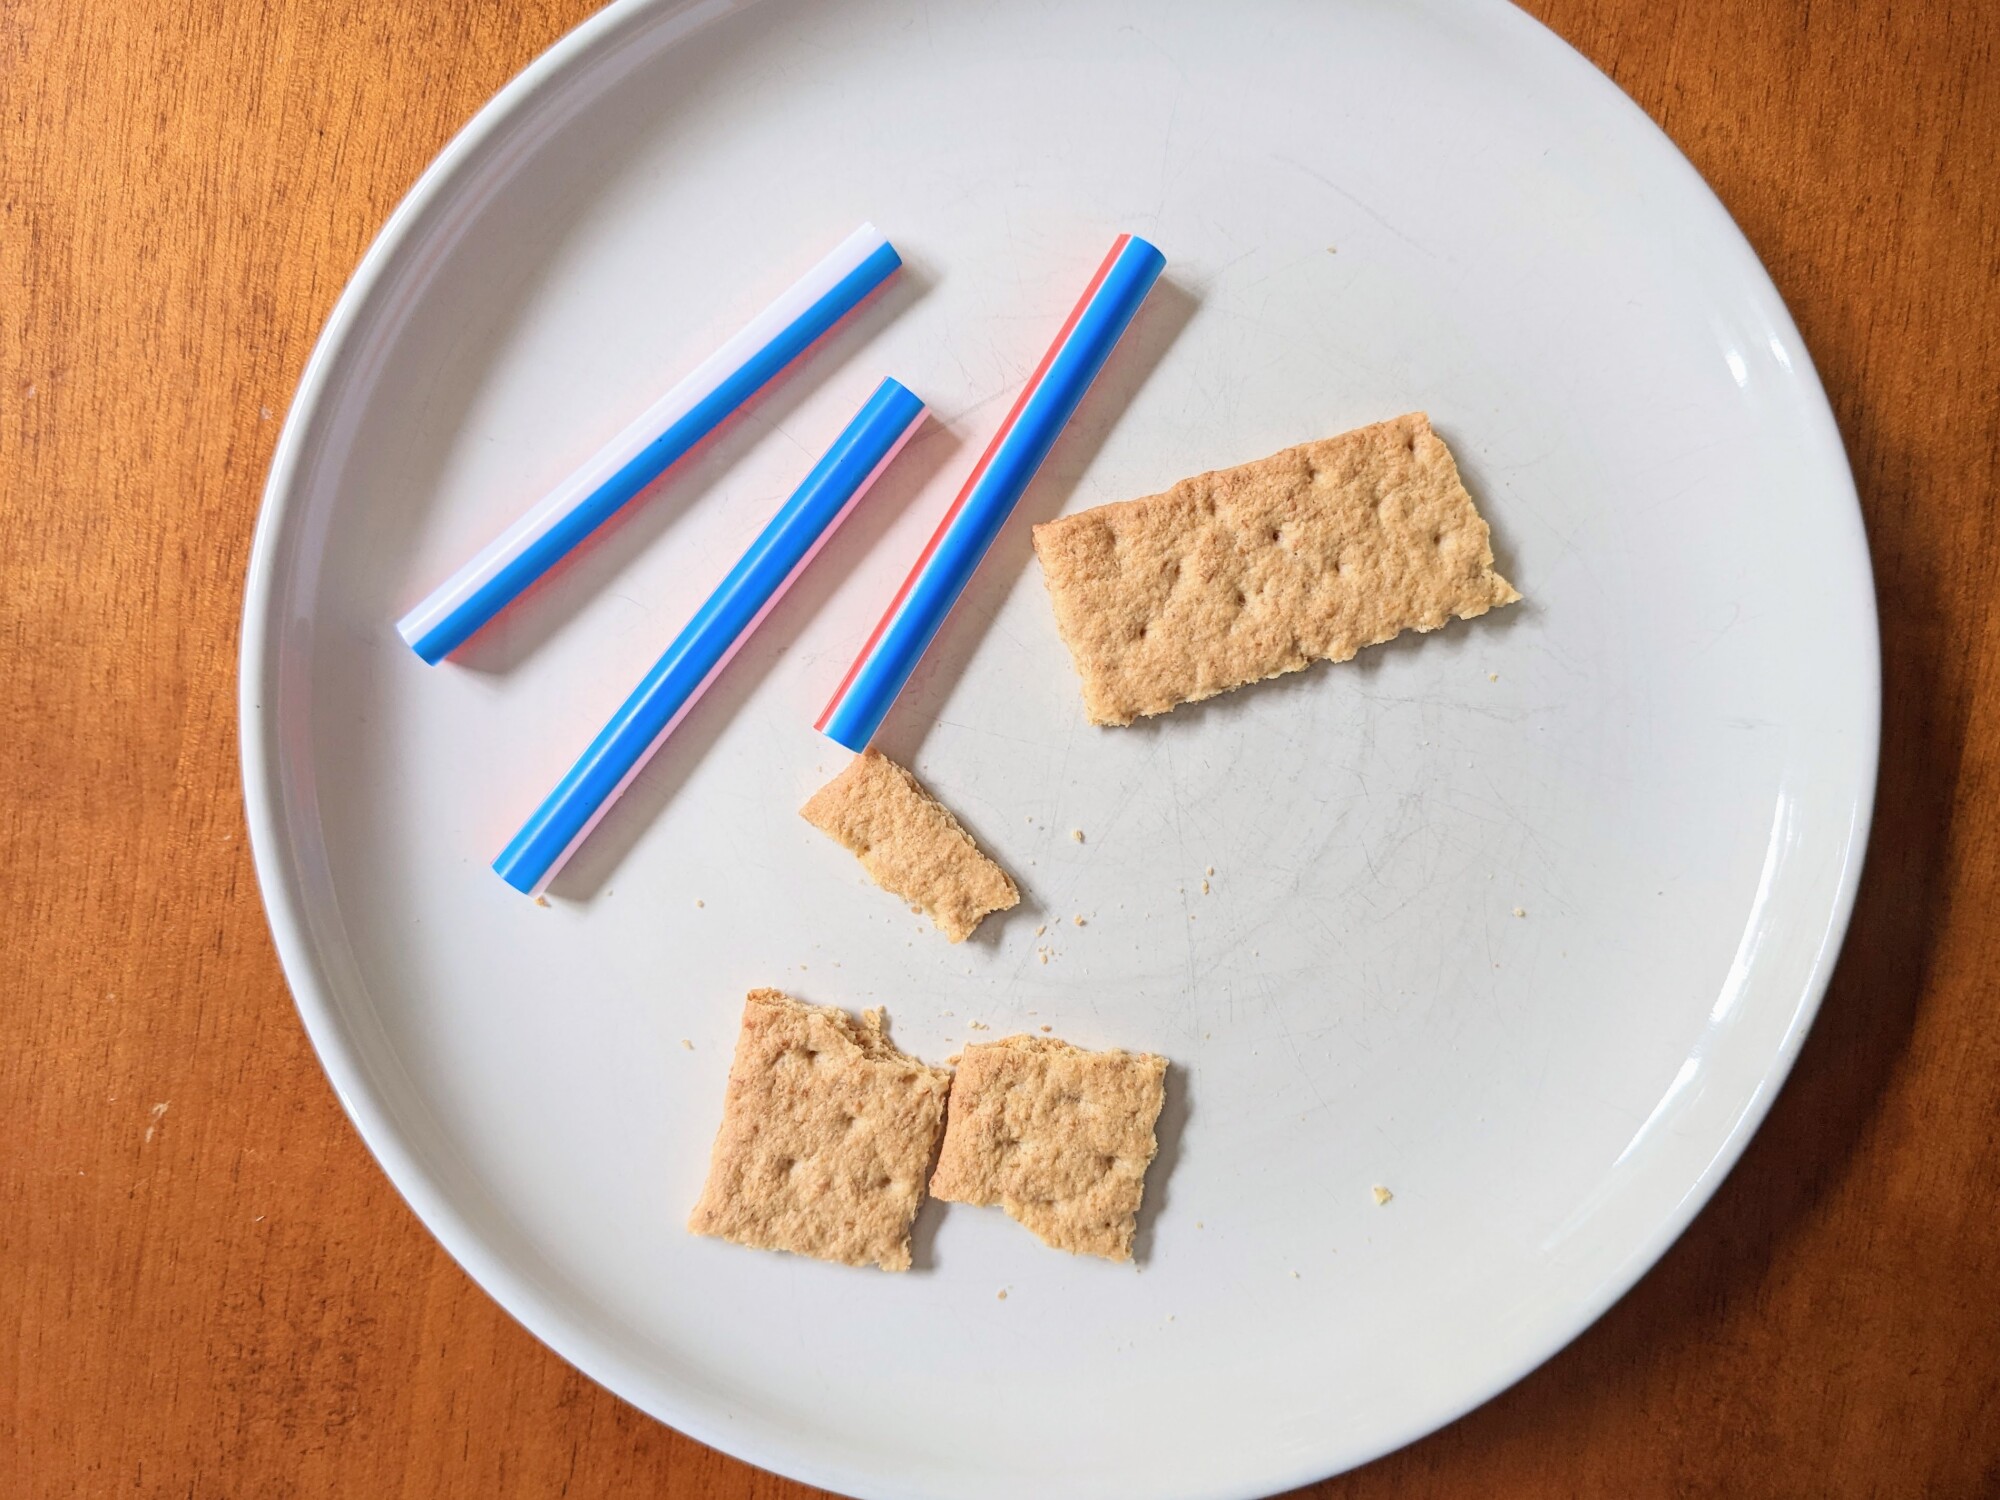
There are ways to do this without causing excess stress for the child and parents. Start with foods that are easily broken down. Reach for a graham cracker or a club cracker. Take a look at the technique below. Grab a milk shake straw. Cut it into thirds and stuff it with the cracker. Create several of these tools. One for you. One for your child, and a few more for them to independently grab and explore. Guide them to place the straw on the right or left gum line and model or tell them to "Crunch" or "bite". They get immediate sensory input from the sound and feeling of the crunch. This reinforces another bite, and another. As they manipulate the food in the straw it will work it's way out , make it's way to the tongue and they can safely swallow. You can do this with them to model the appropriate placement and chewing patter as well. I have done this with apple, melon, crackers, and chicken nuggets. As your child gets the hang of it, you can easily explore different textures using this same method!
Other tips for introducing solid foods correctly:
-Cut bananas into handheld spears. Freeze them. This is a handheld that with easily soften but can also be placed on the lateral surface to reinforce the correctly manipulation.
-Cut grilled cheese or quesadillas into handheld strips.
- As the child progresses try narrow carrot sticks or apple sticks (you can also freeze).
-Crisp up some sweet potato fries!
The easier for them to hold and place, the better.
Say goodbye to large dissolvable wafers and handheld nets. You will set yourself up for an easier transition with the above suggestions!