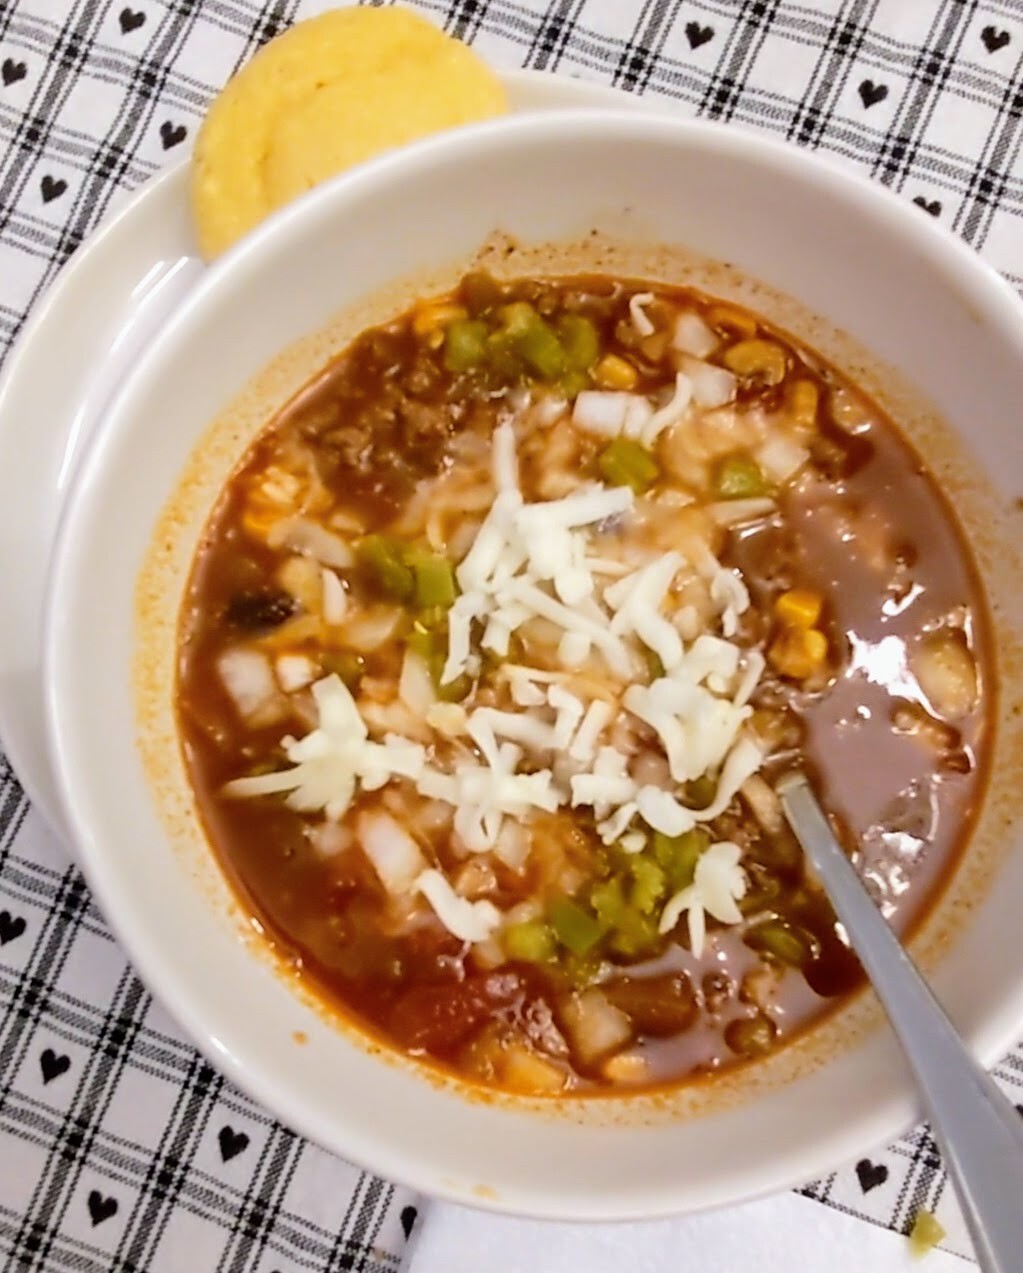
Chili becomes a staple meal in our house once the temperature drops below 65 degrees outside. It took me several different recipes to find the flavors and additions that my family enjoys the most to come up with a recipe that continues to be a hit. I have also made enough times that I know EXACTLY what I need and how much to add without having to second guess myself.
Sometimes I show off the all of the ingredients I use to make our weeknight chili and I always get questions about the ingredients. It is definitely time I put them all in one place!
So, without further ado, I give you our Brown Ale Chili recipe!
Ingredients:
1-pound lean ground beef
1 pound hot or mild Italian sausage
1 cup of chopped white onion
1 bell pepper (any color), chopped
(OPTIONAL) 1 chopped jalepeno
1 can of corn, drained
1 can of black beans, drained
1 can of fire roasted tomatoes
1 4 ounce can of diced green chilis
4 tablespoons chili powder
1 teaspoon Cumin
1 teaspoon onion powder
1 teaspoon smoked paprika
1 teaspoon ground chipotle peppers
Salt & Pepper to taste
1 bottle of brown ale
2 tablespoons Worcestershire sauce
Beef Broth for additional liquid
Step 1: Brown the sausage and ground beef together. Drain excess fat.
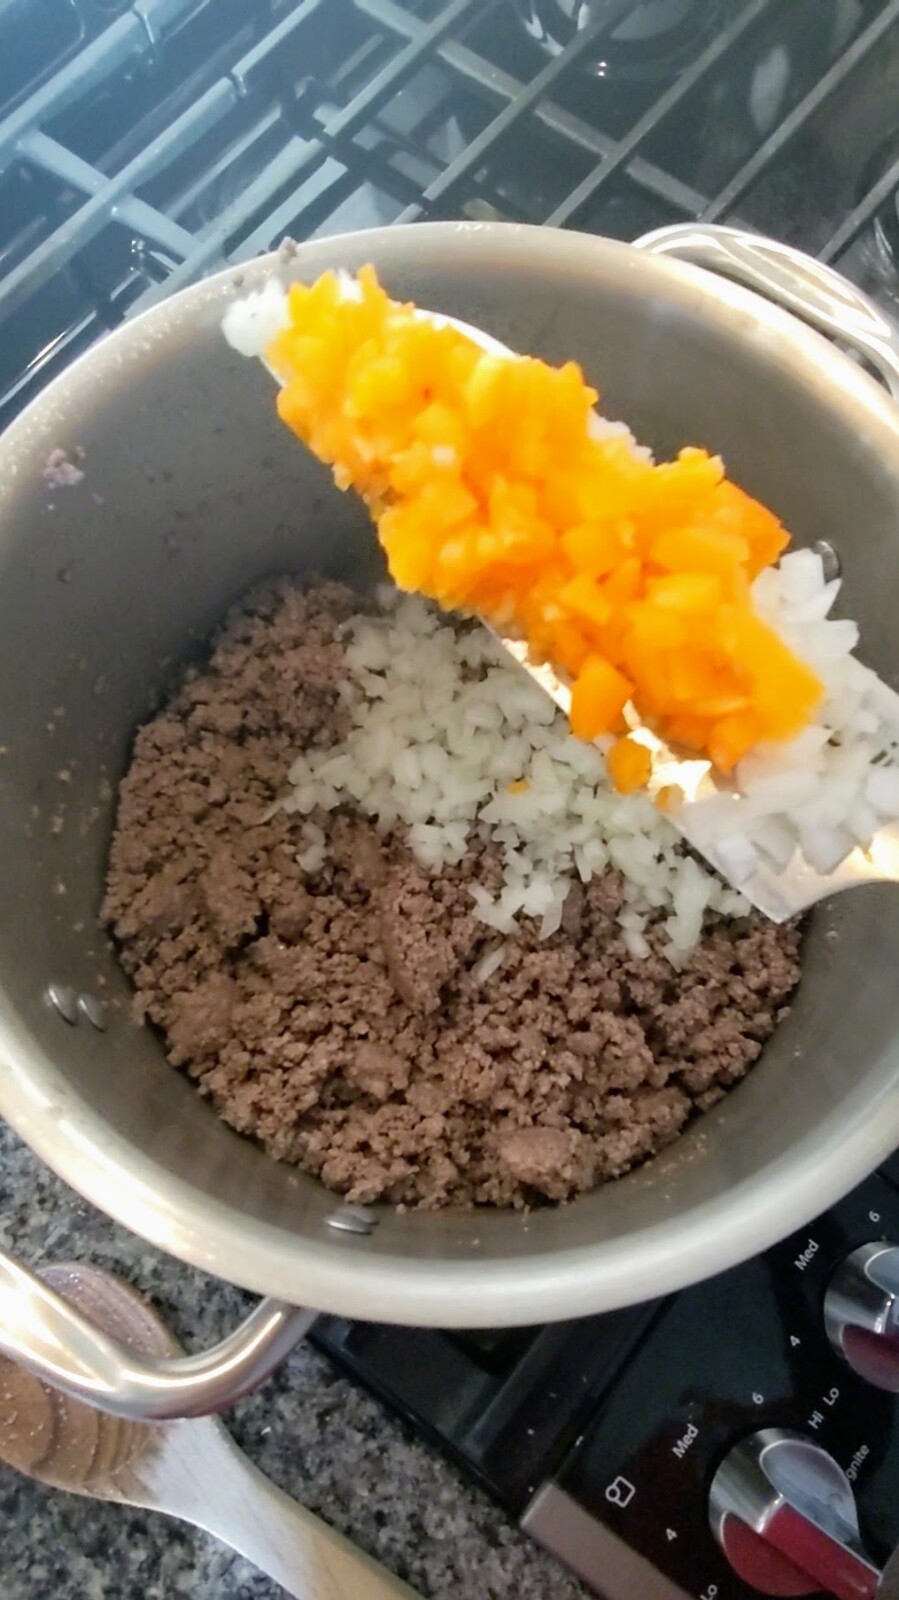
Step 2: Add chopped onions, bell pepper, and optional jalapeno pepper to the meat. Sauté until soft.
Step 3: Add the diced tomatoes, corn, black beans, and green chiles to the mixture. Sauté for about 5 minutes.
Step 4: Add in the seasonings, chili powder, cumin, onion powder, smoked paprika, and ground chipotle peppers. Mix well. Follow up with salt and pepper to taste. Taste the mixture before adding the liquid so that you can adjust flavors if needed.
Step 5: Add Worcestershire sauce and the entire bottle of brown ale. Stir into mixture.
Step 6: If needed, add beef broth until the consistency is what you desire. Keep in mind some of the liquid will evaporate.
Step 7: Bring mixture to a boil. Then, simmer for at least 30 minutes before turning off the heat and serving. I also like to do this in the slow cooker on low for 8 hours.
If you have a picky eater, serve this with a comfort food such as bread. Start with dipping the bread into the broth several times. This will allow them to capture the flavor with a food they are comfortable with.
With a meal like chili, you may have to deconstruct it for them at first. Maybe a few pieces of meat on the side of a plate, next two a few kernels for the corn, and a few beans to try. I know it isn’t the most convenient way to introduce this new meal BUT it allows them to slowly introduce the new textures and flavors to themselves without an overwhelming presentation of all of the components at one time.
I hope you enjoy the recipe! If you make it, I would love to hear how you enjoyed it. Comment below.
Meal planning….
When someone says the words “meal planning” to me, my response is, “UGH”. I am not big on planning ahead for anything, let alone what we will be eating for breakfast, lunch, and dinner the next five days. However, when I know my kids’ schedules are about to pick up, I KNOW the way to take some stress off my plate is plan out our meals for the week. The more you do it, the easier it gets! I have been off track all summer but I am ready to get back to planning and taking the guess work out of our meals.
When I think of meal planning, I often just think about dinner. As my kids have grown a little bit older, I have found that THEY LIKE to know what their meal options are for breakfast and lunch. When they do, this leads to less meltdowns and arguments over what is being put on their plate.
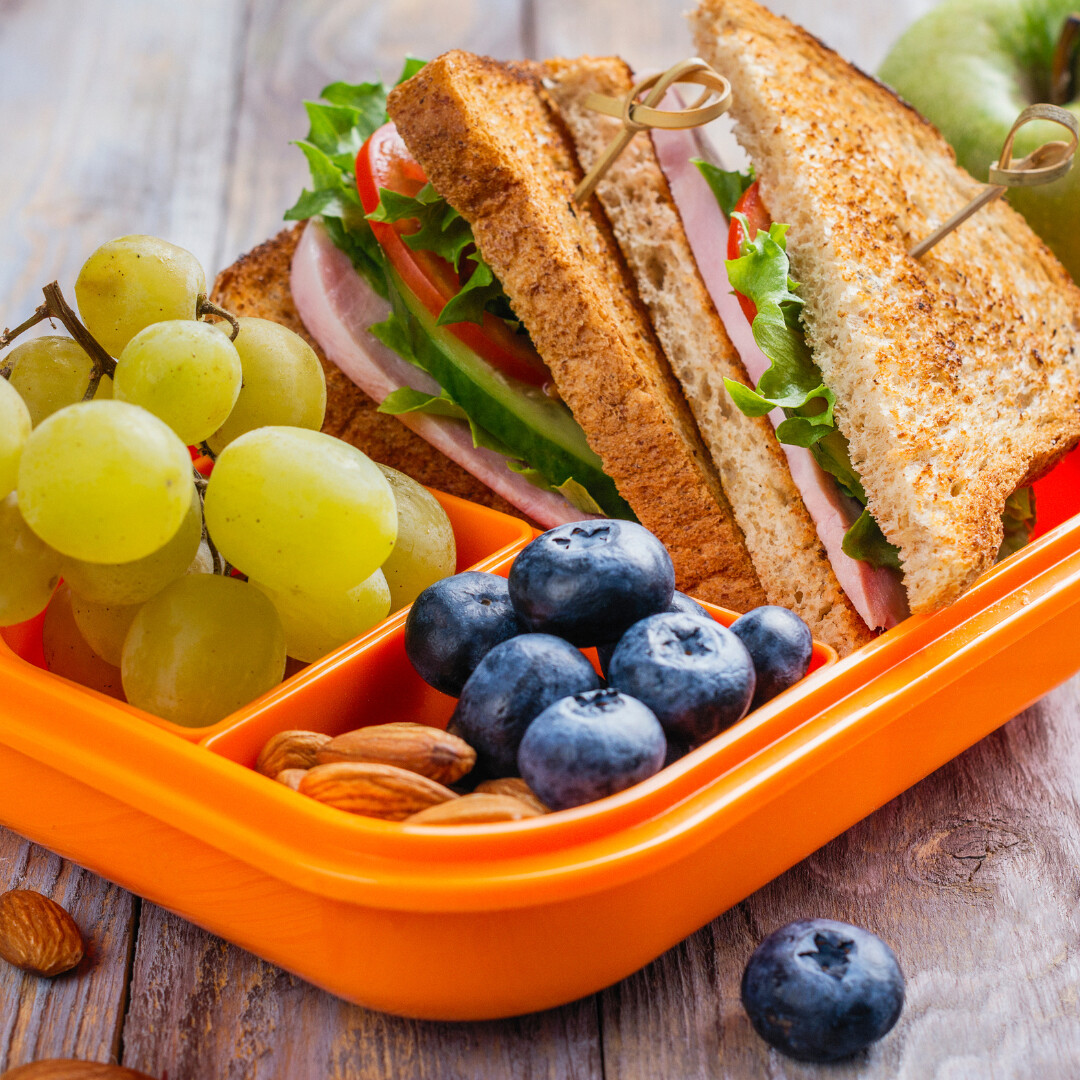
For breakfast, I like to pick three different items to rotate through for the week. One of those items is always a grab and go that I can easily pair with fruit. I will make a batch of muffins or hard-boiled eggs to reach for when little feet are dragging.
When it comes to lunch, I tell my kids to pick two days they will be purchasing their lunch at school. Once they do that, they know they have a couple of options to choose from when they are bringing their lunch.
For dinner, I ask everyone for one dinner suggestion for the week. This leaves me with only two meal ideas to come up with! Also, if we know we are eating on the go one night, I am sure to write that down as well.
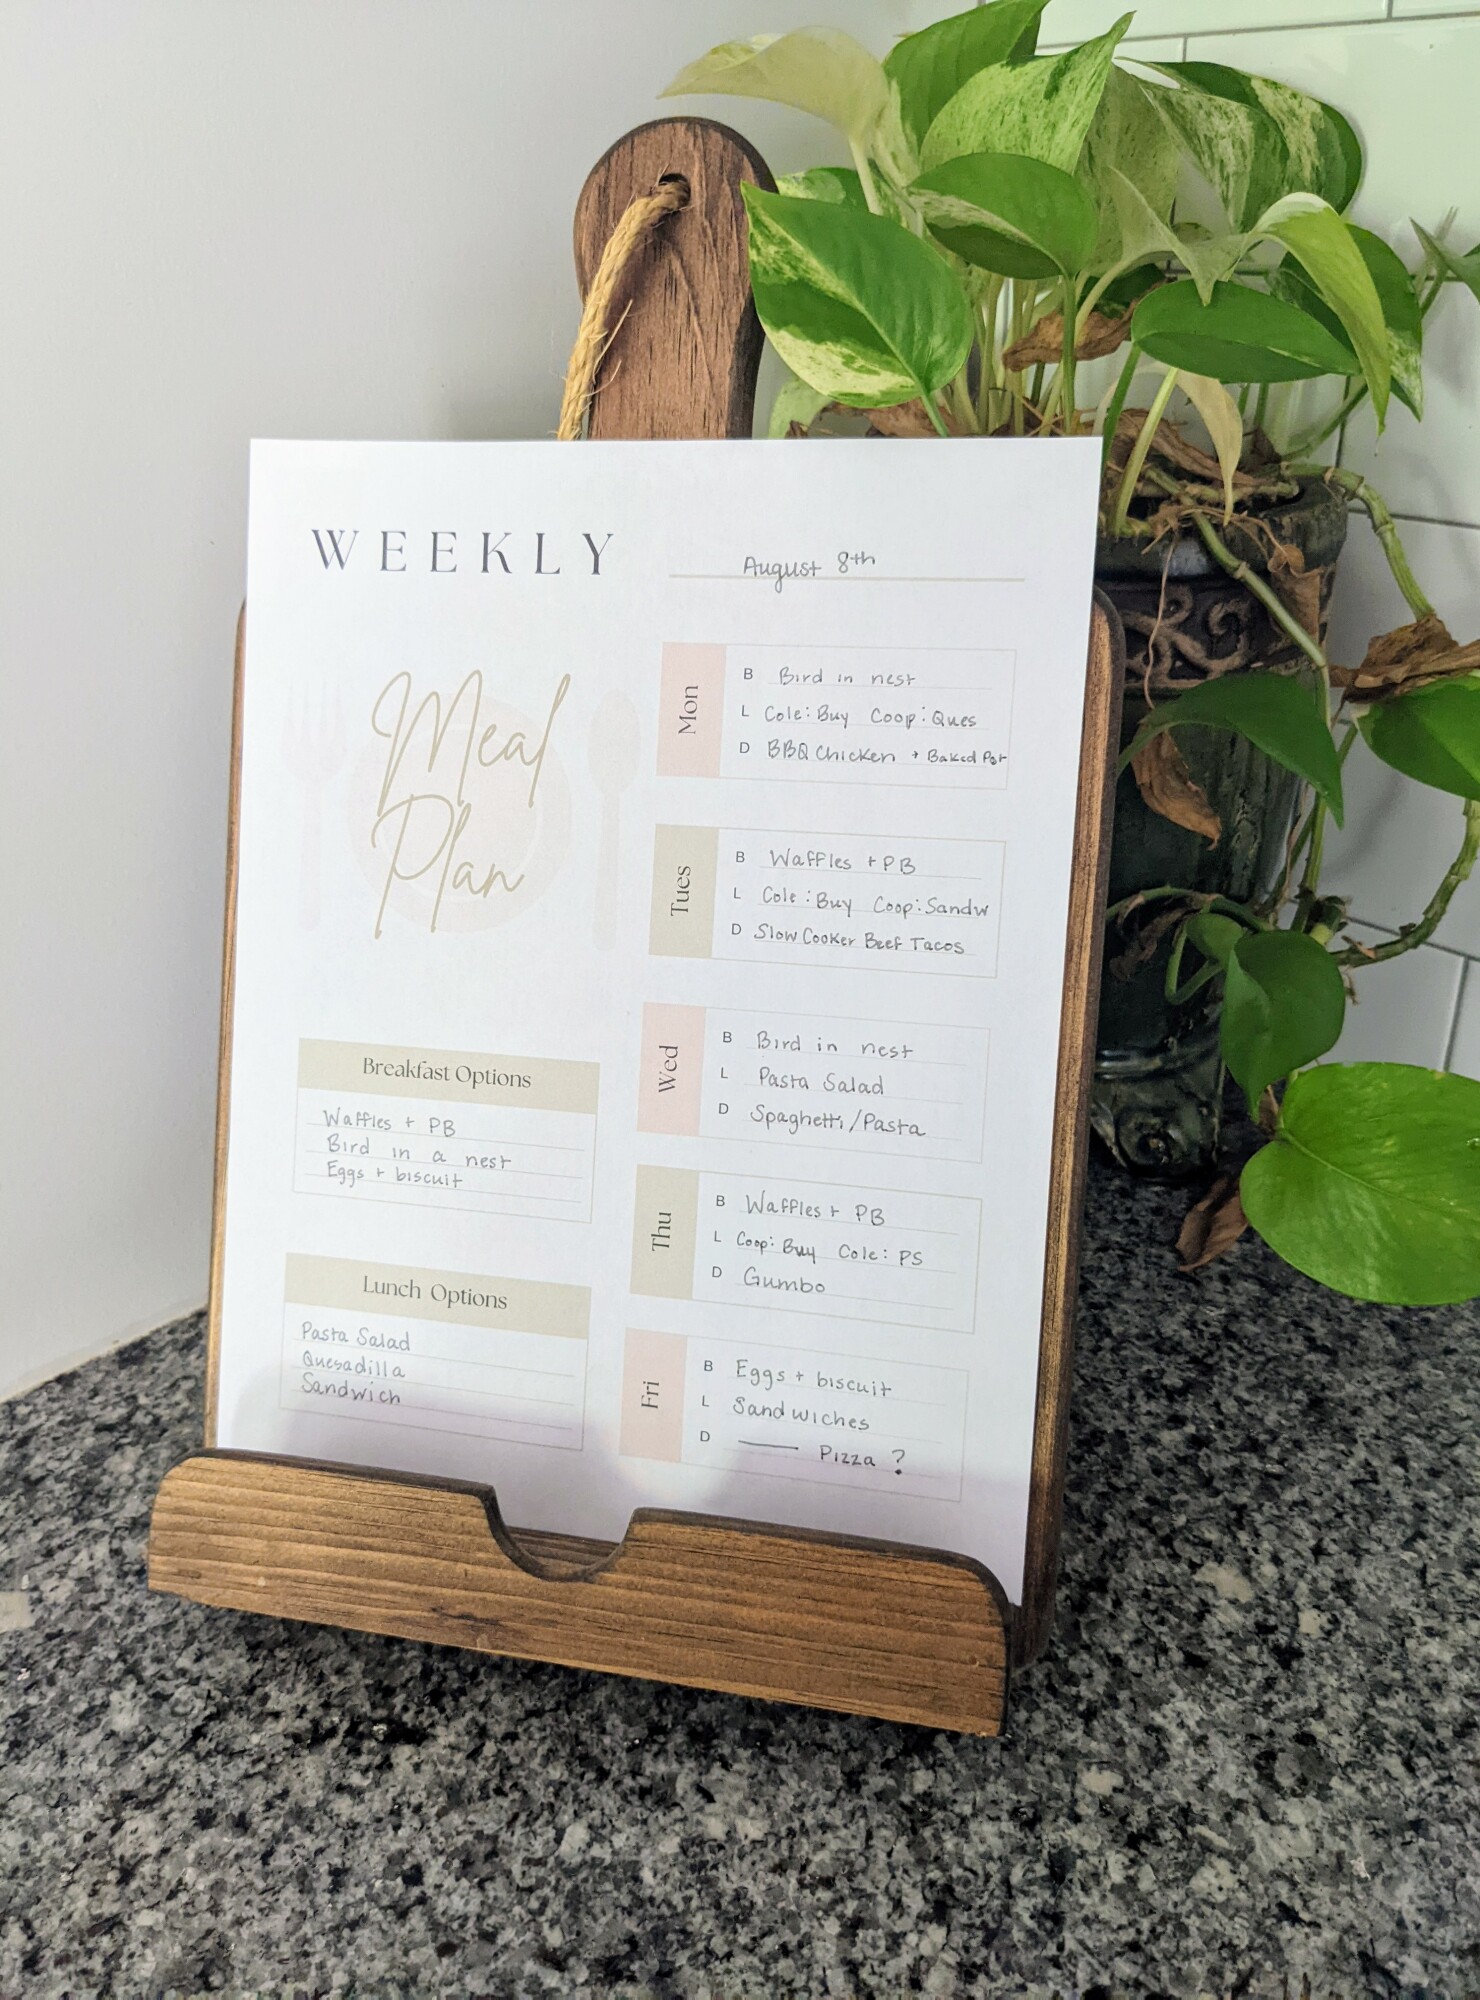
Check out the FREE Meal Planning Printable HERE!
Tips for this print out:
1. Save them! A friend once showed me how she saves her weekly meals so that when we is in a slump, she can simply look back and recreate a previous hit!
2. Let the family participate in their choices. It takes a load off of your plate and gives them a sense of control.
3. The breakfast and lunch boxes are there to lay out the options for the week. This way you aren't short order cooking at the crack of dawn while trying to get everyone out the door.
4. In the lunch section, you can mark whether or not a child/family member is purchasing lunch out that day. This way you have a better idea of the meal prep that will be going into the following day.
5. Be flexible! Things change. Schedules change. Wrenches get thrown into plans. Don't sweat it if you don't follow your plan to the tee.
Enjoy! Remember, the more you do this, the easier it will get.


