
Chili becomes a staple meal in our house once the temperature drops below 65 degrees outside. It took me several different recipes to find the flavors and additions that my family enjoys the most to come up with a recipe that continues to be a hit. I have also made enough times that I know EXACTLY what I need and how much to add without having to second guess myself.
Sometimes I show off the all of the ingredients I use to make our weeknight chili and I always get questions about the ingredients. It is definitely time I put them all in one place!
So, without further ado, I give you our Brown Ale Chili recipe!
Ingredients:
1-pound lean ground beef
1 pound hot or mild Italian sausage
1 cup of chopped white onion
1 bell pepper (any color), chopped
(OPTIONAL) 1 chopped jalepeno
1 can of corn, drained
1 can of black beans, drained
1 can of fire roasted tomatoes
1 4 ounce can of diced green chilis
4 tablespoons chili powder
1 teaspoon Cumin
1 teaspoon onion powder
1 teaspoon smoked paprika
1 teaspoon ground chipotle peppers
Salt & Pepper to taste
1 bottle of brown ale
2 tablespoons Worcestershire sauce
Beef Broth for additional liquid
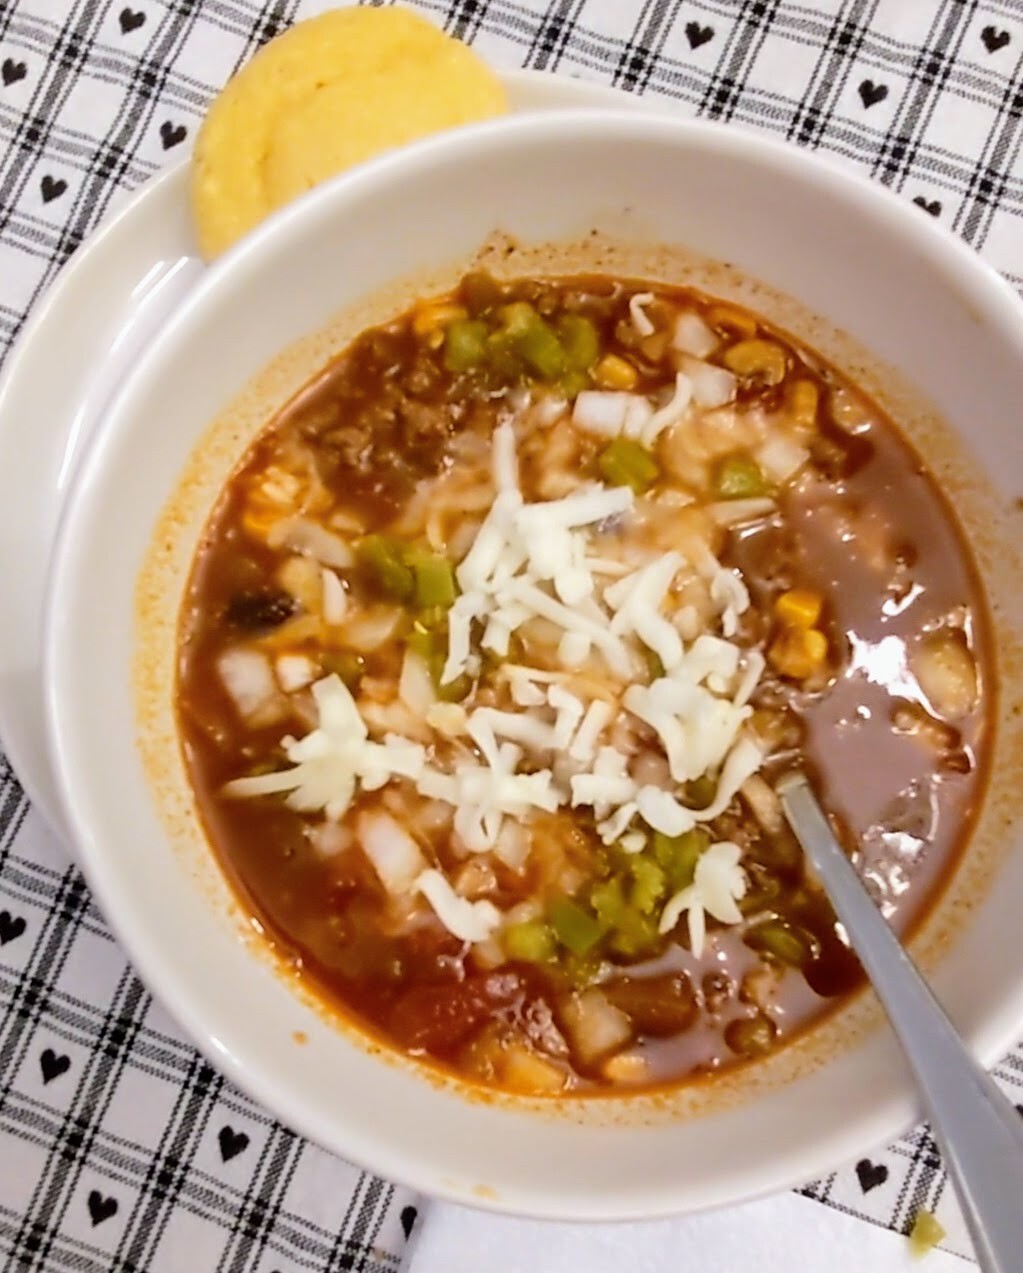
Step 1: Brown the sausage and ground beef together. Drain excess fat.
Step 2: Add chopped onions, bell pepper, and optional jalapeno pepper to the meat. Sauté until soft.
Step 3: Add the diced tomatoes, corn, black beans, and green chiles to the mixture. Sauté for about 5 minutes.
Step 4: Add in the seasonings, chili powder, cumin, onion powder, smoked paprika, and ground chipotle peppers. Mix well. Follow up with salt and pepper to taste. Taste the mixture before adding the liquid so that you can adjust flavors if needed.
Step 5: Add Worcestershire sauce and the entire bottle of brown ale. Stir into mixture.
Step 6: If needed, add beef broth until the consistency is what you desire. Keep in mind some of the liquid will evaporate.
Step 7: Bring mixture to a boil. Then, simmer for at least 30 minutes before turning off the heat and serving. I also like to do this in the slow cooker on low for 8 hours.
If you have a picky eater, serve this with a comfort food such as bread. Start with dipping the bread into the broth several times. This will allow them to capture the flavor with a food they are comfortable with.
With a meal like chili, you may have to deconstruct it for them at first. Maybe a few pieces of meat on the side of a plate, next two a few kernels for the corn, and a few beans to try. I know it isn’t the most convenient way to introduce this new meal BUT it allows them to slowly introduce the new textures and flavors to themselves without an overwhelming presentation of all of the components at one time.
I hope you enjoy the recipe! If you make it, I would love to hear how you enjoyed it. Comment below.

Alright friends!
When is the last time you had your hair cut? I chopped my hair off in the fall and had my last cut the first week in December. With all of life's events and now the stay-at-home orders, I have absolutely no idea when a haircut will make it onto our schedule. To be honest, I wanted to start growing my hair out after my last haircut. This mama missed the ease of putting her hair in a ponytail. However, I knew I was in trouble with these color treated ends and no haircut for sometime. Over the last few months, I changed a few things in my routine and my hair has absolutely taken off and is looking super healthy! 

I am here to share that with you as I know switching to a plant-based hair care routine can be so tricky! First, in the fall, I started taking an MSM supplement, after attending Silver Retreat. Lindsey Elmore spoke about Sulfurzyme and how beneficial it was for our bodies. She said it should be incorporated into everyone's routine. This got me digging. I started googling MSM and WOW! I get it, we should all look into an MSM supplement. The list of benefits go on and on. MSM has been studied and may support things such as:
- Inflammation/Arthritis
- Cartilage Preservation
- Range of Motion & Physical Function
- Reduce Muscle Soreness Associated with Exercise
- Reduce Oxidative Stress
- Seasonal Allergies
- Skin Quality & Texture

I found this article helpful! https://www.ncbi.nlm.nih.gov/pmc/articles/PMC5372953/ . Rather than go down the rabbit hole of all the supplements available, I went with what I knew and trusted, Young Living. After about three weeks of taking Sulfurzyme, I noticed a difference in my nails, hair, and muscle tightness/soreness post workouts. If you are looking for a starting point with supplements, here is a great one!
Onto nourishing my actual hair!
My hair is growing. There is no doubt about that! The question now was how to nourish and make it through all of these months without a haircut. The big key here, is a plant-based formula. We are trying to nourish the hair and stay away from harsh chemicals and toxins. However, if you have ever tried to make the switch, you know it can be tricky!
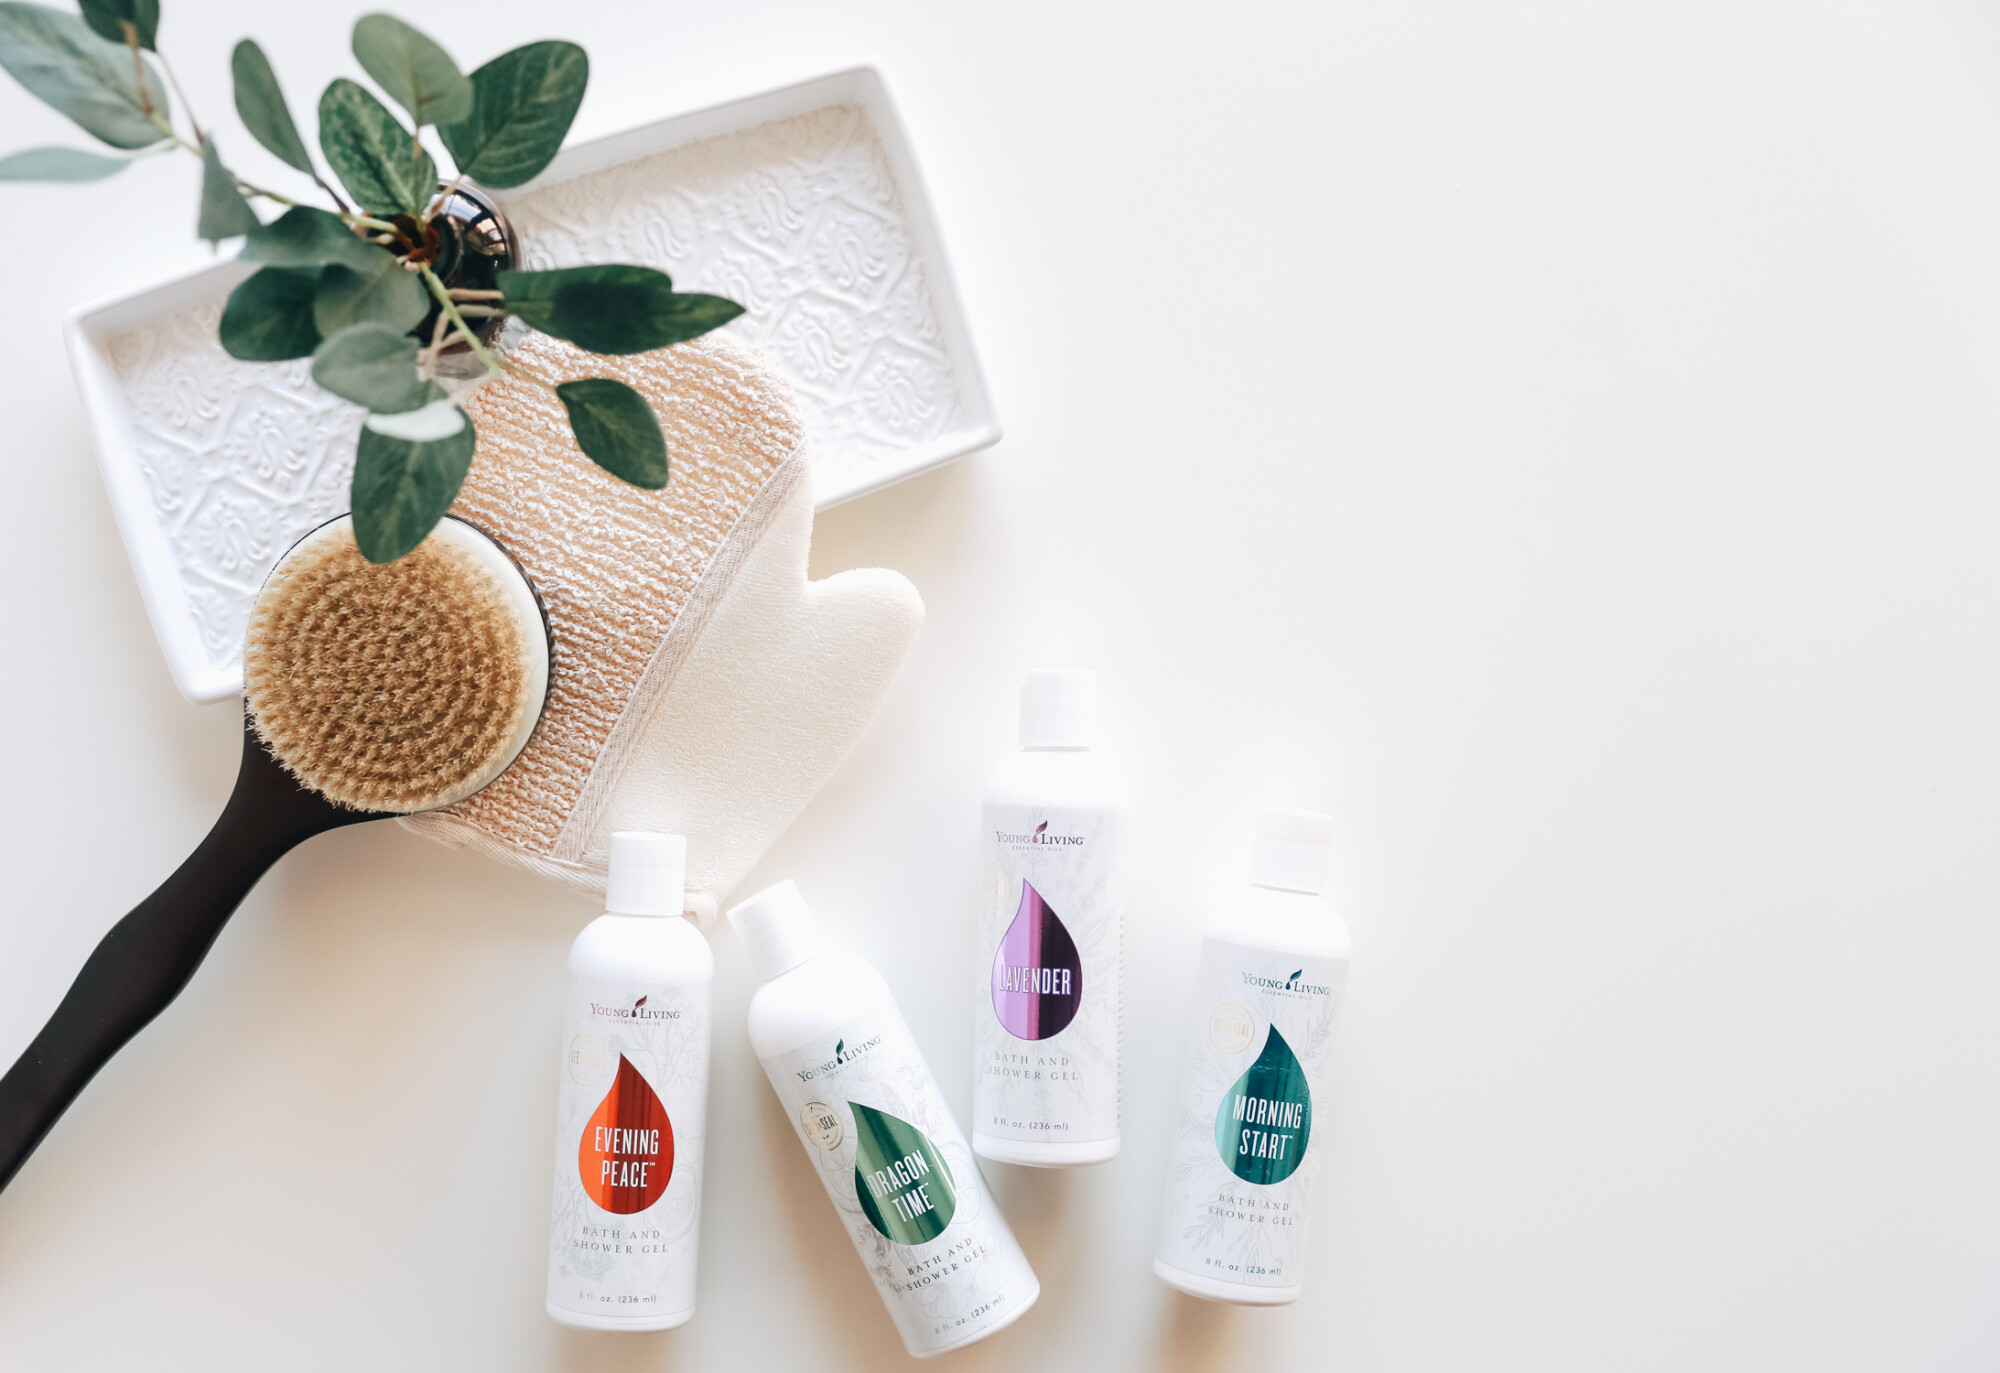
Step 1: Cleansing
I recommend everyone start with Young Living's Lavender Shampoo! It is light and you get a great lather. Another bonus, it ALSO contains MSM. You need no more than a nickle-sized amount! My husband uses less. Only cleanse your SCALP! Unless you have product in your hair, you only need to wash your scalp. Leave those natural oils that are nourishing your hair alone. If you find you need more moisture in your shampoo, then try the Lavender Mint Shampoo. If your hair is extremely dry, over-treated, or breaks easily, I would look into the Copaiba Vanilla.
Step 2: Conditioning
If you have fine hair that is prone to oil and grease, go with Young Living's Lavender Conditioner. I have color treated hair so I want something with more moisturizing components. I go with the Young Living Lavender Mint Conditioner. You are going to wring your hair out and gather in your hand like you are putting your hair in a ponytail. Massage a dime to a nickel-size amount into the hair you gathered, staying away from the scalp. The conditioners are as thick as body butter so you do not want to over do it. Leave in your hair while you finish your shower and then rinse.
Step 3: Leave-In Conditioning (optional)
If you have short or thin hair, you may want to skip this step or use a lighter conditioner, such as the Lavender Conditioner. I like to use the Copaiba Vanilla conditioner because my hair is color-treated and my ends need extra nourishment. A bottle will last you months and months and months if you are only using it for this step.Take a pea-sized amount in your hands and massage conditioner into the ends of your hair. Leave it in and wrap hair in micro-fiber towel.
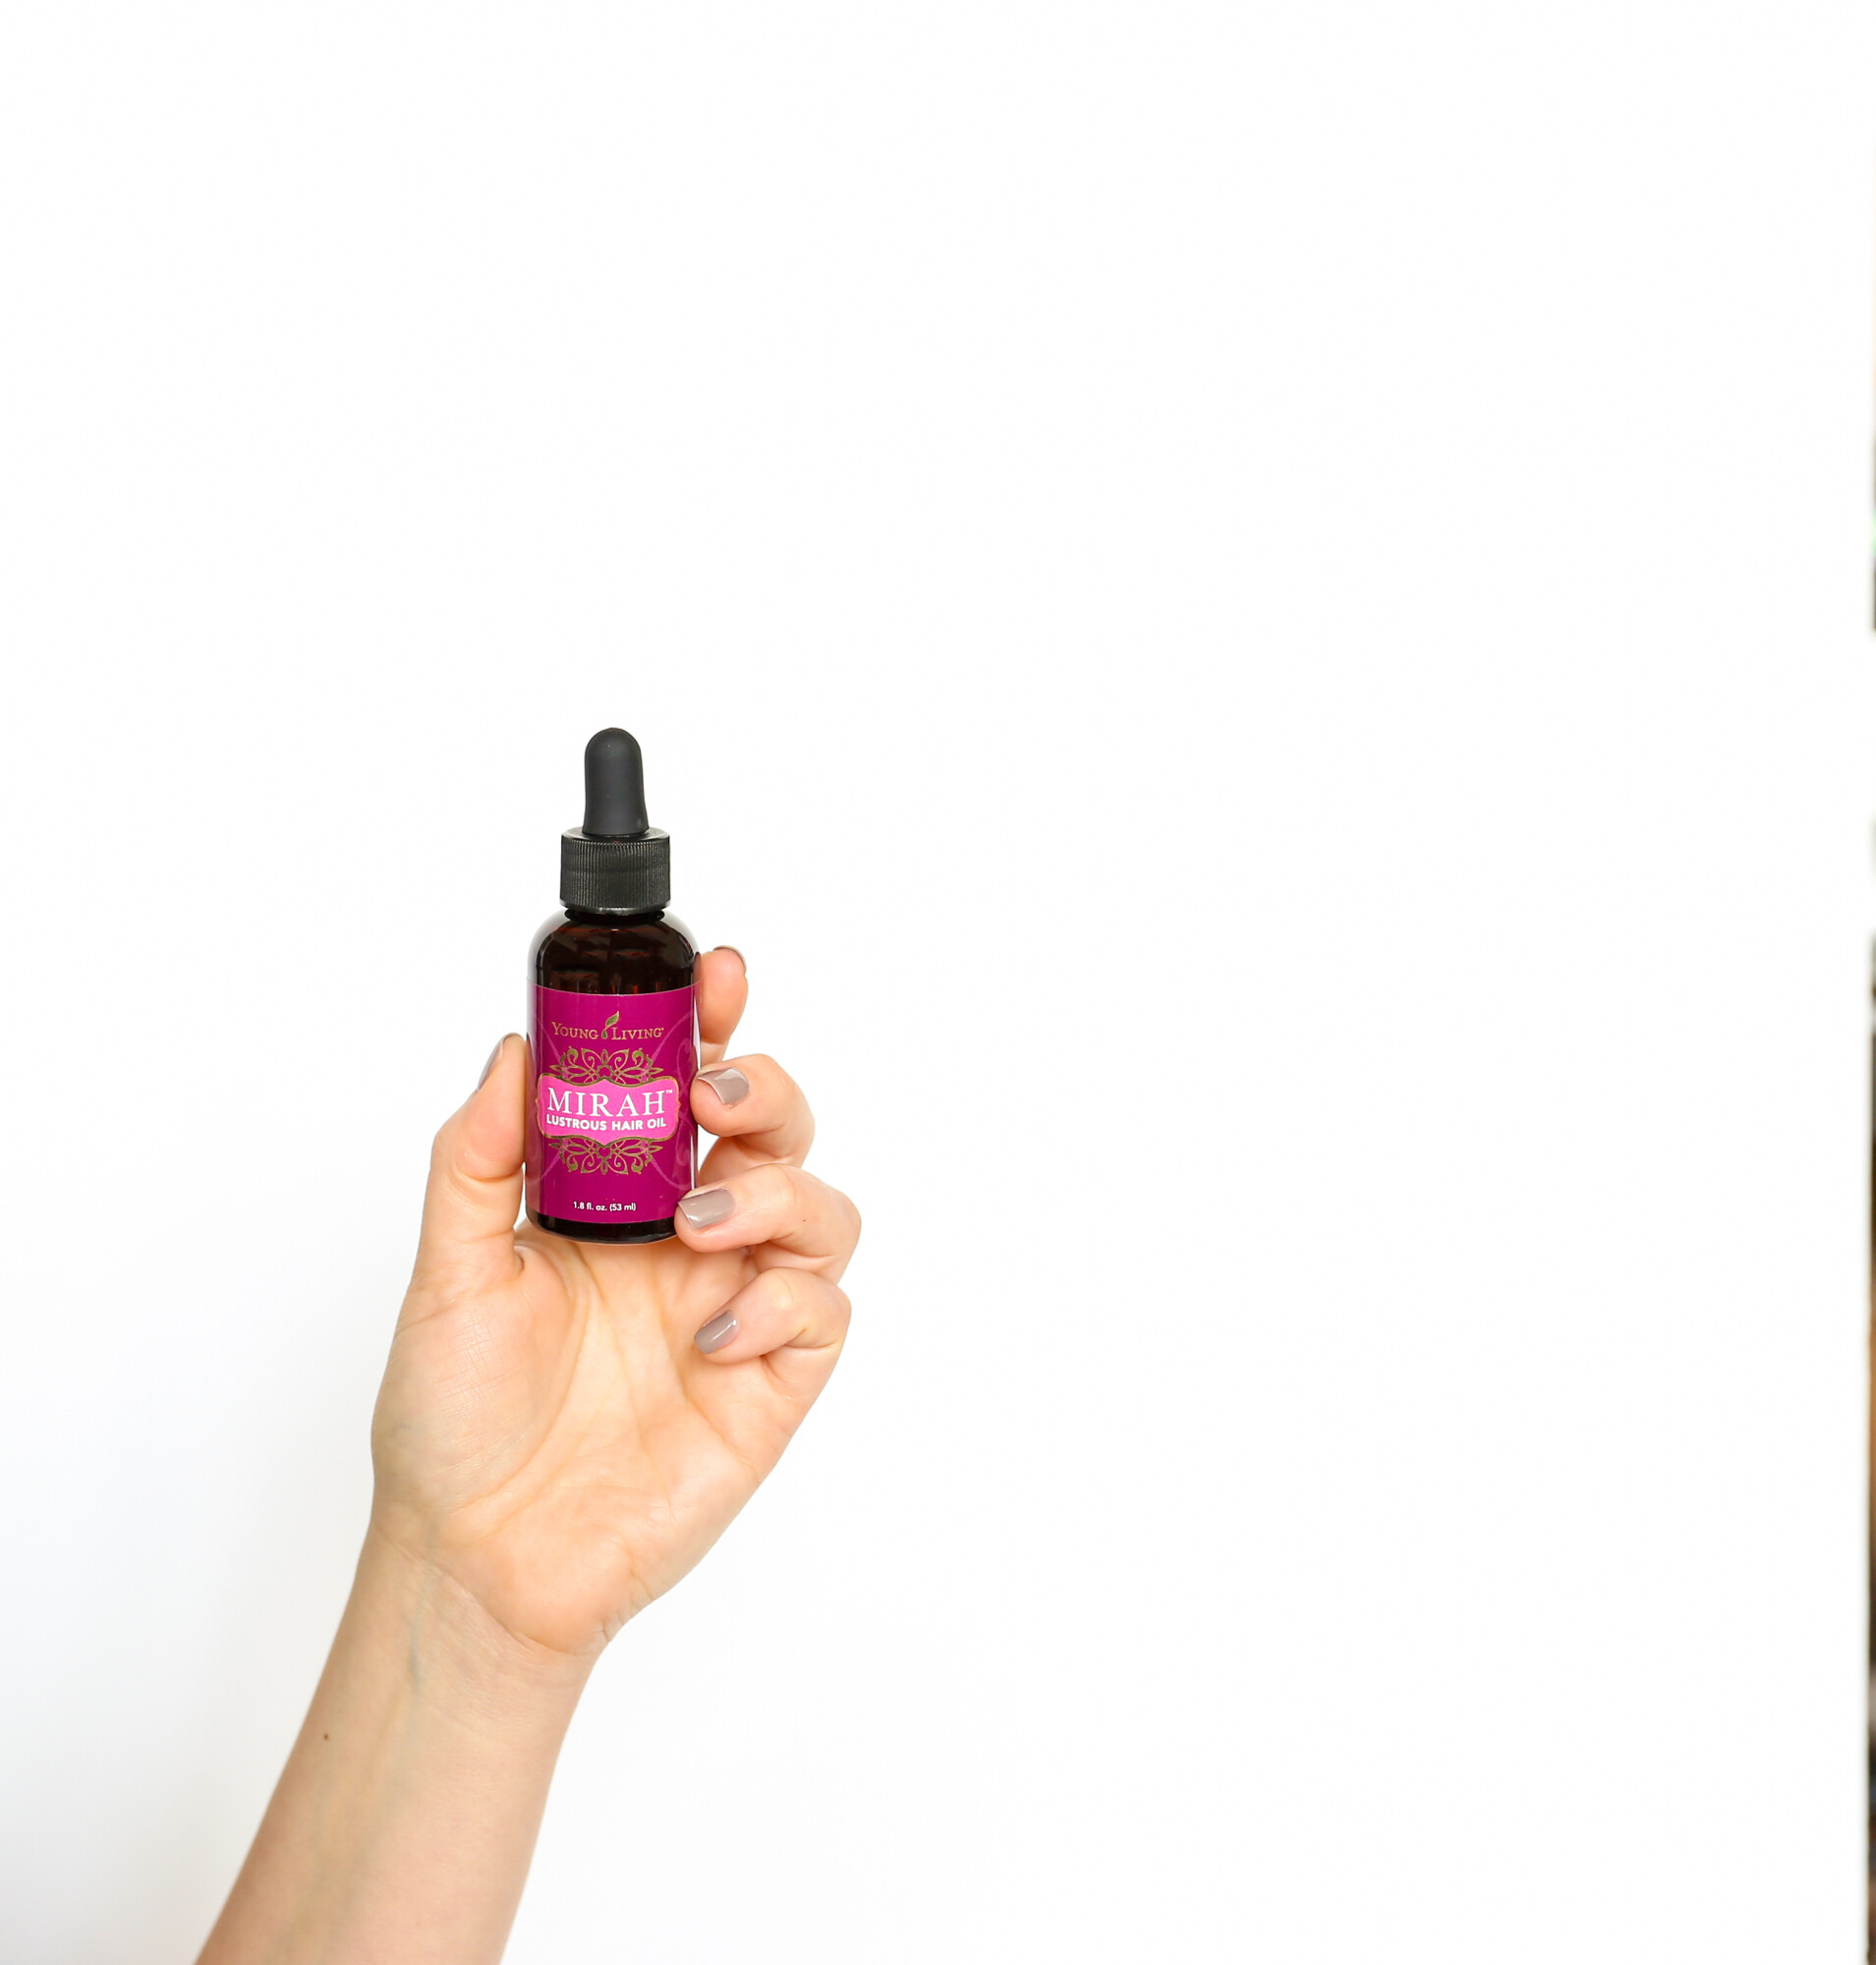
Step 4: Healthy Scalp (optional)
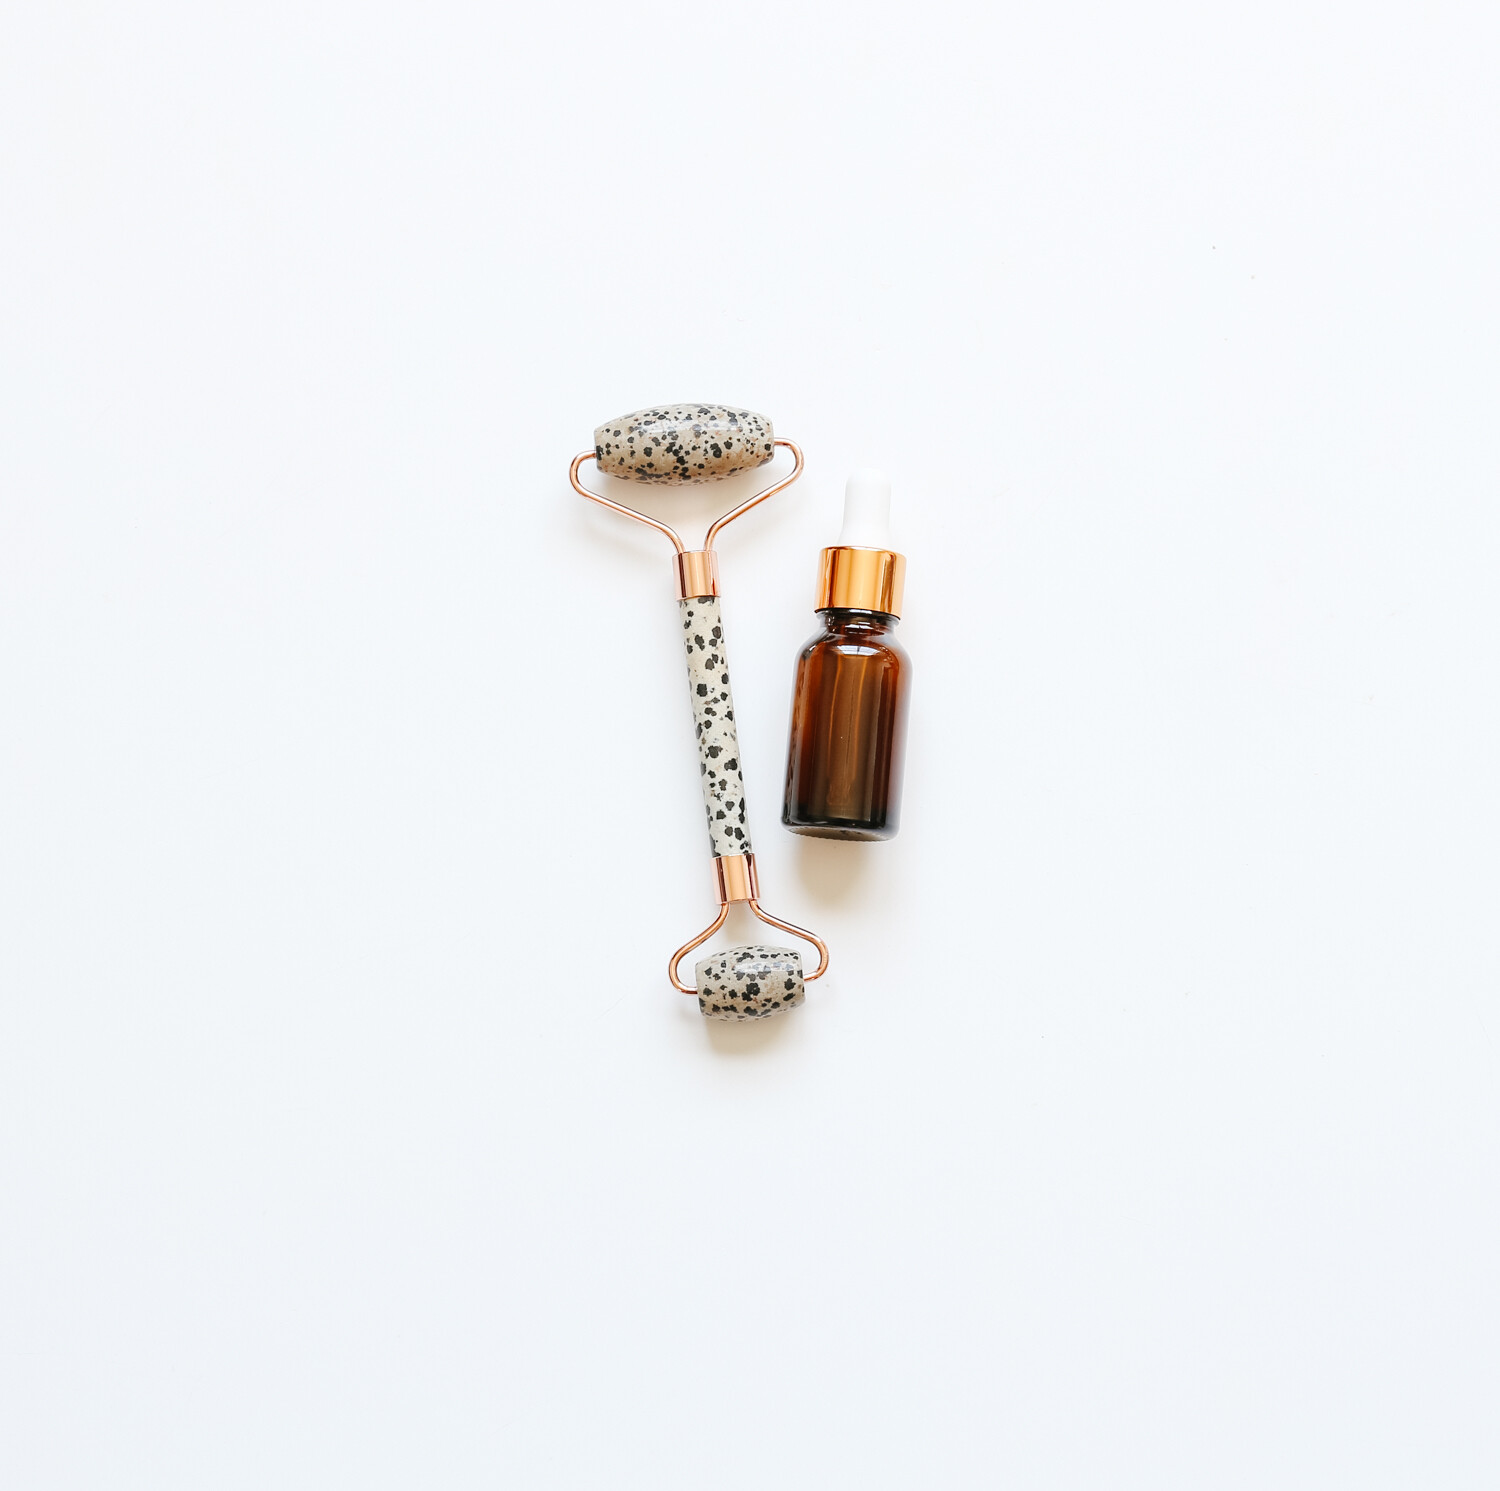
I love this step year round. I change the oils I add to this recipe based on my scalp health. If I am dry, itchy, or irritated, I grab Lavender, Melrose, and Cedarwood. If I am looking to promote healthy growing conditions, I grab Rosemary, Cedarwood, and Geranium. If I want an added boost, I add Ylang Ylang. Start with half a dropper to one dropper full of Mirah Lustrious Hair Oil. Drop into two ounce spray bottle. Add 5 drops each of three essential oils of you choice. Top the bottle with alcohol-free witch hazel and shake to mix. Before drying hair, lift hair and spritz mixture on the root of your hair. Comb through and style as usual.
That is it folks! I swear by this routine. My hair feels AH-mazing. My ends look healthy and my hair is growing. If you aren't ready to jump in at once, start with the Sulfurzyme and Lavender Shampoo. Then slowly build your haircare collection from there. This would be a great time to jump on Essential Rewards, ease yourself into the routine, and earn points back to spend on your oils!
You will love the results. Here is a YouTube video of me talking about my routine!