It's November and my wheels have started to turn when it comes to gift giving and our two boys. We are at the stage where toys aren't making the list as much and I find myself stumped every time someone asks me what my kids want for Christmas.
This brings me to the experience gift! Creating memories as a family is something that will be remembered by you and your kids in the future. The newest action figure or video game won't necessarily come to mind when they think back on family memories. Does this mean to scratch the "stuff" all together? No, not at all. However, getting creative with experience gifts will create memories and fun that will last in everyone's mind!

What are some questions that I ask myself when considering gifting an experience to my kids?
- What is one of their favorite outings?
- Is there a local spot that they have expressed interest in that we can make a weekend of?
- Who do they listen to when it comes to music these days?
- Is there a special restaurant that they like to eat at for special occasions? (My boys love a trip to a fun hibachi grill)
- Does the family have a local museum, zoo, or play place that you frequent?
- Do they have any favorite local sports teams?
- Are there any plays/musicals they would enjoy coming to town?

Here are some ideas for a gifts:
- Concert tickets - We gifted "First Concert" tickets to see the Imagine Dragons last year.
- Annual Membership to local museum or play play. This is also a great gift for grandparents to take as well.
- A special night out to their favorite special occasion restaurant! You could even add on some movie tickets.
- Season passes/tickets to local amusement park
- Tickets to see their favorite sports team play
- Look at local outdoors places. Tickets to zipline, go-kart race, or any popular activities in your area.
- Lessons! Have they been asking to start a new hobby? Gift them some introductory lessons so they can see if it is something they would like to pursue.
- Family gift- You can always do a family gift and take everyone away for a weekend of fun somewhere.
I hope this helps give you some direction if gifting an experience is new to you! Our family has definitely enjoyed incorporating this type of present into our gift-giving over the last couple of years. If you have any other suggestions, I would love to hear them in the comment section below!

All of us moms have been there. It is your first kiddo and they are wanting more than just pureed baby food at meal time. The panic sets in and all the nerves about your child choking, gagging, or refusing the eat kick in. What do we reach for? All the soft mushy stuff! Bananas, overcooked noodles, giant wafers, itty bitty puffs that dissolve so that there is no chance of choking.
What if I told you that while those foods are not bad, you do need to provide your child with firmer or crunchy foods so that they can learn to manipulate their food correctly.
When you stick to much and soft textures, your child's go to manipulation method is going to to mashing that food with their tongue against the roof of their mouth. Then, when it is time to had over a firm or crunchy food, we panic when they don't chew it or manipulate it the way they need to. This can lead to the gagging, choking, swallowing food whole, or food aversion or picky eating. It is so important that your child learns how to manipulate and chew their food with the right textures and consistencies.
Good news!
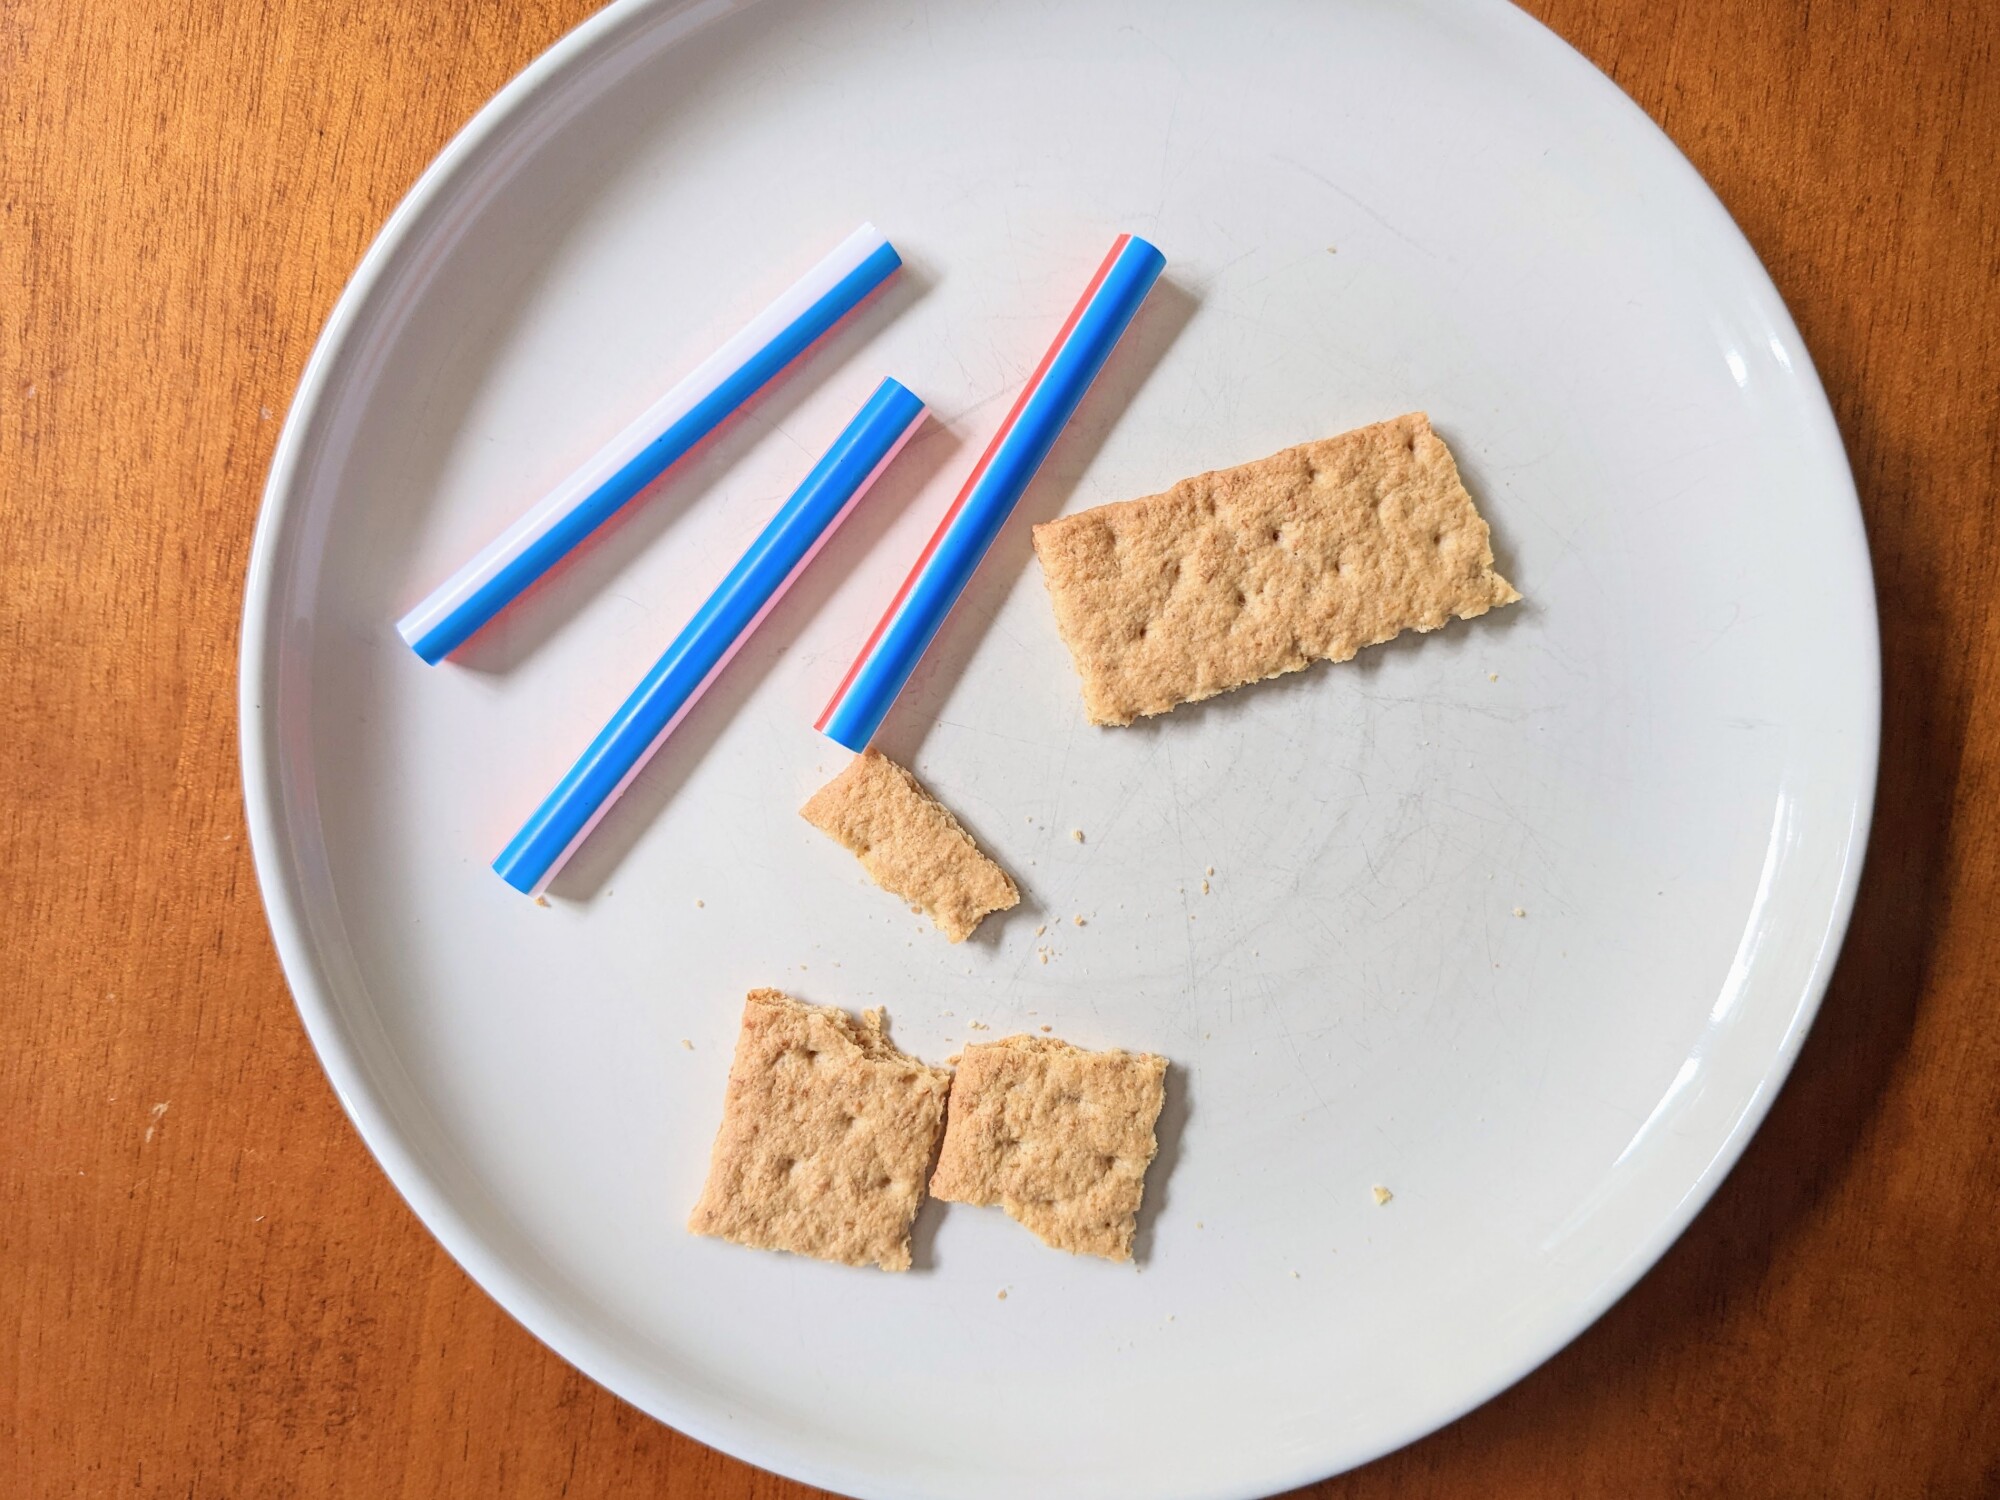
There are ways to do this without causing excess stress for the child and parents. Start with foods that are easily broken down. Reach for a graham cracker or a club cracker. Take a look at the technique below. Grab a milk shake straw. Cut it into thirds and stuff it with the cracker. Create several of these tools. One for you. One for your child, and a few more for them to independently grab and explore. Guide them to place the straw on the right or left gum line and model or tell them to "Crunch" or "bite". They get immediate sensory input from the sound and feeling of the crunch. This reinforces another bite, and another. As they manipulate the food in the straw it will work it's way out , make it's way to the tongue and they can safely swallow. You can do this with them to model the appropriate placement and chewing patter as well. I have done this with apple, melon, crackers, and chicken nuggets. As your child gets the hang of it, you can easily explore different textures using this same method!
Other tips for introducing solid foods correctly:
-Cut bananas into handheld spears. Freeze them. This is a handheld that with easily soften but can also be placed on the lateral surface to reinforce the correctly manipulation.
-Cut grilled cheese or quesadillas into handheld strips.
- As the child progresses try narrow carrot sticks or apple sticks (you can also freeze).
-Crisp up some sweet potato fries!
The easier for them to hold and place, the better.
Say goodbye to large dissolvable wafers and handheld nets. You will set yourself up for an easier transition with the above suggestions!
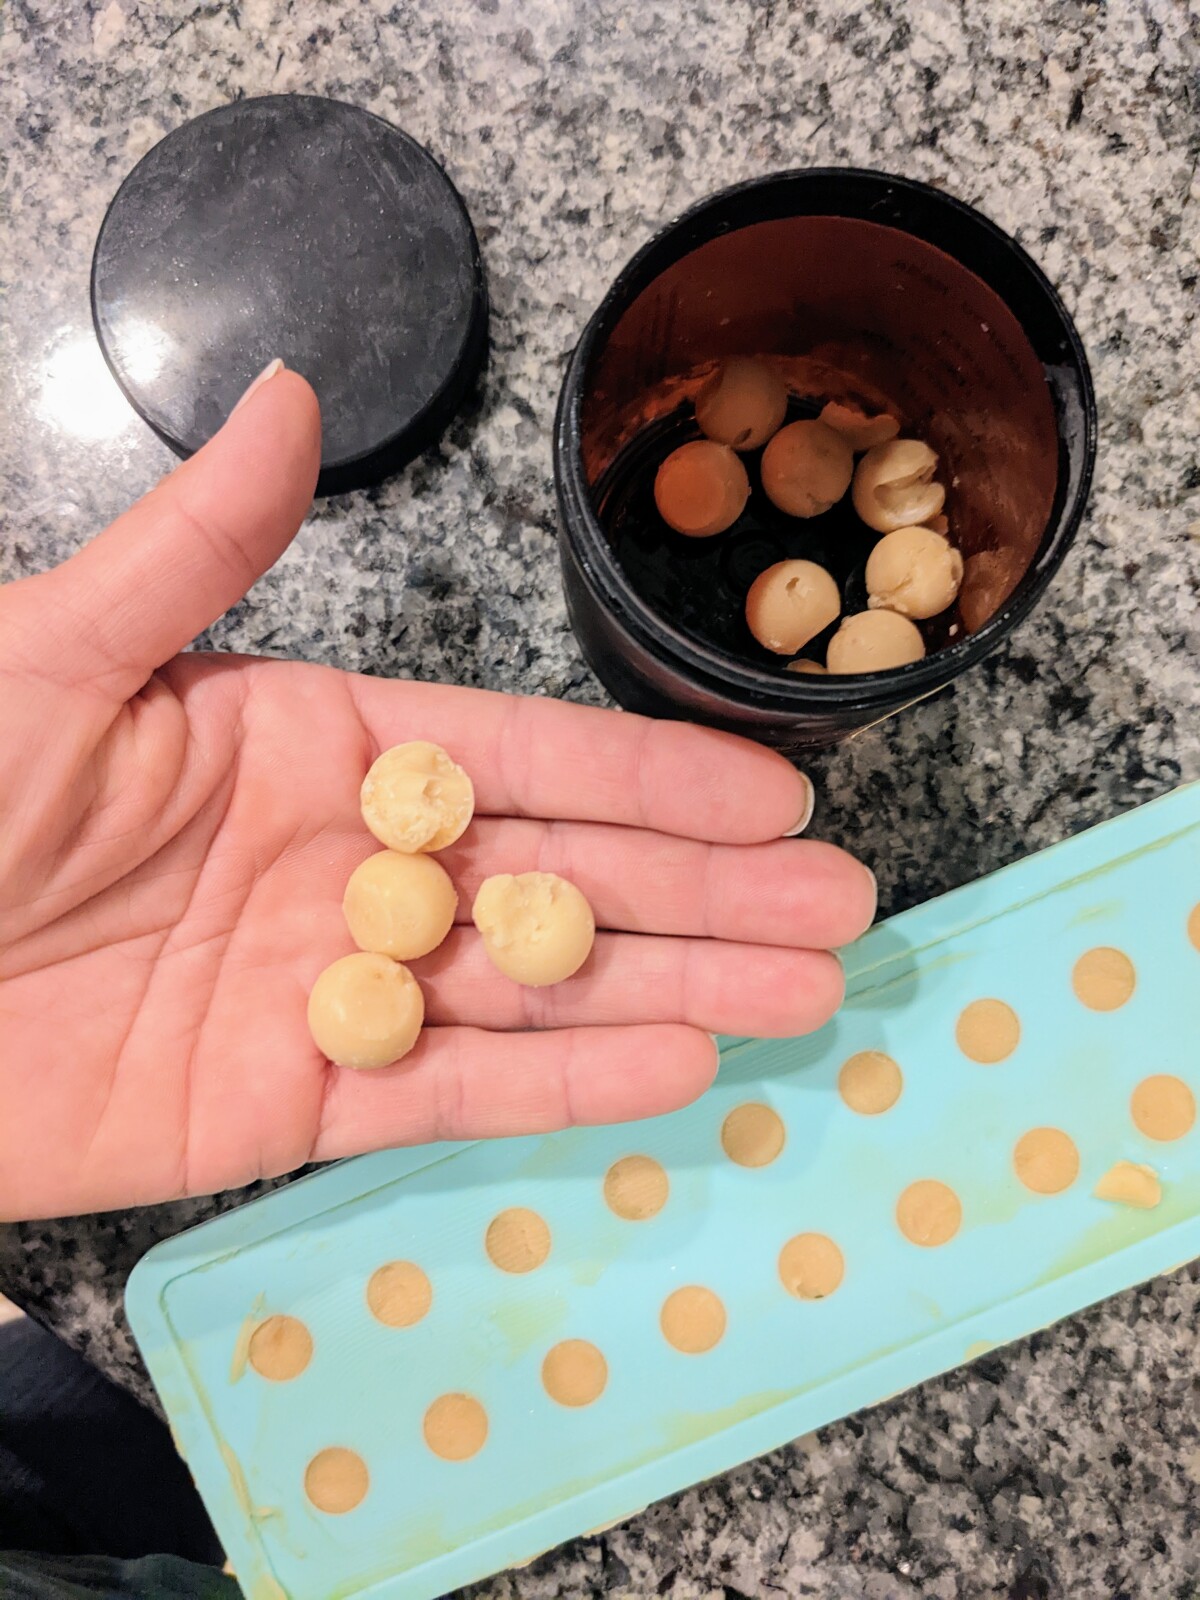
This is a fall and winter favorite for the entire family!
Sore throat? Grab a honey drop!
Annoying tickle? Grab a honey drop!
Nagging cough? Grab a honey drop!
My kids will gladly go to the freezer and just pop one for the heck of it as well. I have no problem with it because these little drops and packed full of simple and health supporting ingredients.
I started making these when my kids were younger. They were too young for cough syrup and an effective cough drop wasn’t going go over well with their picky tastes.
I love that these drops do not have dyes, artificial flavors, and unnecessary sugars. Each ingredient serves a purpose, and I can customize the essential oils that I need in them.
For younger kiddos, you may just want to stick to Lemon Vitality oil.
As they grow older, you can add Thieves Vitality and/or Peppermint Vitality oil.
You can also change the oils you use based on what you are trying to address.
You can use your tummy Vitality Oils.
You can use your calming Vitality oils.
OR
You can use your seasonal sniffle Vitality Oils.
What do you need?
A silicone mold (This one is great!)
Organic Coconut Oil
Honey
Essential Oils (I am particular about the essential oils we put into our body, and we use the Vitality Collection from Young Living Grab oils here!)
Directions:
You will want to whip ¼ cup coconut oil with ¼ cup of honey. If you need to soften the mixture in the microwave, do so. Then add your essential oils.
Kids: No more than 20 drops total of the oils you select.
Adults: 30-40 drops total of the oils you select.
Mix oils in and let mixture turn opaque once more. Make sure it is room temperature. If it is too much like a liquid, the honey and coconut oil will separate. Once the mixture is opaque, whip once more.
Then, spread or pour mixture into silicone molds. Place your molds into the freezer for 5-10 minutes. Next, pop your honey drops out of the mold and place in a freezer safe container. Store the drops in the freezer and use as needed for daily support or to assist with seasonal changes.
Take this up a notch by adding lollipop sticks into your mold after being in the freezer for several minutes. This will turn your creation into a sweet pop!
These mini morsels will quickly melt in your mouth and provide a sweet treat while serving a purpose. I hope you enjoy!

It is officially fall...
My décor is out, and things are starting to feel cozy in our home. A big part of bringing those warm fall feelings into your home, are the aromas that greet you at the door and linger all day long! Over the years, it seems the first aroma that comes to mind when fall hits is “Pumpkin Spice”. Whether it be in your drink, lotion, or hand soap, we always want that sweet spice.
I was delighted to discover all the fall essential oils several months after I started making healthy product swaps in my home. When I can make my home smell like autumn AND keep the air in my home healthy for my family, it is a win.

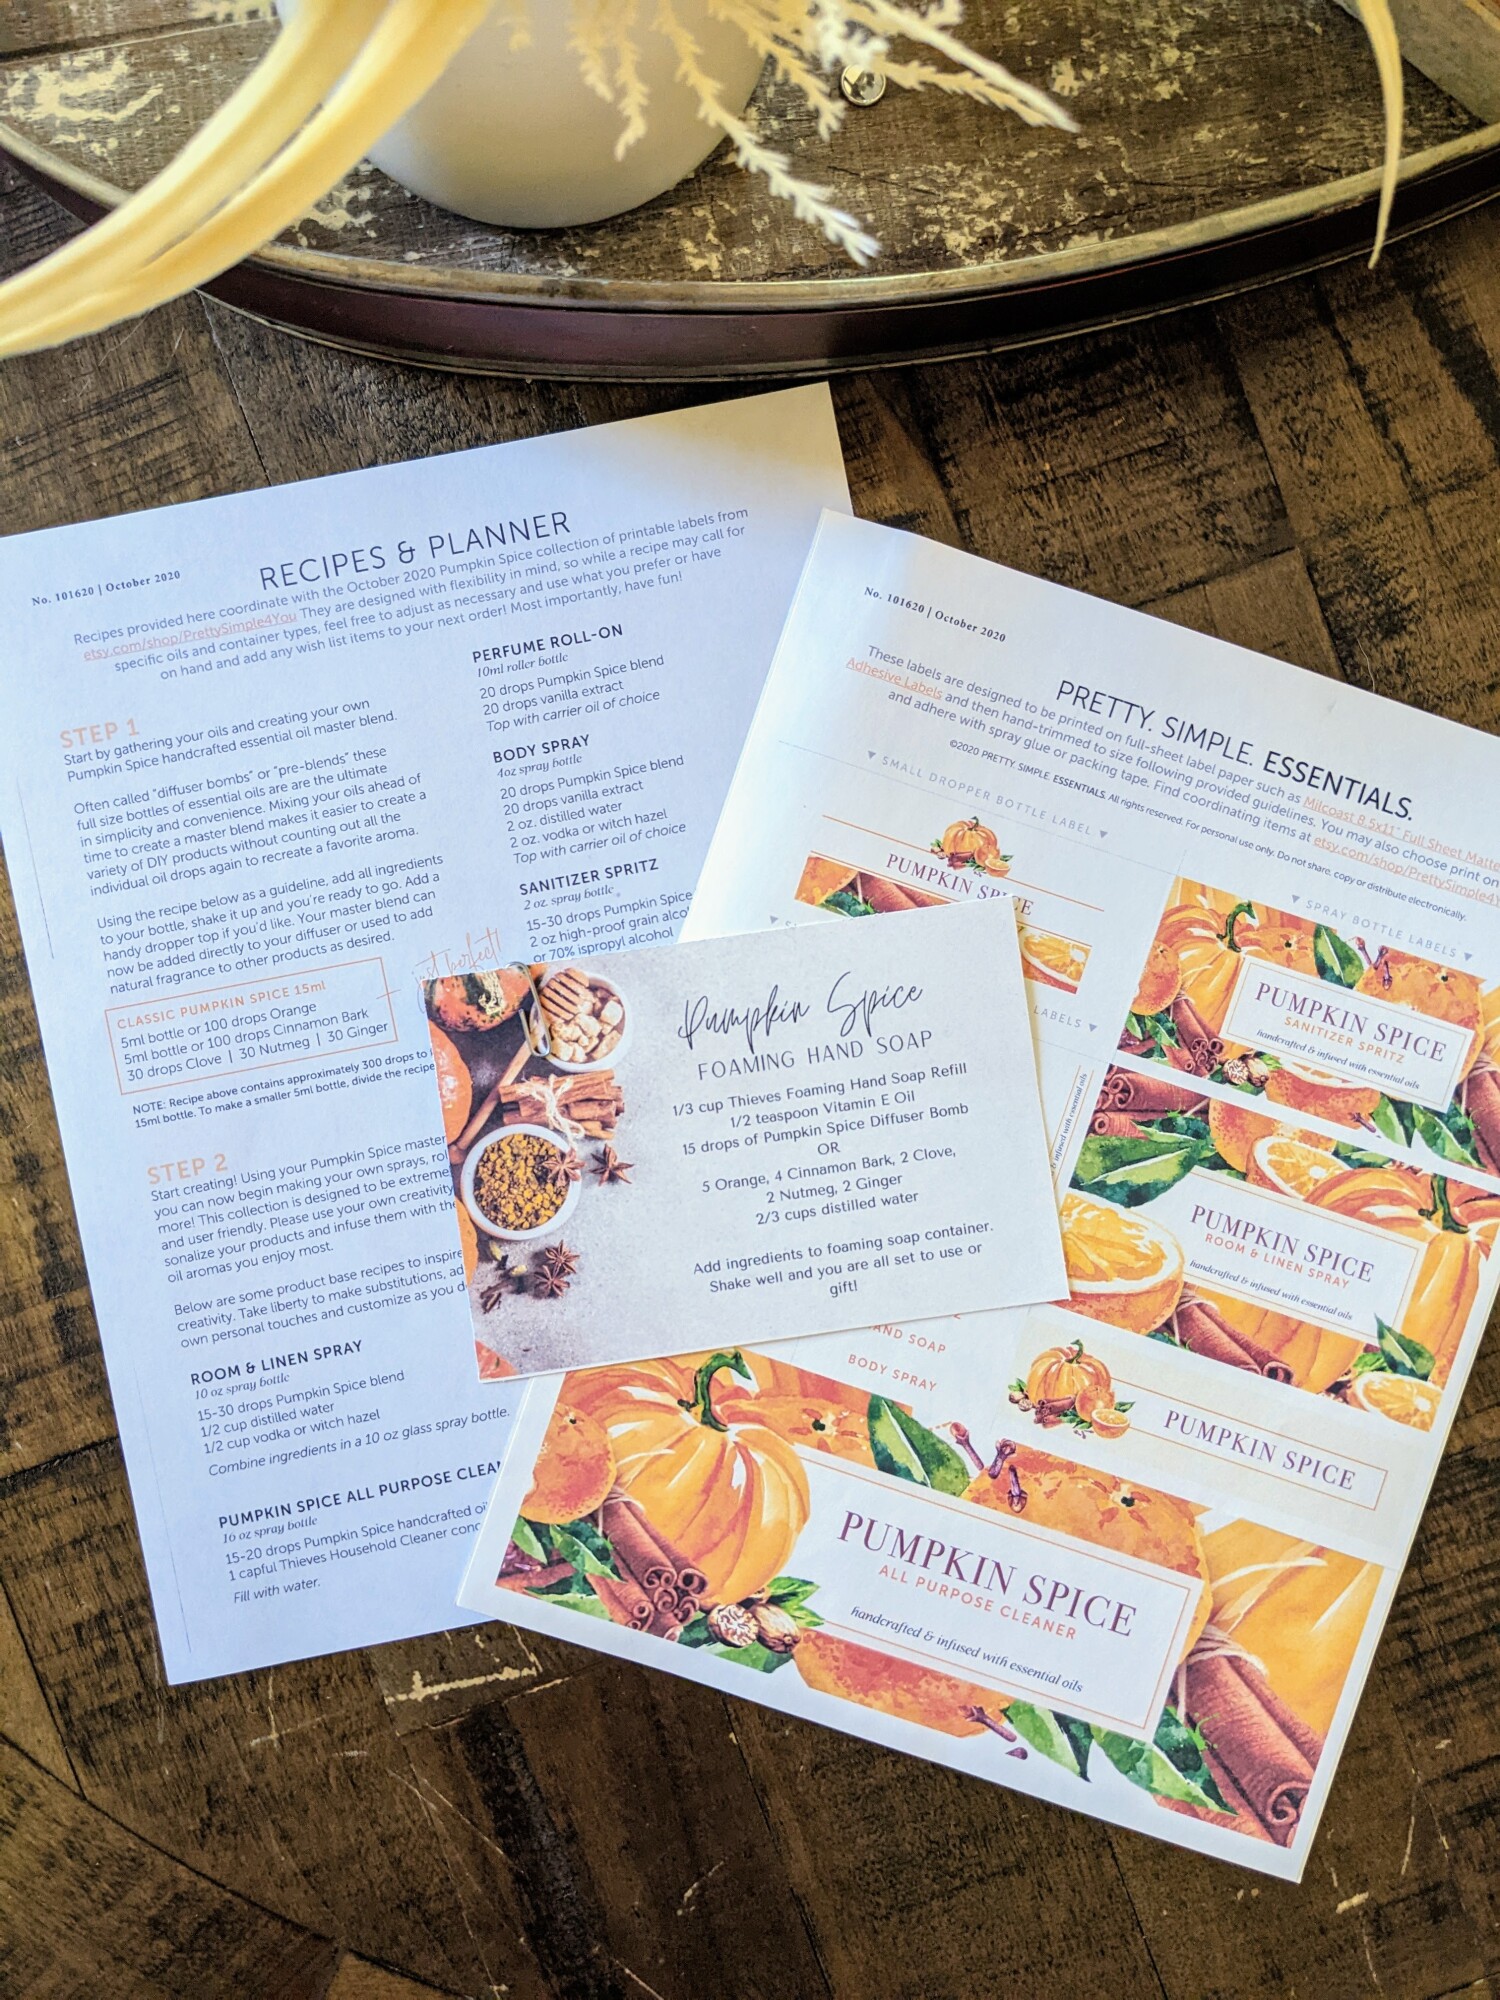
The perfect Pumpkin Spice essential oil blend includes Orange, Cinnamon Bark, Clove, Nutmeg, and Ginger. You can add them to your fall mixtures and diffusers one oil at a time, OR you can choose to make a large batch of Pumpkin Spice blend using the above oils. Either way, this bundle of oils is the perfect way to create all things fall. We are talking room sprays, body mist, hand soap, cleaners, etc.
To make a 15 mL batch of your Pumpkin Spice blend, you will want to use an empty essential oil bottle or grab a 15 mL glass dropper bottle from Amazon.
Add the following amounts to the bottle:
100 drops of Orange
100 drops of Cinnamon Bark ( about 1 5mL bottle)
30 drops of Clove
30 drops of Nutmeg
30 drops of Ginger
This Pumpkin Spice blend will be what you add to your diffuser, sugar scrubs, room sprays, cleaners, etc.
Below, you can find my new fall hand soap recipe using this blend!
 |  |
Other ways to put this awesome blend to use!
- Add 15 drops of this Pumpkin Spice Blend to your bottle of Thieves Household Cleaner to create a custom all-purpose cleaner!
- Combine this blend with Vanilla Extract and top with carrier oil of choice to create a perfume roller.
- Combine with vanilla extract, water, witch hazel, and vodka to create a body spray.
- Combine with 1/3 cup coconut oil and 2/3 cup of Sugar in the Raw to create a sugar scrub.
The Pumpkin Spice list goes on and on!

Create these recipes for yourself or share with a friend. When you purchase the essential oil bundle using the referral link below, I will send you the label and recipe set below! Simply email me at theessentialdropin@gmail.com to inform me of your purchase.
Shopping List-
Grab your essential oil bundle, cleaner, and hand soap base HERE!(15% off site wide through September 26th.)
Grab amber bottle set HERE!
Happy fall!
Fall sports are in full swing at our house!
This means we are going non-stop from the moment the boys come home from school to the moment they go to bed. Dinner can be a stressful component of a busy night. Especially if the goal is to avoid fast food but stick to a budget.
I wanted to share some of our favorite slow cooker meals for fall. On the nights where we are strapped for time and sometimes eating before and after practice/games, the slow cooker can guarantee a warm delicious meal at any time!
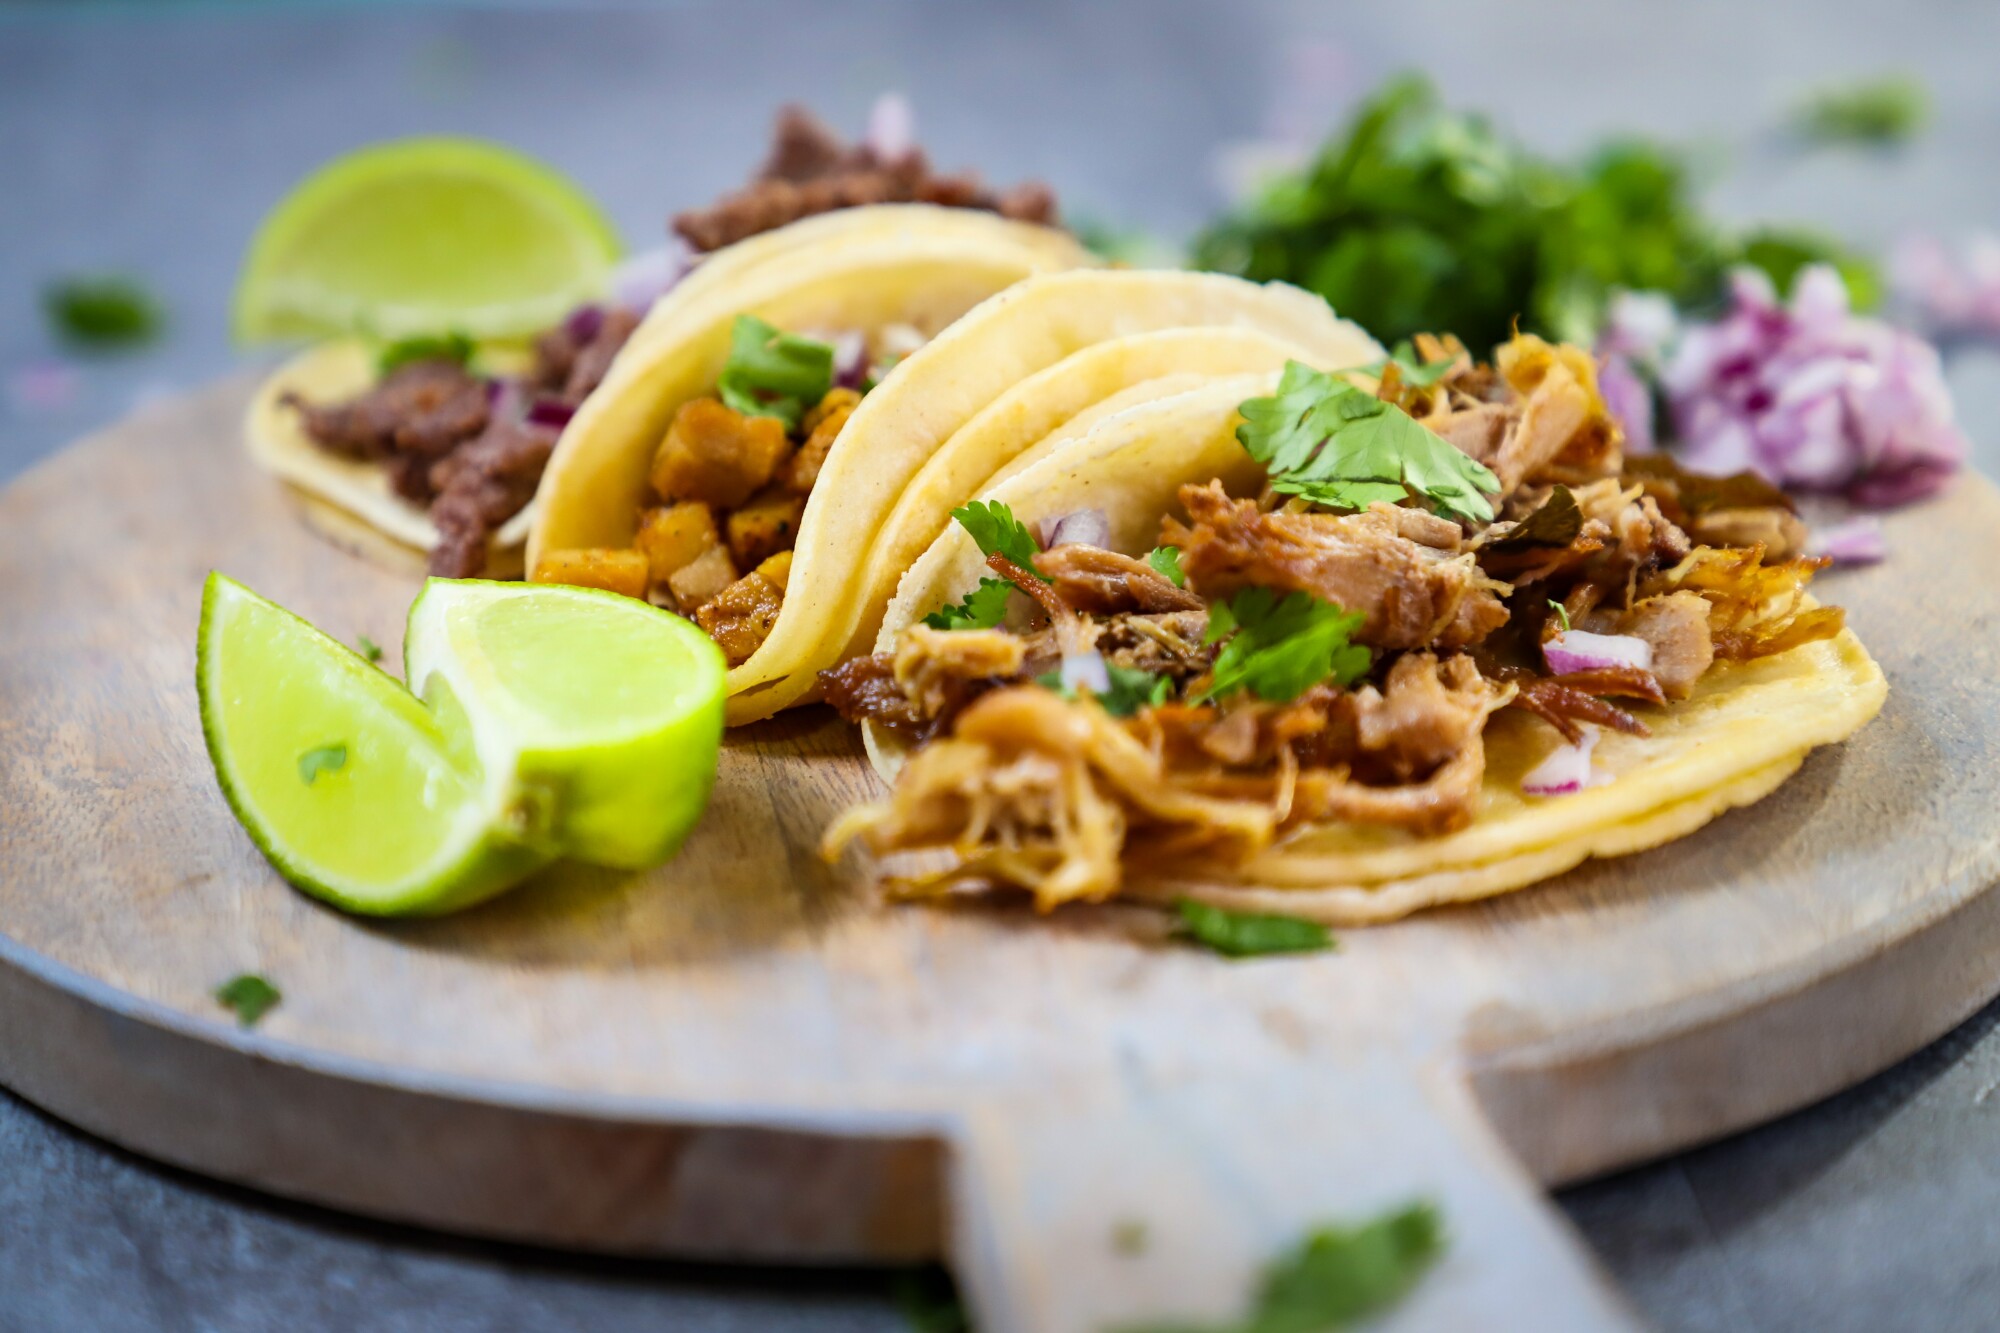
First up, Slow Cooker Carnitas! I received a recipe from a friend a few years ago and put my own spin on it! I cannot remember for the life of me where the recipe came from, but I know it has been a hit ever since and my family requests this frequently.
You will need
Around 4 lbs. of pork shoulder
1 tsp Oregano
1 tsp Garlic Powder
1TBSP Kosher Salt
1 tsp Cumin
½ TBSP Chili Powder
1 tsp Smoked Paprika
½ tsp Cinnamon
1 light beer (I usually grab a Corona or Dos Equis)
Combine spices, salt, and pepper in small bowl.
Cut the pork shoulder into 2-inch cubes.
Coat the pork with seasoning mixture and all to sit on the meat for a couple of hours or overnight.
Add a bit of oil to a skillet and heat to med-high setting.
Remove pork from fridge and place in pan to brown. Once meat is browned on all sides, place into slow cooker.
Open the beer and pour into the hot pan to deglaze the bottom. Pour the liquid from the pan into the slow cover, over the meat.
Slow cook on high for 4-6 hours or on the low setting for 8 hours.
When done, remove the lid and shred the meat with two forks. It should fall apart.
Set the oven to broil. Place the meat on a sheet pan and place in the oven. Allow the meat to crisp up over several minutes and then remove.
Serve with tortillas, cilantro, and onion!
With the left-over meat, you can create taco bowls or quesadillas when needed, throughout the week!

Next up, is Slow Cooker Chicken and Dumplings. I just made this two nights ago and it was a huge hit after soccer practice. My boys could not get enough of the biscuits on top!
You can grab the recipe and shopping list from Spend with Pennies here!!
As a healthier option to the condensed soup blends. You can briefly sauté celery with onion and fresh carrots. Use 2 tablespoons of butter to sauté the vegetables and add 1-1.5 tablespoons of flour to the veggies before adding to the slow cooker. Then add your chicken broth.
Finally, are Slow Cooker Meatballs!
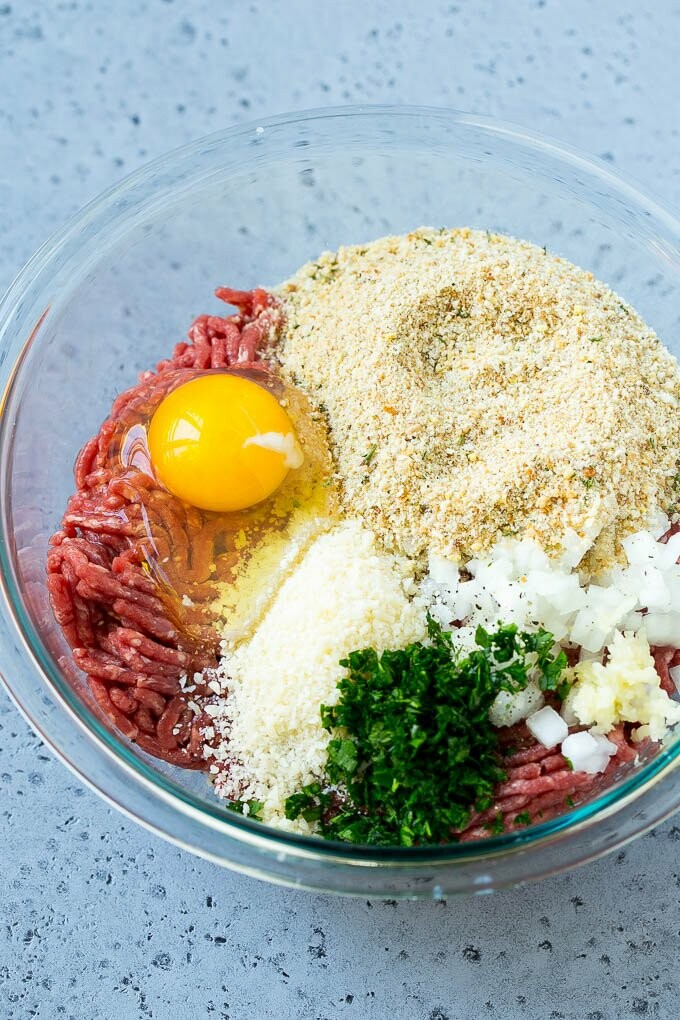
You cannot go wrong with these. To avoid an additional cooking step, we like to make a quick meatball sub with ours. If you have time, you can always boil some pasta and serve the meatballs on top!
You can choose to use frozen or pre-made meatballs OR you can check out this recipe from Dinner at the Zoo here!!
I hope these recipes take some stress out of your evenings during the hustle and bustle of fall!
Enjoy!


