I spent all of 2022 doing "thought dumps" or "thought downloads" at the beginning of my day to help get myself into a better headspace. It was a new routine I had worked into to my mornings and loved the shift I saw in my approaches to the hard days and weeks. Getting my thoughts out on paper helped me sort through my emotions and mindset. It was a game changer when it came to starting my day.

Cue a few weeks ago when I woke up on a Monday morning and overwhelm hit. I knew the weekly to-do list in my head was a mile long. However, the thought of "all the things" left me feeling frozen and stumped on where to even begin. I have always been a pen and paper gal so I quicky started making one long list for the week. I love being able to cross tasks off as I tackle them. However, this time I was still feeling the overwhelm. It dawned on me to categorize my to-dos. One list for things to be done around the house, one for my new speech therapy business, one for my essential oil business, one for the boys. I quickly prioritized all the tasks. I pulled what needed to be done right away from each list and put it down for Monday. Then I wrote down what my list needed to be for Tuesday, and so on. When I saw that long list turn into short, doable lists organized into days, I felt a weight lift. In a matter of minutes, my brain dump turned into an organized week of tasks that would be crossed off by Friday!
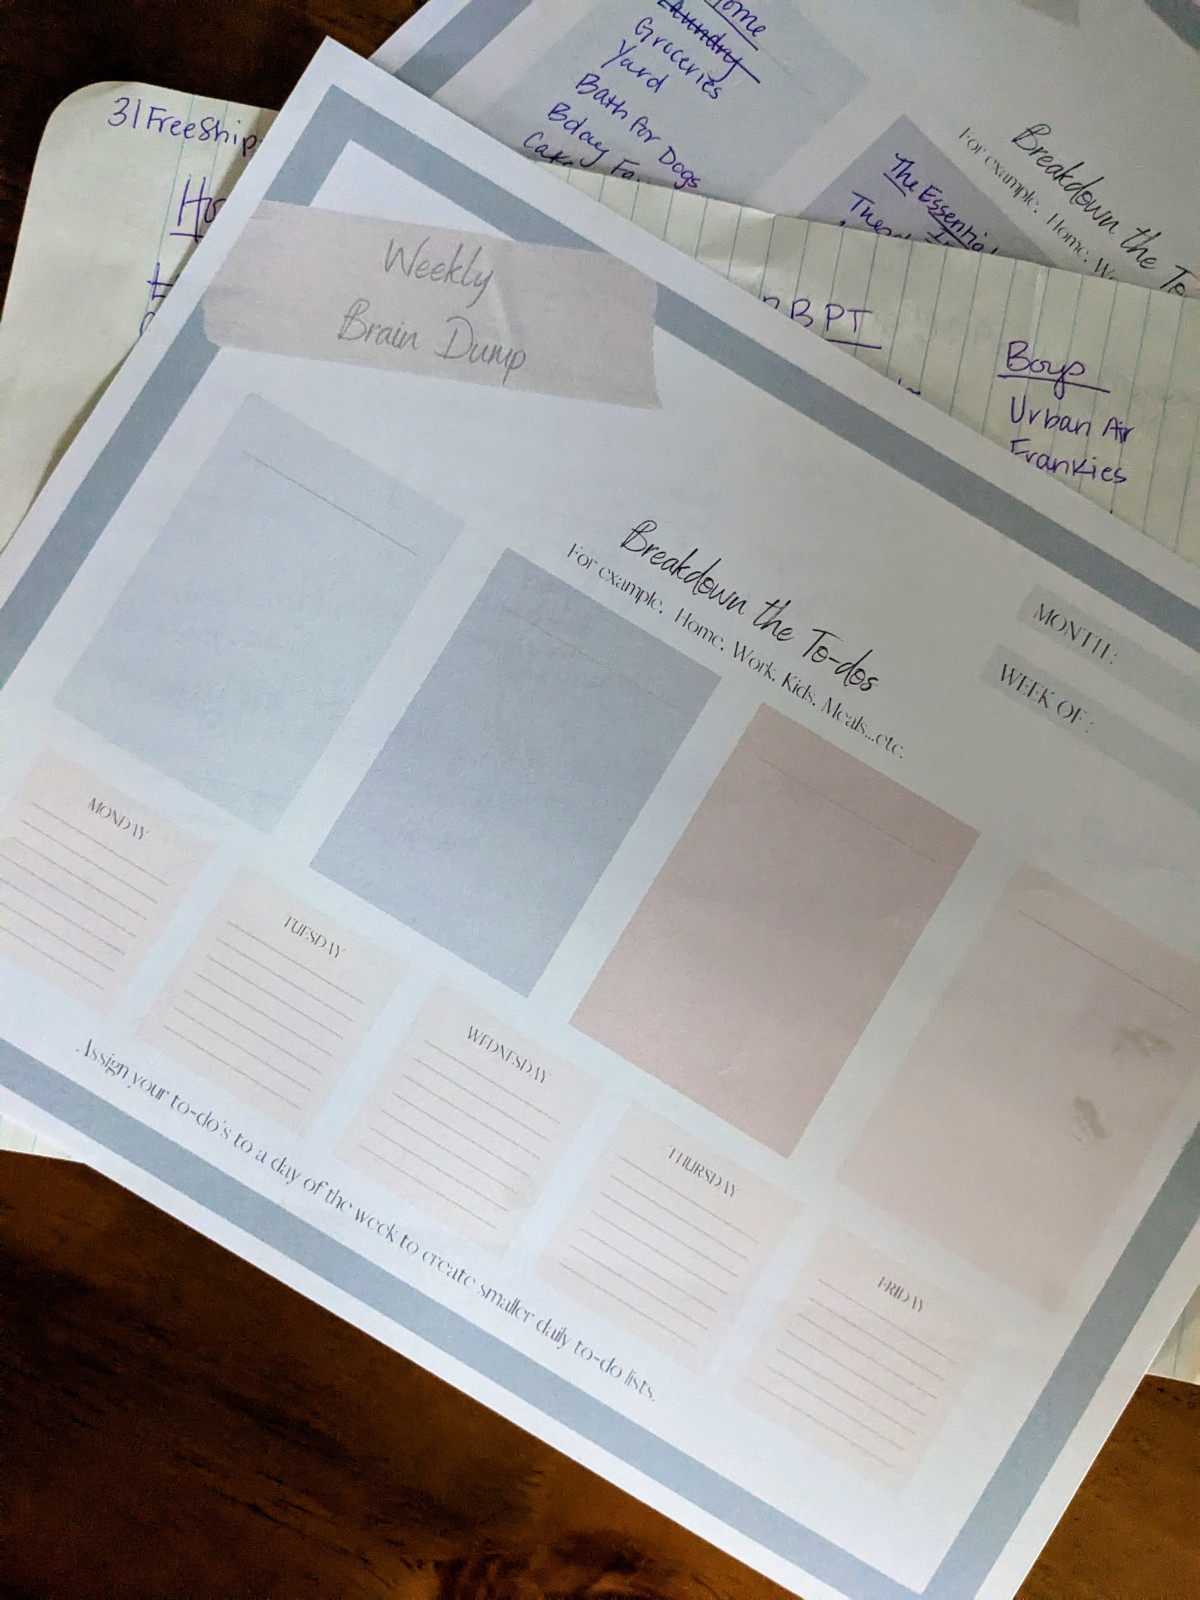
For the past two weeks, I have been quickly creating a hand drawn grid with pen and paper to create my Monday Brain Dump. Today I decided this habit was going to stick and created a printable that would make the "To-Do List Break Down" look more organized and clean!
You are invited to start this habit with me. Enjoy the free "Weekly Brain Dump" printable below!

As a speech pathologist, I have learned the importance of engaging the senses over the years. Whether it be for increased attention to task, eliciting speech/language production, or simply elevating a play activity, Sensory input can make a big difference in any routine.
Let's chat aromatics for calming and a simple bed time routine for those kiddos that find it difficult to settle or unwind.
Essential oils and kiddos require a gentle approach. Some kids are ready to stand over the diffuser and breathe deeply while others are little more hesitant and may not care for such strong aromas. The key is to introduce the aromas slowly and gently! Here are some tips to carry over into their bedtime routine.
1. Involve them in the oil selection as much as possible. Pick 3-5 oils to have on hand in the evening. Allow them to open the bottle and smell them. Ask them to pick 1-2 oils that they would like to use for the night. The speech therapist in me will also tell you this is a great way to promote conversation skills, talking about feelings, and using descriptor words. Allow them to drop the oils into the diffuser water. I always say start low and slow. Have them count 3-4 drops out.
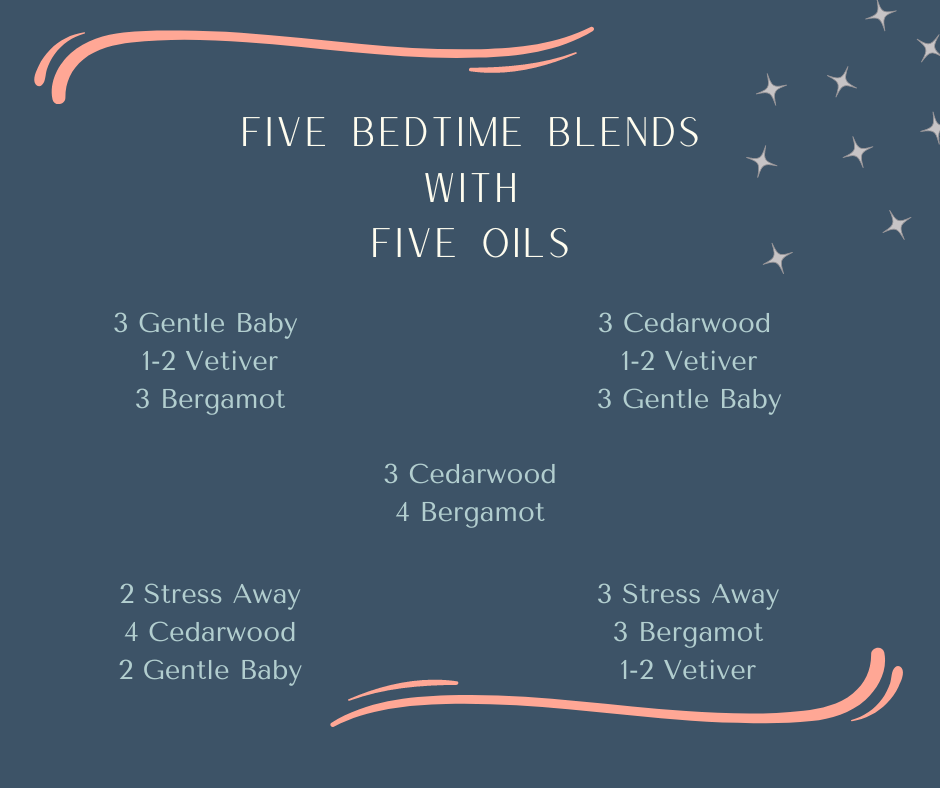
2. Let's talk bath time or even showers. Grab yourself a mason jar and fill it with Epsom salts. Allow them to a couple of aromas from your group of oils. Add about 10 - 15 drops to your jar of Epsom salts. Before they hop in the tub, mix in some "sprinkles" aka the bath salts to the water. This will help their body relax and trigger the mind for bedtime. If your kiddo takes a shower, simply pour some salts in the corner of the shower so that the aroma fills the bathroom while they are washing.
3. For the kiddo that needs some extra calm, try using an essential oil inhaler. These are inexpensive on Amazon and you can customize the wick with the essential oils of your choice. I put no more than 5 drops on each wick. This would be a great tool to hold under the child's nose while he/she takes deep breaths or simply discusses their day with you before bed.
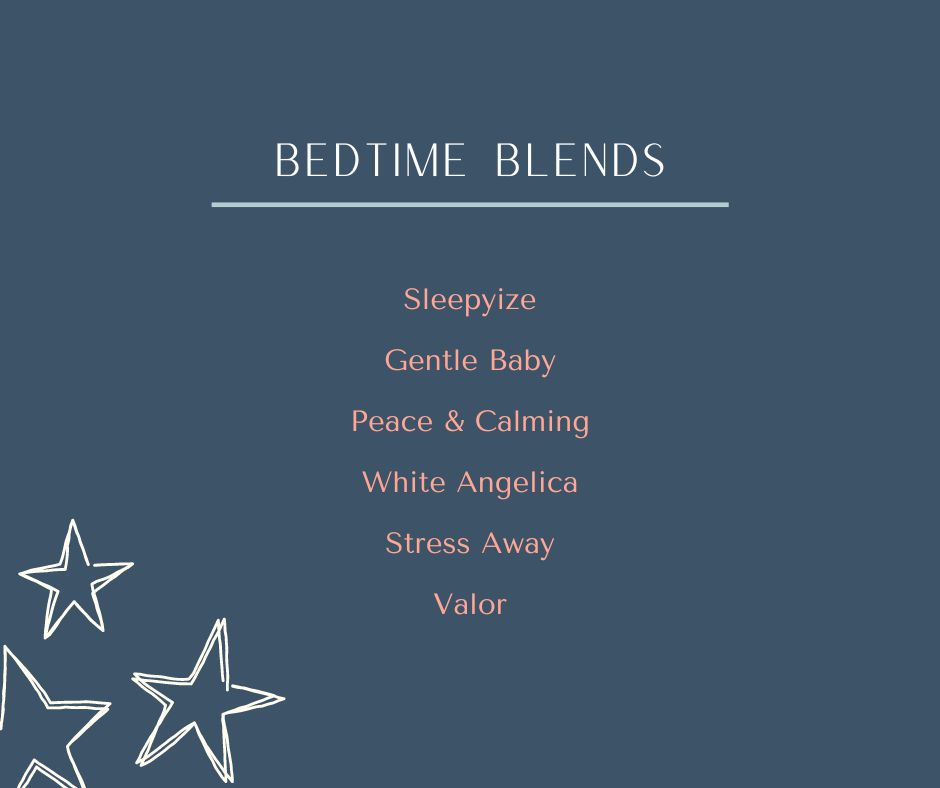
Here are some of our favorite bedtime oils to reach for!
If you are unfamiliar with oils, "blends" are a mixture of several oils to create a customized aroma. "Singles", are a bottle of essential oil that consists of oil from a single plant.
 |  |

You have just wrapped up taking care of things around the house and sit down to play with your child. However, you find your child having a difficult time attending to the activity you are bring to their attention. They look, but then they get up and move onto the next toy/activity. As a parent, when we have a specific activity in mind, and our child doesn’t appear interested, it can be a tad frustrating and sometimes discouraging.
It is important to remember that children can be easily distracted and do not have a large attention span to begin with. Make sure you expectations are in the right place and minimize distractions.
When looking to engage your child, think about the senses. What can you present them with that will engage multiple senses?

Think of auditory stimulation. This can include music, sounds with simple objects, singing together, or simply raising and lowering the intonation of your voice. Pairing the sounds and/or music with movement is also fun and engaging for the child. Picture them stomping their feet on the ground while producing a “Boom!” with each step.
When it comes to visual stimulation, this can include bright, yet simple pictures. Also, simple objects that move or that the child can move themselves. Pairing auditory stimulation with a visual is a great way to promote speech production.
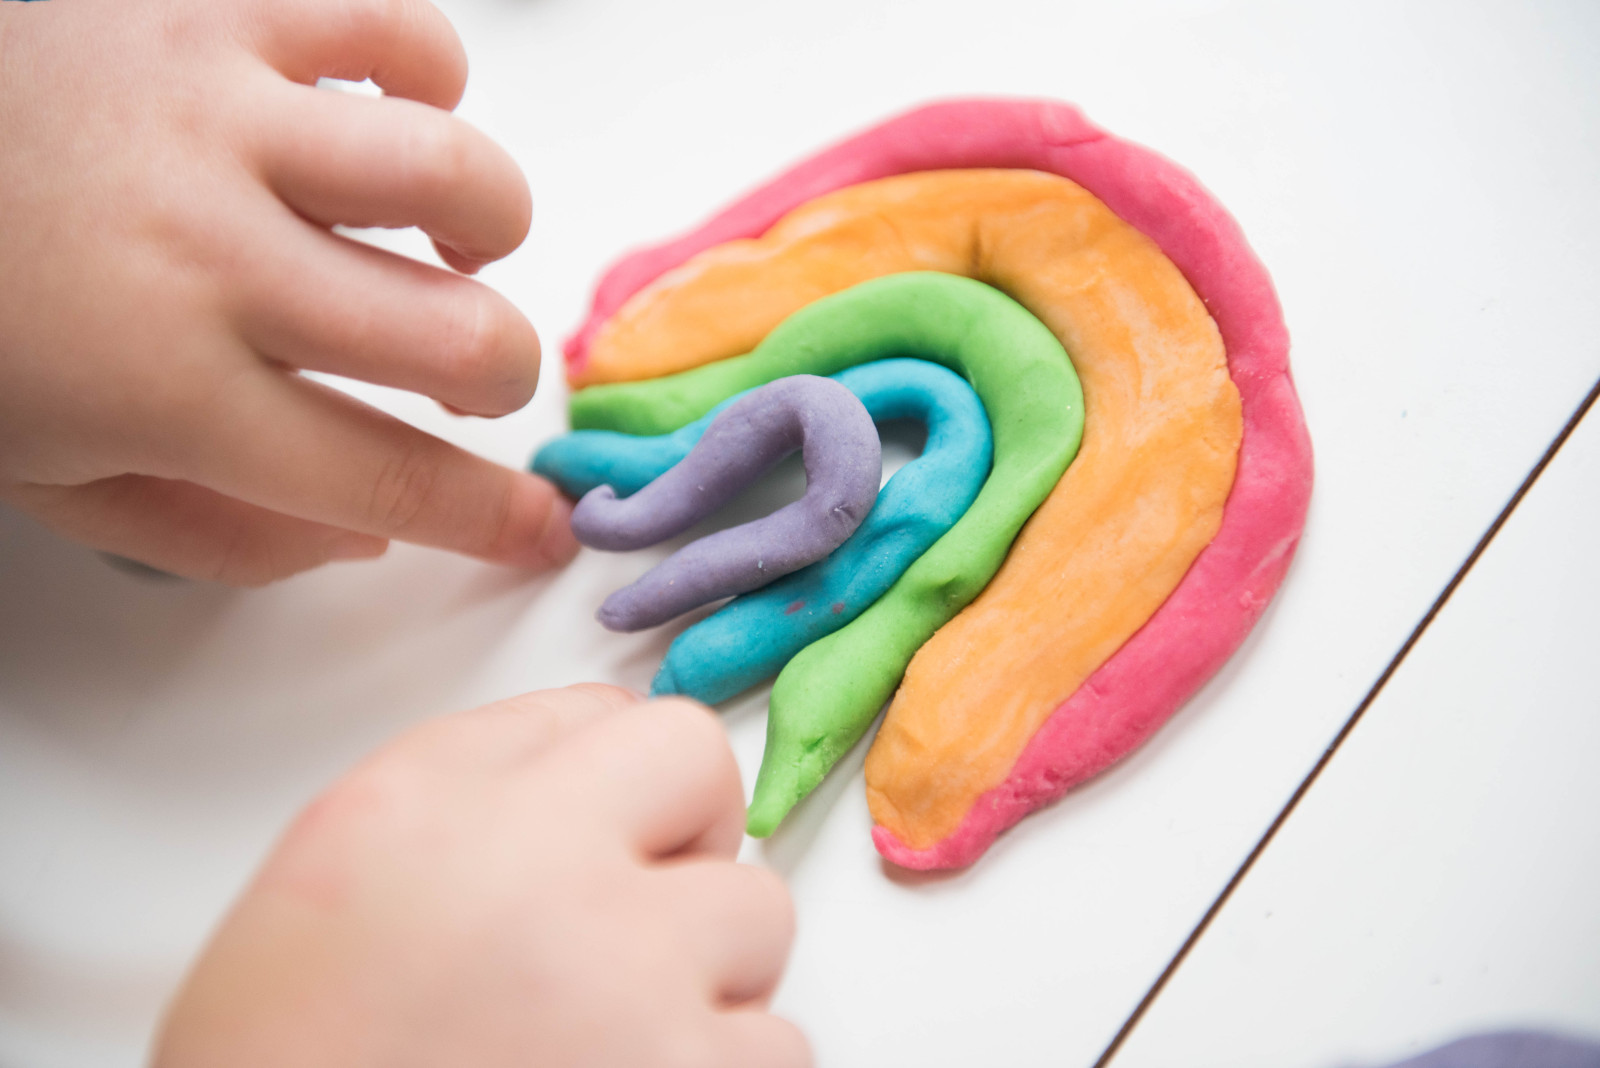
Tactile stimulation is a GREAT way to increase engagement and attention in your little one. This could be exploring different textures. Fill bins with beans, sand, sugar, pom-pom balls, and let them explore. Play-dough is always a huge hit. Children often find the soft and manipulative texture calming. For the kiddo who has a tough time attending to pictures, find books that present the child with various textured pictures.
The next one, may not have been on your radar, but smell is another way to engage your child and stimulate their senses in play. Have you ever seen how excited your child gets around Mr. Sketch markers? Not only due they get to color with those bright colors, but there is a sweet aroma that goes along with it. Add some essential oils or a spice such as cinnamon to their playdough or sensory bins. Attention and focus will be elevated!
When multiple senses are engaged at one time, your child is likely to attend better to task as well as engage and participate in the activity you present them with! Don’t be afraid to be silly with your voice or movements when it comes to play either. Get creative with various textures and smells. This could include playing with various foods or helping you in the kitchen.
Next time you go to sit down with your child, think about how you can elevate your activity by incorporating the senses.
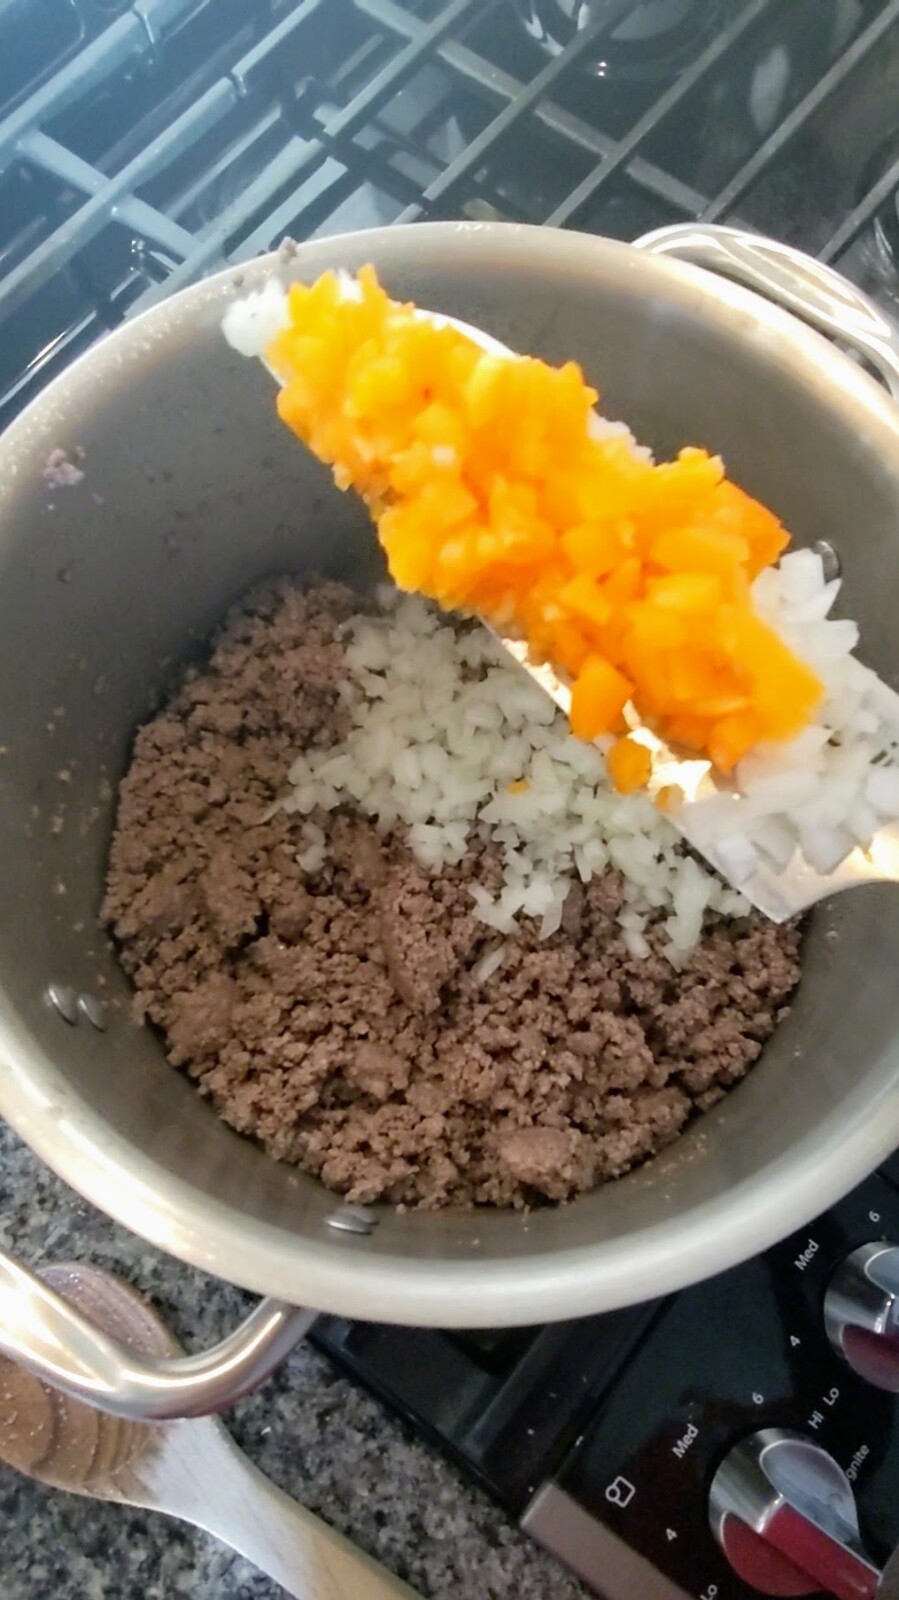
Chili becomes a staple meal in our house once the temperature drops below 65 degrees outside. It took me several different recipes to find the flavors and additions that my family enjoys the most to come up with a recipe that continues to be a hit. I have also made enough times that I know EXACTLY what I need and how much to add without having to second guess myself.
Sometimes I show off the all of the ingredients I use to make our weeknight chili and I always get questions about the ingredients. It is definitely time I put them all in one place!
So, without further ado, I give you our Brown Ale Chili recipe!
Ingredients:
1-pound lean ground beef
1 pound hot or mild Italian sausage
1 cup of chopped white onion
1 bell pepper (any color), chopped
(OPTIONAL) 1 chopped jalepeno
1 can of corn, drained
1 can of black beans, drained
1 can of fire roasted tomatoes
1 4 ounce can of diced green chilis
4 tablespoons chili powder
1 teaspoon Cumin
1 teaspoon onion powder
1 teaspoon smoked paprika
1 teaspoon ground chipotle peppers
Salt & Pepper to taste
1 bottle of brown ale
2 tablespoons Worcestershire sauce
Beef Broth for additional liquid

Step 1: Brown the sausage and ground beef together. Drain excess fat.
Step 2: Add chopped onions, bell pepper, and optional jalapeno pepper to the meat. Sauté until soft.
Step 3: Add the diced tomatoes, corn, black beans, and green chiles to the mixture. Sauté for about 5 minutes.
Step 4: Add in the seasonings, chili powder, cumin, onion powder, smoked paprika, and ground chipotle peppers. Mix well. Follow up with salt and pepper to taste. Taste the mixture before adding the liquid so that you can adjust flavors if needed.
Step 5: Add Worcestershire sauce and the entire bottle of brown ale. Stir into mixture.
Step 6: If needed, add beef broth until the consistency is what you desire. Keep in mind some of the liquid will evaporate.
Step 7: Bring mixture to a boil. Then, simmer for at least 30 minutes before turning off the heat and serving. I also like to do this in the slow cooker on low for 8 hours.
If you have a picky eater, serve this with a comfort food such as bread. Start with dipping the bread into the broth several times. This will allow them to capture the flavor with a food they are comfortable with.
With a meal like chili, you may have to deconstruct it for them at first. Maybe a few pieces of meat on the side of a plate, next two a few kernels for the corn, and a few beans to try. I know it isn’t the most convenient way to introduce this new meal BUT it allows them to slowly introduce the new textures and flavors to themselves without an overwhelming presentation of all of the components at one time.
I hope you enjoy the recipe! If you make it, I would love to hear how you enjoyed it. Comment below.
We are smack dab, in the middle of the winter months! Every time the seasons change, our skin is expected to adjust, and we are quickly Googling to see what we need for dry skin, red skin, chapped skin, or increased breakouts.
Something my clean-living journey has made me realize is the simple ingredients make a BIG difference. When it comes to essential oils, outside of a sleep solution for kids, skincare was next up on my “aha” moment list. As I continued to incorporate natural ingredients into my beauty routine and learned how essential oils worked, I transformed my skin to be the best it has EVER been.
However, the winter months sure do throw me for a loop! That was until I discovered the oil cleansing method. As a female with oily skin, I immediately pumped the brakes on this skincare habit. However, the more I read, the more curious I got.
Guess what?
I have been oil cleansing for at least 6 years now. It started with a DIY recipe and then I fell in love with an oil cleanser from one of my favorite essential oil lines called Mirah.
I am someone who needs to wash their face when they wake up. Then, I usually workout and need to wash it once more. Come bedtime, I am cleansing once more! That is a lot of stripping away dirt and oil and obviously can contribute to my oily skin.
In reading about oil cleansing, I learned that oil dissolves oil. When you massage your oil cleanser into your skin, it is dissolving all the dirt and oil from your day and nourishing it with the new oil! This is perfect for those of us who tend to wash multiple times a day. Even for any of us looking to restore balance in our skin’s moisture levels.
Here is a list of carrier oils you can use:
Castor Oil (cleansing)
Rosehip Oil (nourishing)
Sunflower Oil ( all skin types)
Avocado Oil (dry skin)
Sweet Almond Oil (oily skin)
Jojoba Oil (oily skin)
Apricot Kernel Oil (dry skin)
Some of my favorite essential oils to add:
Melrose (a blend that is fantastic for irritated or skin that breaks out)
Lavender (calming)
Frankincense (aging with grace)
Grapefruit (skin tone)
Lemon (clogged pores)
Geranium (skin tone)
Joy (floral blend)
Palmarosa (balance)
Peppermint (balance)
Here is a great DIY recipe and directions to get started! Keep in mind, you can swap the carriers and essential oils out for your skin type.
2 Tablespoons Castor Oil
2 Tablespoons of Rosehip Oil
2 Tablespoons of Jojoba Oil
10 drops Joy or Geranium
5 drops Grapefruit or Lemon
5 drops Frankincense
Combine in a pump or squeeze bottle. Massage about a teaspoon of oil cleanser into your skin. Grab a washcloth and soak it in very warm water. Place the washcloth on your face and steam the dirt and oil away. Wipe clean.

If you prefer to purchase a cleansing oil. My favorite is the Lustrous Mirah Cleansing Oil from Young Living. It lasts me months and months. I use it in the morning when I don’t need such a deep clean. It is loaded with floral oils which is just what my almost 40-year-old face needs! You can grab it below.


